
Sometimes we have to use more than a standard light of Blender to simulate an interior scene. Let me show you a really interesting project that I have been working on. It`s only a preliminary study for an art galley, where the objective is to use mostly indirect light for the scene, and put some special lights aimed to several pieces of art. Since it`s only a study, I manage to produce and render the image in just a couple hours.
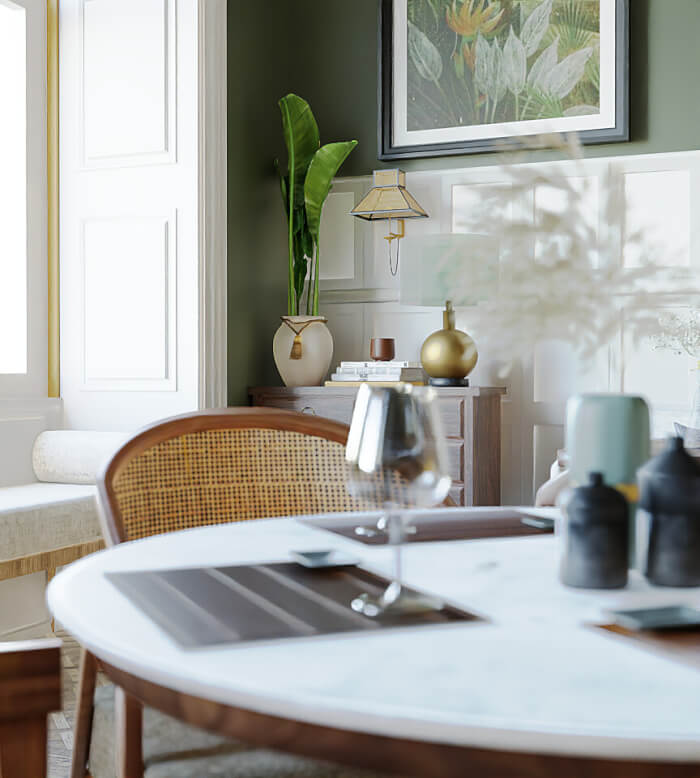
Here is the final image, rendered in Indigo and modeled in Blender 3D.
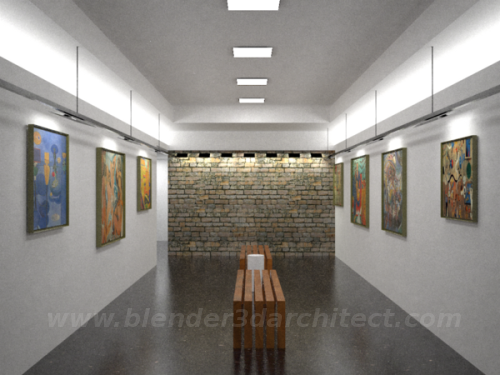
If you notice, there are two big sources of light right on the upper side of both walls. How can we do that? This is all setup in Blendigo, the script that export a scene in Blender 3D for Indigo.
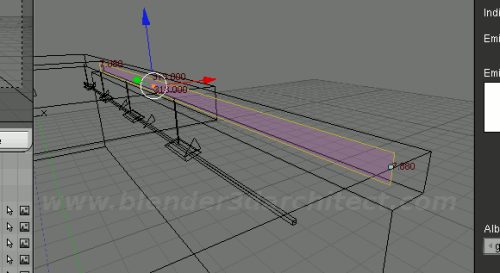
First of all, we have to create an object (Mesh), to use as emitter. For this objects there is an important tip, use the most simple shape as possible, a plane if you can. With complex shapes, the render time will be highly increased.
The object that I have used is a plane. I have scaled the planes to make them fit the space above the side walls.
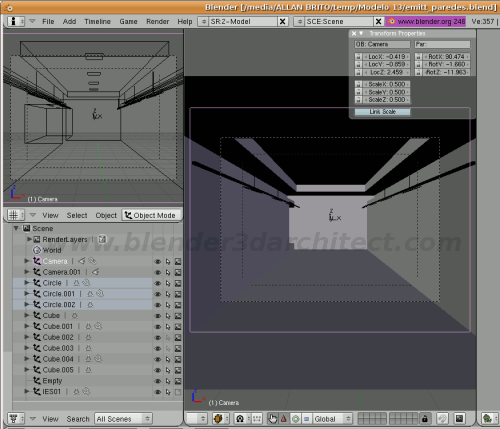
To finish the setup of lights, there is one more thing you have to do. Like what we have seen in the use of photometric lights, what control the direction of light are the normals of the planes. So, if you don`t want to face troubles, setup the normals to point towards the right direction.
The lights that illuminate the pictures are all mesh emitter, actually all lights in the scene are mesh emitters. And to finish the setup of the scene, we have to choose the right settings for the environment. In Blendigo we can choose a set to use only mesh emitters to light the scene.
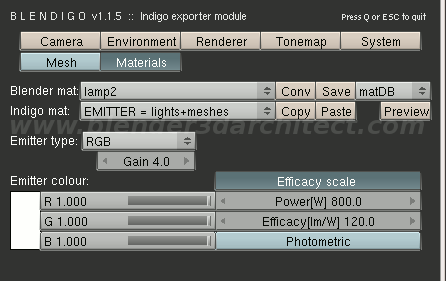
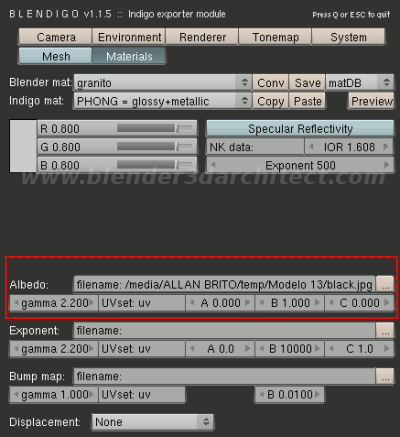
Is that all? Of course not, besides the lights we have to add textures to the surfaces. To add and render textures in Indigo, you can setup them in Blender and then add point the image file at the “Albedo” option in Blendigo.
For now this is just a study, but if the development of the project goes well, I will add a lot of small details to the scene and create a full high-res render. By now, this image suite quite well the pre-visualization of the environment.


Thanks for sharing the knowledge you have with Blender and 3D Architecture. I bought your book as well. I’ve found it to be very informative and a good quality book. This site is very helpful. Keep up the good work.
OMG! Thank you!! thank you!! thank you!! I have been dying trying to use lamps for this!
hi, still looking around ,i haven’t started the program yet. great sites aslo.
diane
This is absolutely good.
Using both blender and indigo. Awesome.