

How to create grass with Blender 3D and LuxRender for architecture
Last week I have posted an article here in the blog, pointing out a great tutorial teaching how to model and render realistic grass with Blender 3d and YafaRay. Since the technique creates mesh models to represent the grass from the particles, I was wondering of the same tutorial can be applied to a project using LuxRender. In this article I will show the adaptation and use of the tutorial and all changes required to render the same model with LuxRender. For the grass model there is no change, and you can follow the same guidelines pointed out in the article.
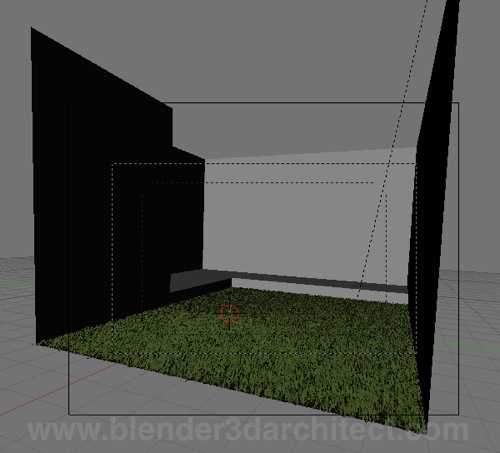
For this test with LuxRender, I have created a simple scene as usual to show the final result. This is the scene:
If you don`t want to follow the steps described in the tutorial, here is the workflow:
- Create a simple model to use as a grass leaf
- Create a mesh plane and add a good amount of subdivisions to the plane
- Add a particle system to the plane and set the type of the particles as hair
- In the Visualization menu of the particles, choose object and point the name of grass leaf to be used as particles
The adjustments of the particle system will determine the overall quality of the grass. In my example I had to use almost 50000 particles to get a nice result. Add small values to the Normal, object, Random and tangent values of the Physics menu. Before the next step, add materials to the ground and the particle system. The particles will have a light green color and the ground a dark brown.
To make LuxRender identify the grass, we have to convert it to mesh objects. Be aware that with 50000 particles, this process can easily crash Blender or your system if your hardware canÃt handle this amount of data. In my scene, I had to wait for a few minutes until Blender converts all particles.
In LuxRender, just setup a sunsky environment and in the materials tab set all materials as matte. Hit the render button and wait for a few minutes couple of hours, and we will have this image as a final result.
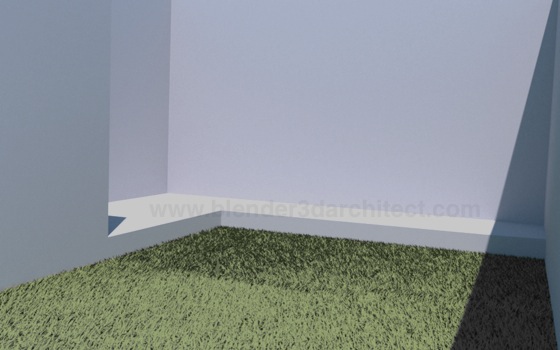
The overall look of the grass is really good, but I must say that this type of feature must be used only when the entire project is complete and with small surfaces. The amount of data required to represent the object, may compromise future adjustments on the 3d model.


you are doing wonderful thing! i’d like to shake your hand for this! 🙂
Things like these don’t have to compromise mesh editability, do they? Just put the model and scene in separate .blend files, group the meshes in model.blend, link scene.blend to it and render them –grass and all– there. In scene.blend’s 3D View, hide the grassed ground so as not to overwhelm the system. Ah, I assume most of you know of this already, though.
Don’t know if there’s any complication in other than my type of usage (casual architectural modeling for animation).