
From all the tasks related to architectural visualization, one of the topics that let users a bit confused when they start to use softwares like Blender 3D is precision modeling. In AutoCAD or other AutoCAD free alternatives, we have a great set of tools allowing us to create and draw with absolute precision. With Blender and other packages we have a set of tools specialized in art creation, which can be hard to use for precision modeling. As a way to help new users, I will show a simple, but useful technique to create walls with precision in Blender 3D.
The technique is based in the creation of a series of small planes placed on each corner of the walls. When the planes are placed in each corner, all we have to do is select two edges of the plane and with the F key create a connection between them.
Here is how it works, let’s use a wall that must be created with a measurement of four meters. The first thing to do is add two planes and a mesh line to the scene. To create the mesh line, add a mesh circle with four sides and erase three of them.
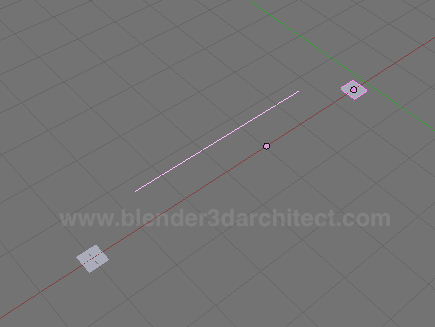
The line will work as a ruler. In Edit mode change the size of the line to make it four Blender Units wide. Turn on the Edge Length option to make it easier to track the line size.
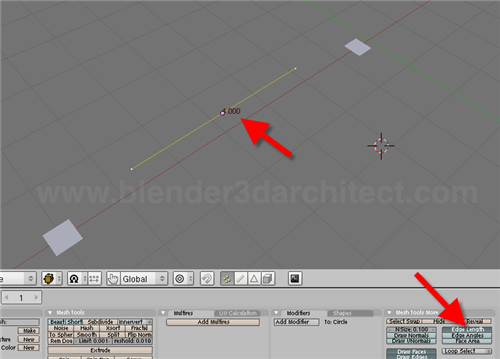
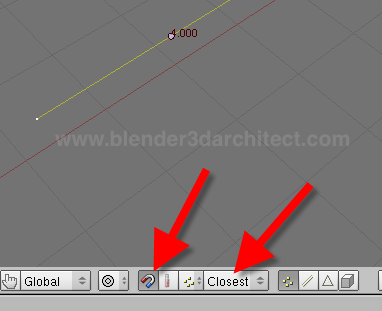
With the line set to 4 units, we can turn on the Snap tool in Blender with the closest vertices selected.
Select one plane and press the G key to move the object, and by the time it gets closer to the line, hold down the CTRL key to snap the plane to the line. Drop the plane when a small circle appears on the side of the line.
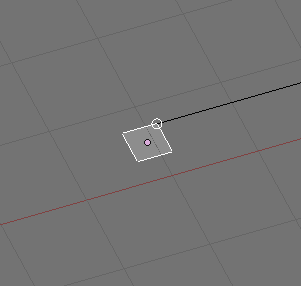
Repeat the same procedure to the other plane.
Move the line and adjust it to a new measurement, and rotate the line if it’s necessary. In some cases it’s quite faster to use multiple lines to mark the distances between all planes. If the planes are different objects, select them and press CTRL+J to join the objects into a single Mesh.
To finish the creation of the basis for the walls, select two edges and press F to connect them
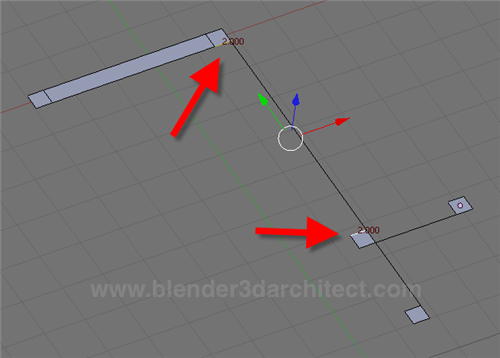
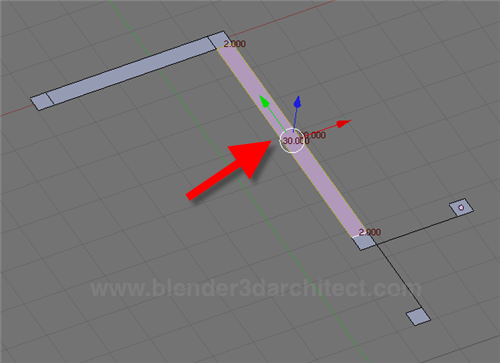
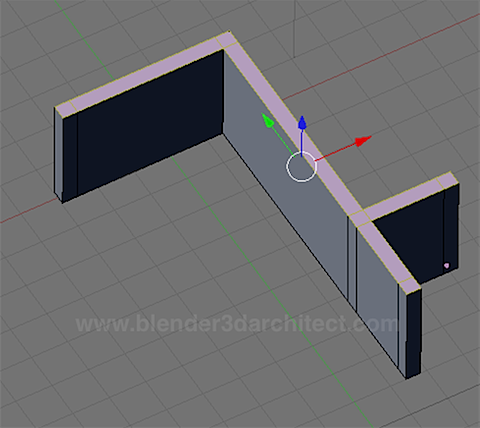
With a few more planes, we can easily create the basis for a model with a great level of precision!



wouldn’t it be easier to extrude all walls from single plane while in top view?
Hi, total noob here, but i find it easier to scale one plane down to the size of a column and then extruding it’s edges while constraining in the x or y direction, for e.g., by typing ‘E X 4’ or -4 as required.
you could extrude a vertex. then creat a face of it’s edges and then extrude the face for the thickness of the wall.
your ways seems to be a bit complicated 😀
Hi guys,
I know it may seem a bit complicated at the first glance, but it was a way I found create walls from lines. In my classes I propose this type of modeling for people used to CAD.
Of course it`s not the easiest or fast way. But, it works 🙂
Regards
Hiya,
I’ve added a plane as a ground floor and extruded it up. I now wanted to add another plane for the first floor, as the first floor is a different layout to the ground floor. However, when I go to add the new plane, it doesnt allow me to select the corners to scale it down/up, extrude it, etc. Is there not a way to get to planes on the same blender file?