
An experimental version of the next version of YafaRay was released back at the beginning of September, and among several bug fixes and improvements, a few features were added. And of course, some of those features will help a lot artists interested on the use of Blender 3D and YafaRay for architectural visualization. One of the features that caught my attention was the introduction of IES light sources as a way to give physical accuracy to lights in YafaRay.
To use IES lights we need a small text file with all physical information about the light we want to simulate. There are a lot of sources on the web to find IES light files, which can be used to represent specific lights. If you want to download binaries of the experimental build of YafaRay 0.1.2, visit this post at the YafaRay user forums. There you will find all information about the new features of this version.
After downloading and installing the export script, I decided to check on how to use IES Lights in YafaRay. And the procedure is quite simple! Let’s take a look.
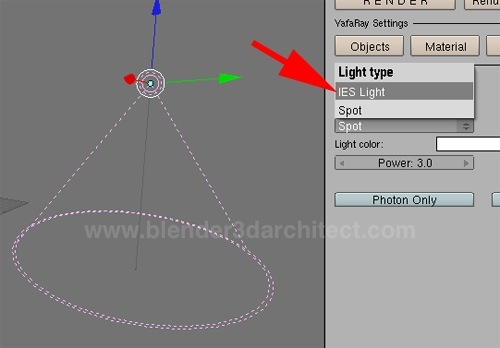
First of all, you have to add a Spot Lamp in your scene. The option to use IES lights is only available when a spot is selected. Go to the Object Tab and pick IES Light.
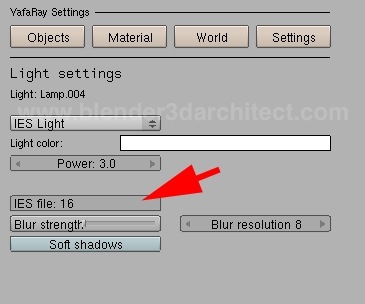
Now, point an IES light file on the selector. We can`t use a full file path to point the IES file here. Just type the name of the file, without the “.ies†at the end. This file will be loaded from a folder called iesFiles, placed as a subfolder of the YafaRay 0.1.2 installation. For instance, you should place your ies file at “c:\program files\YafaRayDevBranch\iesFilesâ€. Of course, this path works for windows users. In my case the YafaRay installer didn`t created this folder, so I had to create it myself.
The next step is to setup a scene and place some light sources and choose a render method.
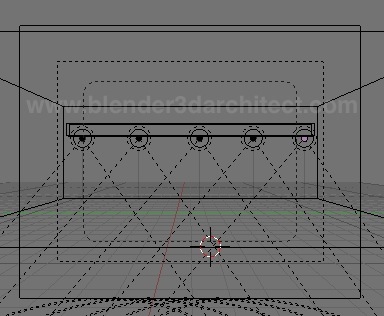
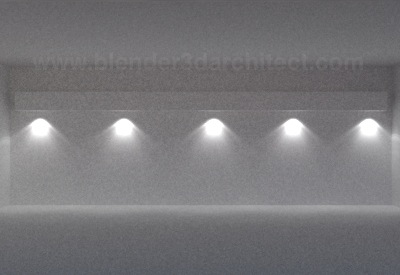
At the object tab we can make a few adjustments to the light source, but it’s pretty much it. With this type of feature, we can offer visualization options that generate an illumination that represents the real lights of the room. For interior design, this feature is very welcome! In case you choose to render your projects with LuxRender, take a look on the tutorial about the use of IES lights in LuxRender posted here a few months ago.
I strongly recommend you to test those features of the experimental YafaRay build, only with scenes that have some sort of backup. It’s never too much to be careful about those things. I will now make some tests with IBL lighting.


Hello there. I have used blender for about 1year and yafaray for only a couple of months so am still trying to get used to it. My problem is with .hdr files used as IBL in yafaray. The image background is so blurred and enlarged which makes my otherwise nicely done work a total mess. I tried using different focal lengths and Camera distances from the object but it still doesn’t help much. Please if you may post a tutorial on how to use .hdr properly (which should be your next on IBL). Thanks.
Great tutorial! Handy information and great lights effects with them.
Many thanks Allan.
yeah:)