
In the last few days I'm playing around with LuxRender 0.6 RC3 a lot. I was testing some of the features of this incredible unbiased render engine for Blender 3D, and decided to write a short article about a feature that every architectural visualization artist needs to know: photometric lights. With LuxRender we can use photometric lights to add light sources to the scene, based on physical properties of light, which will result in a very realistic image.
The photometric lights consist of a file with an IES extension. In LuxRender we can link a material to one of those files and make an object emit light using this information. For this tutorial I will use a test scene to show the effects of this light, which is this one:
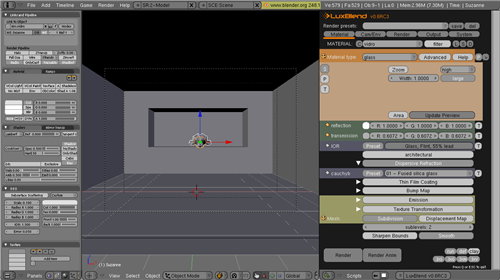
As result of the rendering with a photometric light we will have an image like this:
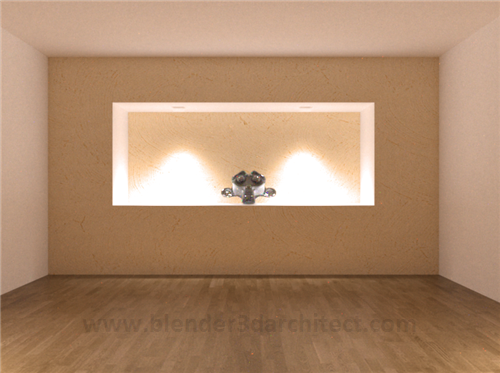
This is a result of a few hours of rendering, and I know it could use some adjustments at the textures and overall scene, but it's only a test render.
If you want to use this feature of LuxRender, here is what you have to do. The first thing is use a small 3d object as a light emitter, like a plane. In my scene I have used small planes with the normals pointing towards the direction in which the light should be cast.
Apply a material to the planes and open the material tab in LuxBlend. There we have to set this material as a light and just turn on the Photometric Diagram button. It will turn on the use of IES lights, and then a small selector will let us choose an IES file to use in the scene.
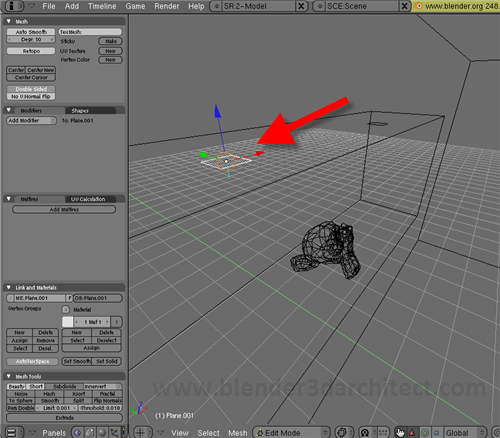
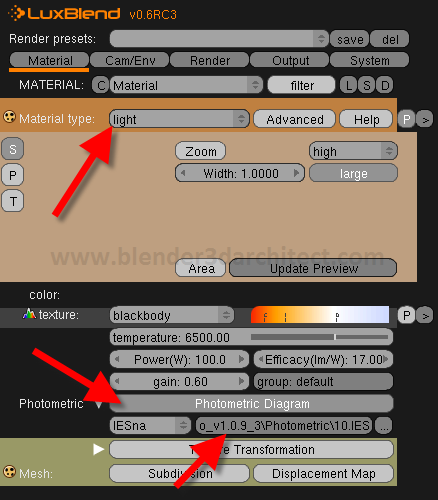
For the light setup that's pretty much it. At the Cam/Env tab I have set the environment to none, since the light should be only emitted by the photometric lights.
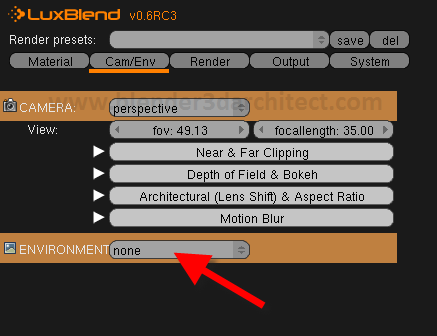
Now, setup a place to save the renderings and choose a resolution. Press the render button and wait until the image is clear enough to go into post-production.
This a really important tool for architectural visualization artists and can help a lot, if you have to work on a night scene or with the simulation of artificial illumination.


In the last few days, I have been really impressed by the maturity of Luxrender so far. It has become my favorite renderer, surpassing Indigo and Mosaic by miles. Great tutorial.