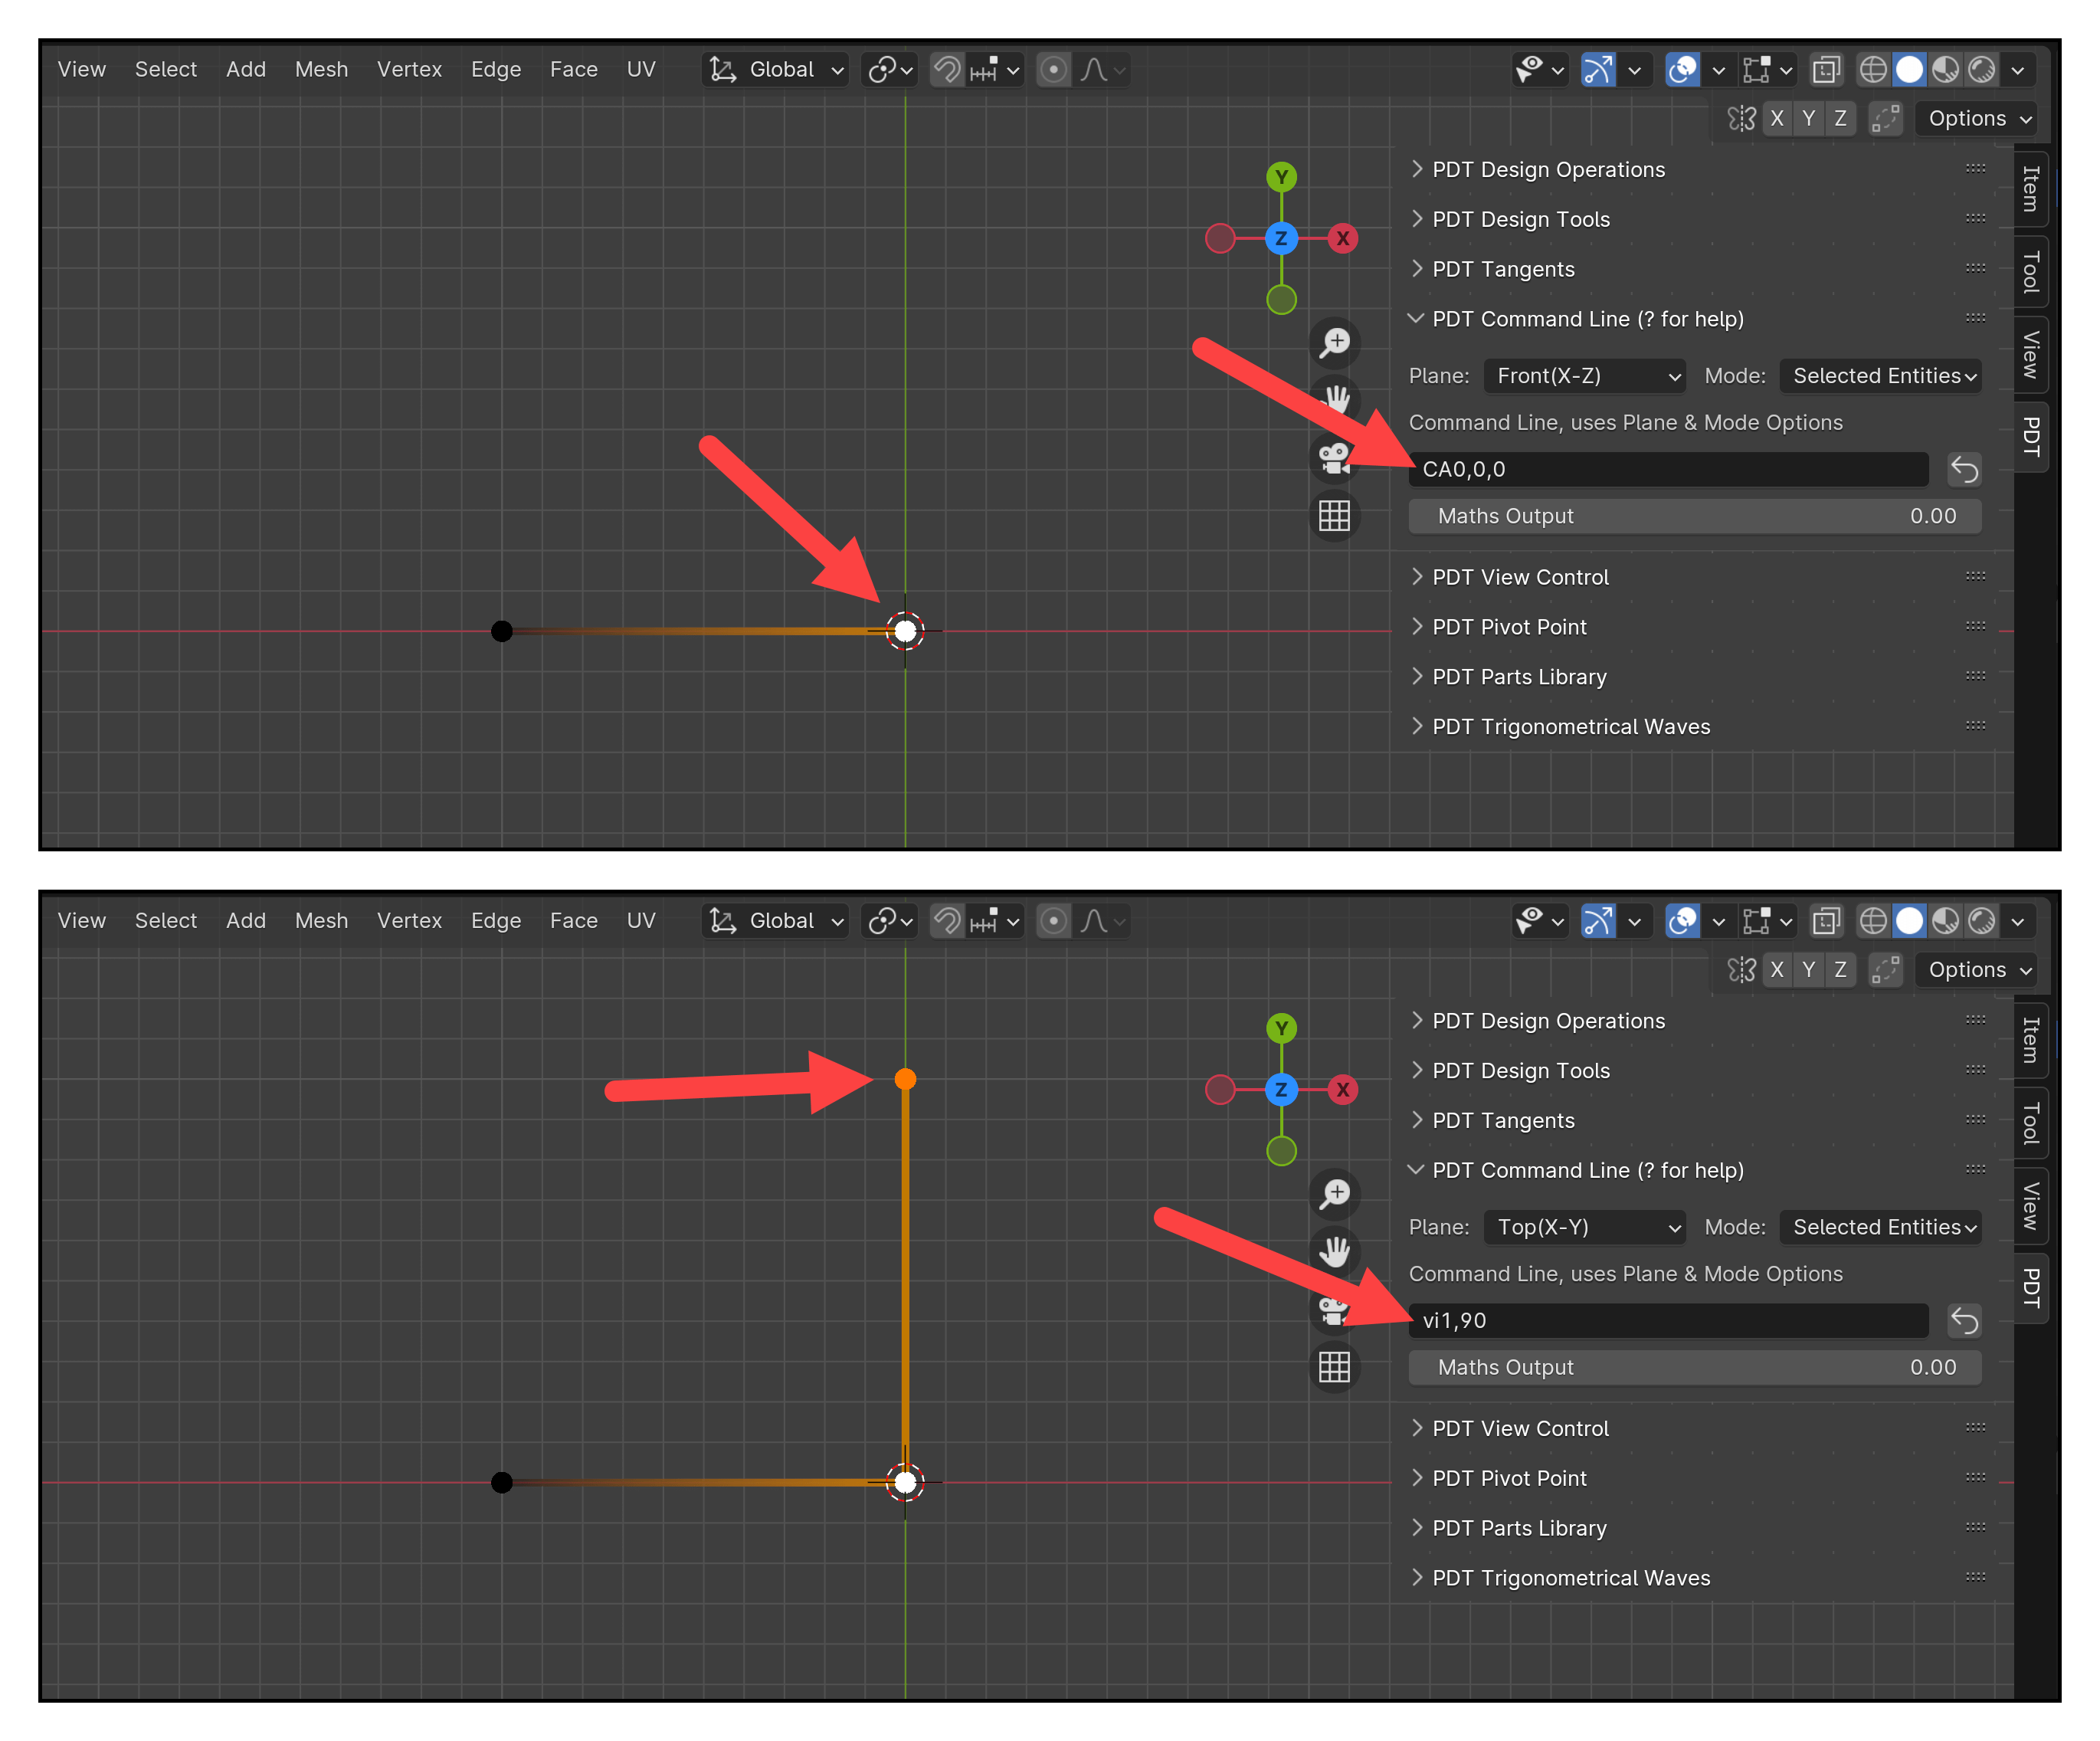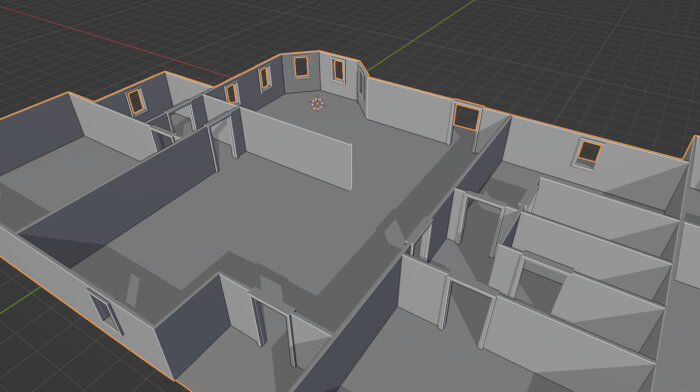
After the release of Blender 2.8, a lot more artists are considering migrating to Blender as their primary tool for architectural visualization. When people see some of the artwork produced with both Eevee and Cycles, they immediately start thinking more seriously about using Blender.
A key feature of any software regarding architecture is the ability to work with precision modeling. In Blender you can use three main systems for modeling:
- Blender Units (default)
- Metric System: meters, millimeters, and centimeters
- Imperial System: inches, feet, and yards
How to set that up in Blender 2.8?
Blender 2.8 units settings for architecture
The good news is that you can change these settings in the same location from previous versions. Go to the Scene Tab in your properties editor.
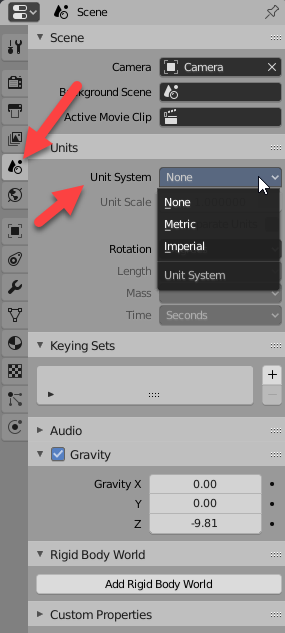
There you will find the “Units” option for modeling. Once you pick a system you will start to see Blender displaying the units alongside each length.
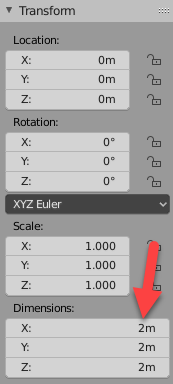
A key feature for doing precision modeling in Blender is the numeric input on your keyboard. You can type lengths for your transformations in the keyboard to get a precise extrude or translation.
Using advanced mode for inputs will also give you a wide range of options, especially if you use the Imperial System. To enable advanced mode you can press TAB before entering any value on the keyboard.
Using feet and inches for modeling
We work with some architects from North America that struggle to use lengths in feet or inches. If you enable “separate units” in the same Blender panel you will be able to type and edit measures with mixed units.
Why is that important? For people used only with the metric system, it may seem odd, but it is quite common to find lengths mixing units like “2ft 3/4in” in a project. In the metric system, you would see something like “1.55m” instead of “1m 55cm”.
Blender does support both methods and no matter which system you use, Blender will help you get your architectural models ready with numeric precision.
Using Blender for architecture
Do you want to use Blender for architecture or render your projects using Cycles or Eevee? We have three books available that could help you!
They cover the use of Blender for producing architectural content and also all information you need to render projects in real-time:
- Blender 2.9 for architecture: Modeling and rendering with Eevee and Cycles
- Blender 3.0: The beginner's guide
- Blender Eevee: The guide to real-time rendering with Blender 2.8
You can get them in both digital and paperback formats. By ordering those books, you will not only improve your skills with Blender for architecture but also support Blender 3D Architect.

