
Last week I have suggested a great resource for texture maps of plants and shrubs, along with a small tutorial on how to turn the maps into transparent PNG files ready to use in Blender 3D. If you have tried to use those maps, you may have realized that it will take a long time and work to actually import several maps to Blender. The process involves the creation of a plane, setup UVs, and add materials, textures and adjustments for the material.
If you really want to simulate a large amount of trees for an architectural visualization project, it would be great to have a way to import multiple texture files at once. Wouldn't it? Actually, there is a script for Blender called 2d Cutout Image Import, which can be a great help for this task.
The workflow of the script is pretty simple and we will only have to select the PNG texture maps. Before anything, visit this thread on the Blenderartists forums to download the script. Place it in your Blender scripts folder and the option to access the script will appear on the Image folder of the scripts window.
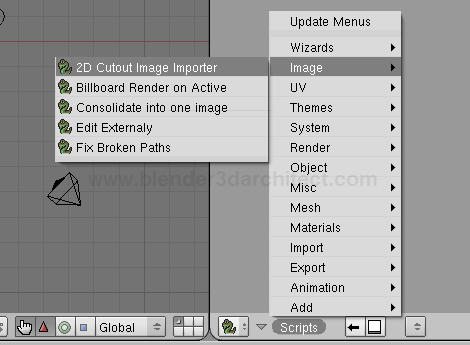
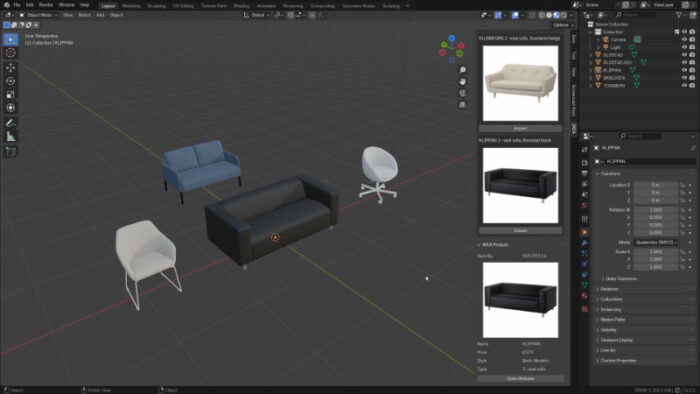
To use the script I suggest you to create a folder in your computer and place all the textures in this folder. Don't worry about the file names. At the script, all we have to do is choose the folder and set the image Type, just like the image bellow shows.
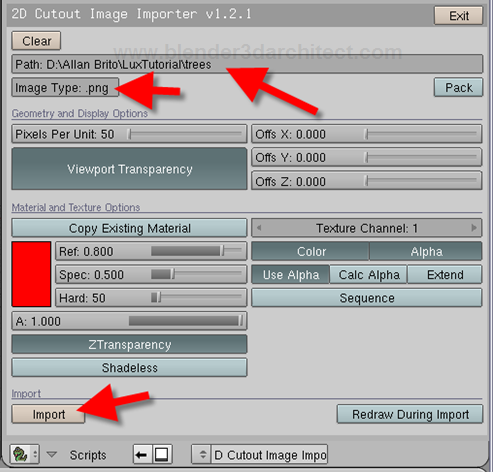
When this is all set, an import button will appear at the bottom of the script interface. Hit this button to import the texture maps. By the end, we will have a few planes at the 3D View will the texture maps applied to them. All the setup process required to create the transparent textures in Blender is already done. The planes have an UV map, materials and textures ready to use.
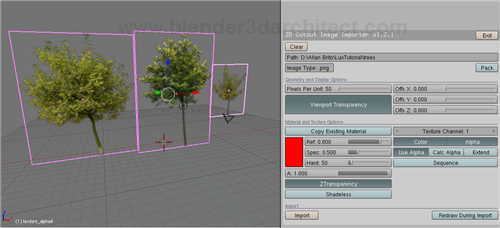
With a script like this, we can create large surfaces of trees and vegetation using different types of texture maps very easily. The best part is that all planes are created with the right size to fit in the texture map proportion.


How do you accomplish viewing the actual image in 3D view? I’ve followed your instructions and copied your scripts settings. I am left w/ a red plane mesh. It is only in preview or render do I experience the .png w/ transparency
I liked it. I would no more waste my time. thank you.
I am also having the same issues as Pseudyo.
Thanks,
Walter Hnot
Walter,
On the bottom header in the viewport is “Viewport Shading.” Choose “Textured.”
Im also experiencing the “red plane” problem.
I dont see any “Viewport Shading”, pseudyo.
Could you, please, help me out?
The download link on blender artists is down. Can someone please re-upload it? Thanks. I need it to create photorealistic sceneries for a flight simulator.