
When you migrate from other softwares to Blender, you might start to adapt your workflow. That happens a lot with artists coming from CAD tools, which will try to find similar tools in Blender.
After the release of Blender 2.8, we are getting lots of messages from artists asking us about options in Blender that mimic a CAD workflow. One of the most popular tools out there is AutoCAD, and we get several questions from people with AutoCAD skills trying to use Blender.
For instance, a couple of days ago, we received a question about the use of an AutoCAD command in Blender. The problem was about the Fillet command in AutoCAD. Is it possible to use something similar in Blender 2.8?
In Blender, you won't find anything with the name of Fillet, but we can use a tool that has a similar purpose.
First of all, what can we do with the Fillet in AutoCAD? If you use the command in two perpendicular lines, you will be able to connect them using an arc. Using an arc with a radius of zero will make a sharp edge.
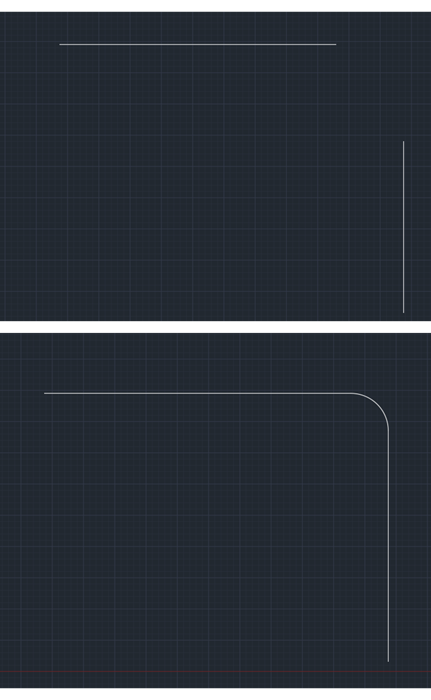
What about Blender? Can we use anything like that?
You can use the Spin tool in Blender to perform a similar procedure, but it will require a few additional steps to set the radius.
We can take a model like the one shown in the image below, where we have two perpendicular walls.
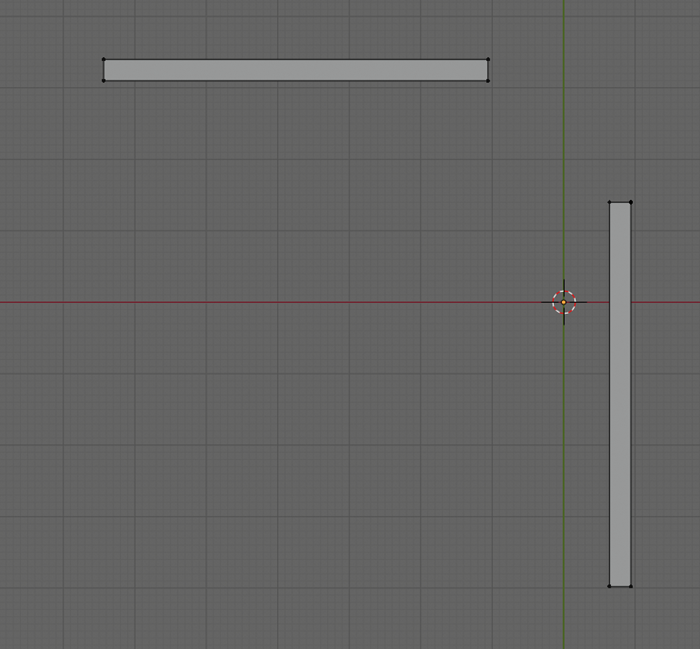
The objective here is to connect the walls using an arc with two units as a radius. With the Spin tool, you can create the arc, but we have to find a way to set the center of our arc. Since the Spin will use the 3D Cursor location as a pivot for the arch, we have to find a way to place it in the exact location to make the arc.
You can easily place the 3D Cursor using a reference object. For instance, we can select a vertex from the wall and using the SHIFT+D keys make a copy of that element.
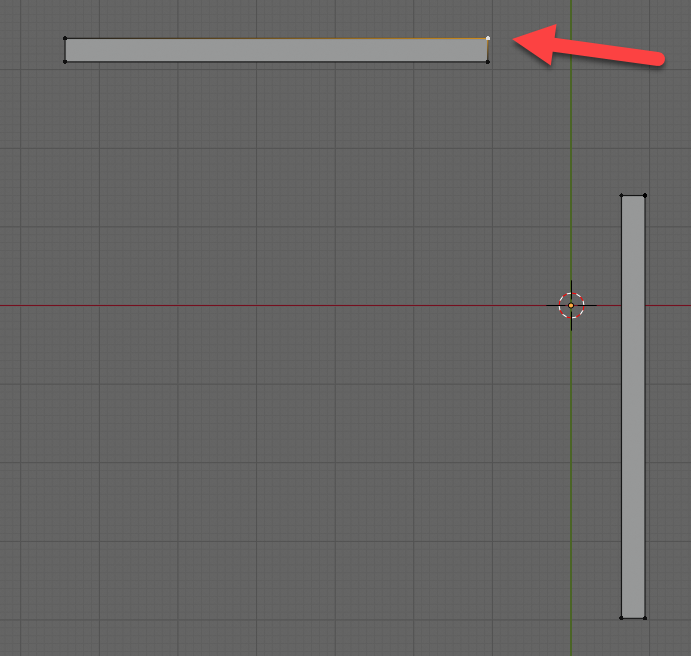
Type the distance and axis you want to use for the copy. Press the Y key and type -2 as the distance. Use the SHIFT+S for the Snap and choose “Cursor to Selected.”
Your 3D Cursor will jump to the same location as your vertex.
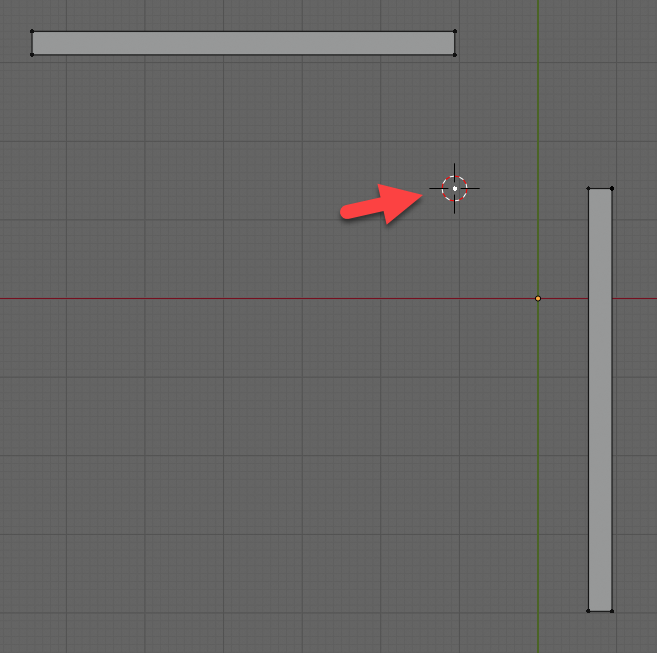
Make sure you are in the top view (Numpad 7) and select the edge of your wall. Press the Spin button from the Toolbar.
You will see a blue arc near the selected edge, which you must click and drag to start the Spin. After you begin the Spin, a menu with the options for the tool will appear. Pick the angle and steps to create a similar effect to the Fillet.
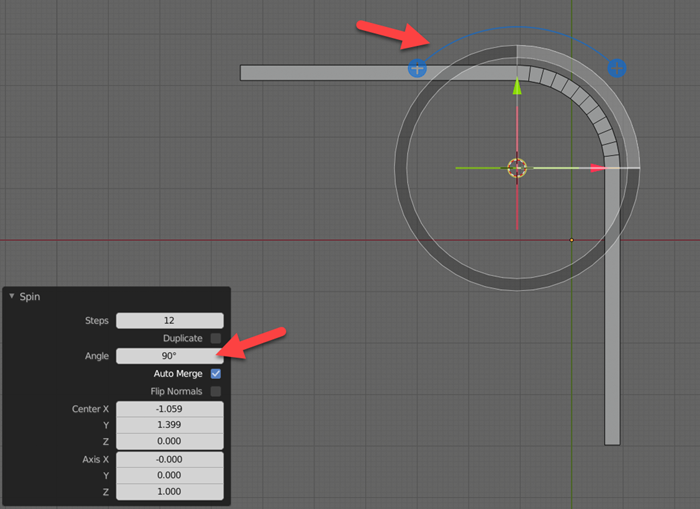
After you complete the model, it will be possible to select and erase the vertex used as a reference.
Now you know how to create a similar modeling procedure using Blender 2.8.
Using Blender for architecture
Do you want to use Blender for architecture or render your projects using Cycles or Eevee? We have three books available that could help you!
They cover the use of Blender for producing architectural content and also all information you need to render projects in real-time:
- Blender 2.9 for architecture: Modeling and rendering with Eevee and Cycles
- Blender 2.8 parametric modeling: Drivers, Custom Properties, and Shape Keys for 3D modeling
- Blender 3.0: The beginner's guide
- Blender 2.8 for technical drawing
- Blender Eevee: The guide to real-time rendering with Blender 2.8
You can get them in both digital and paperback formats. By ordering those books, you will not only improve your skills with Blender for architecture but also support Blender 3D Architect.


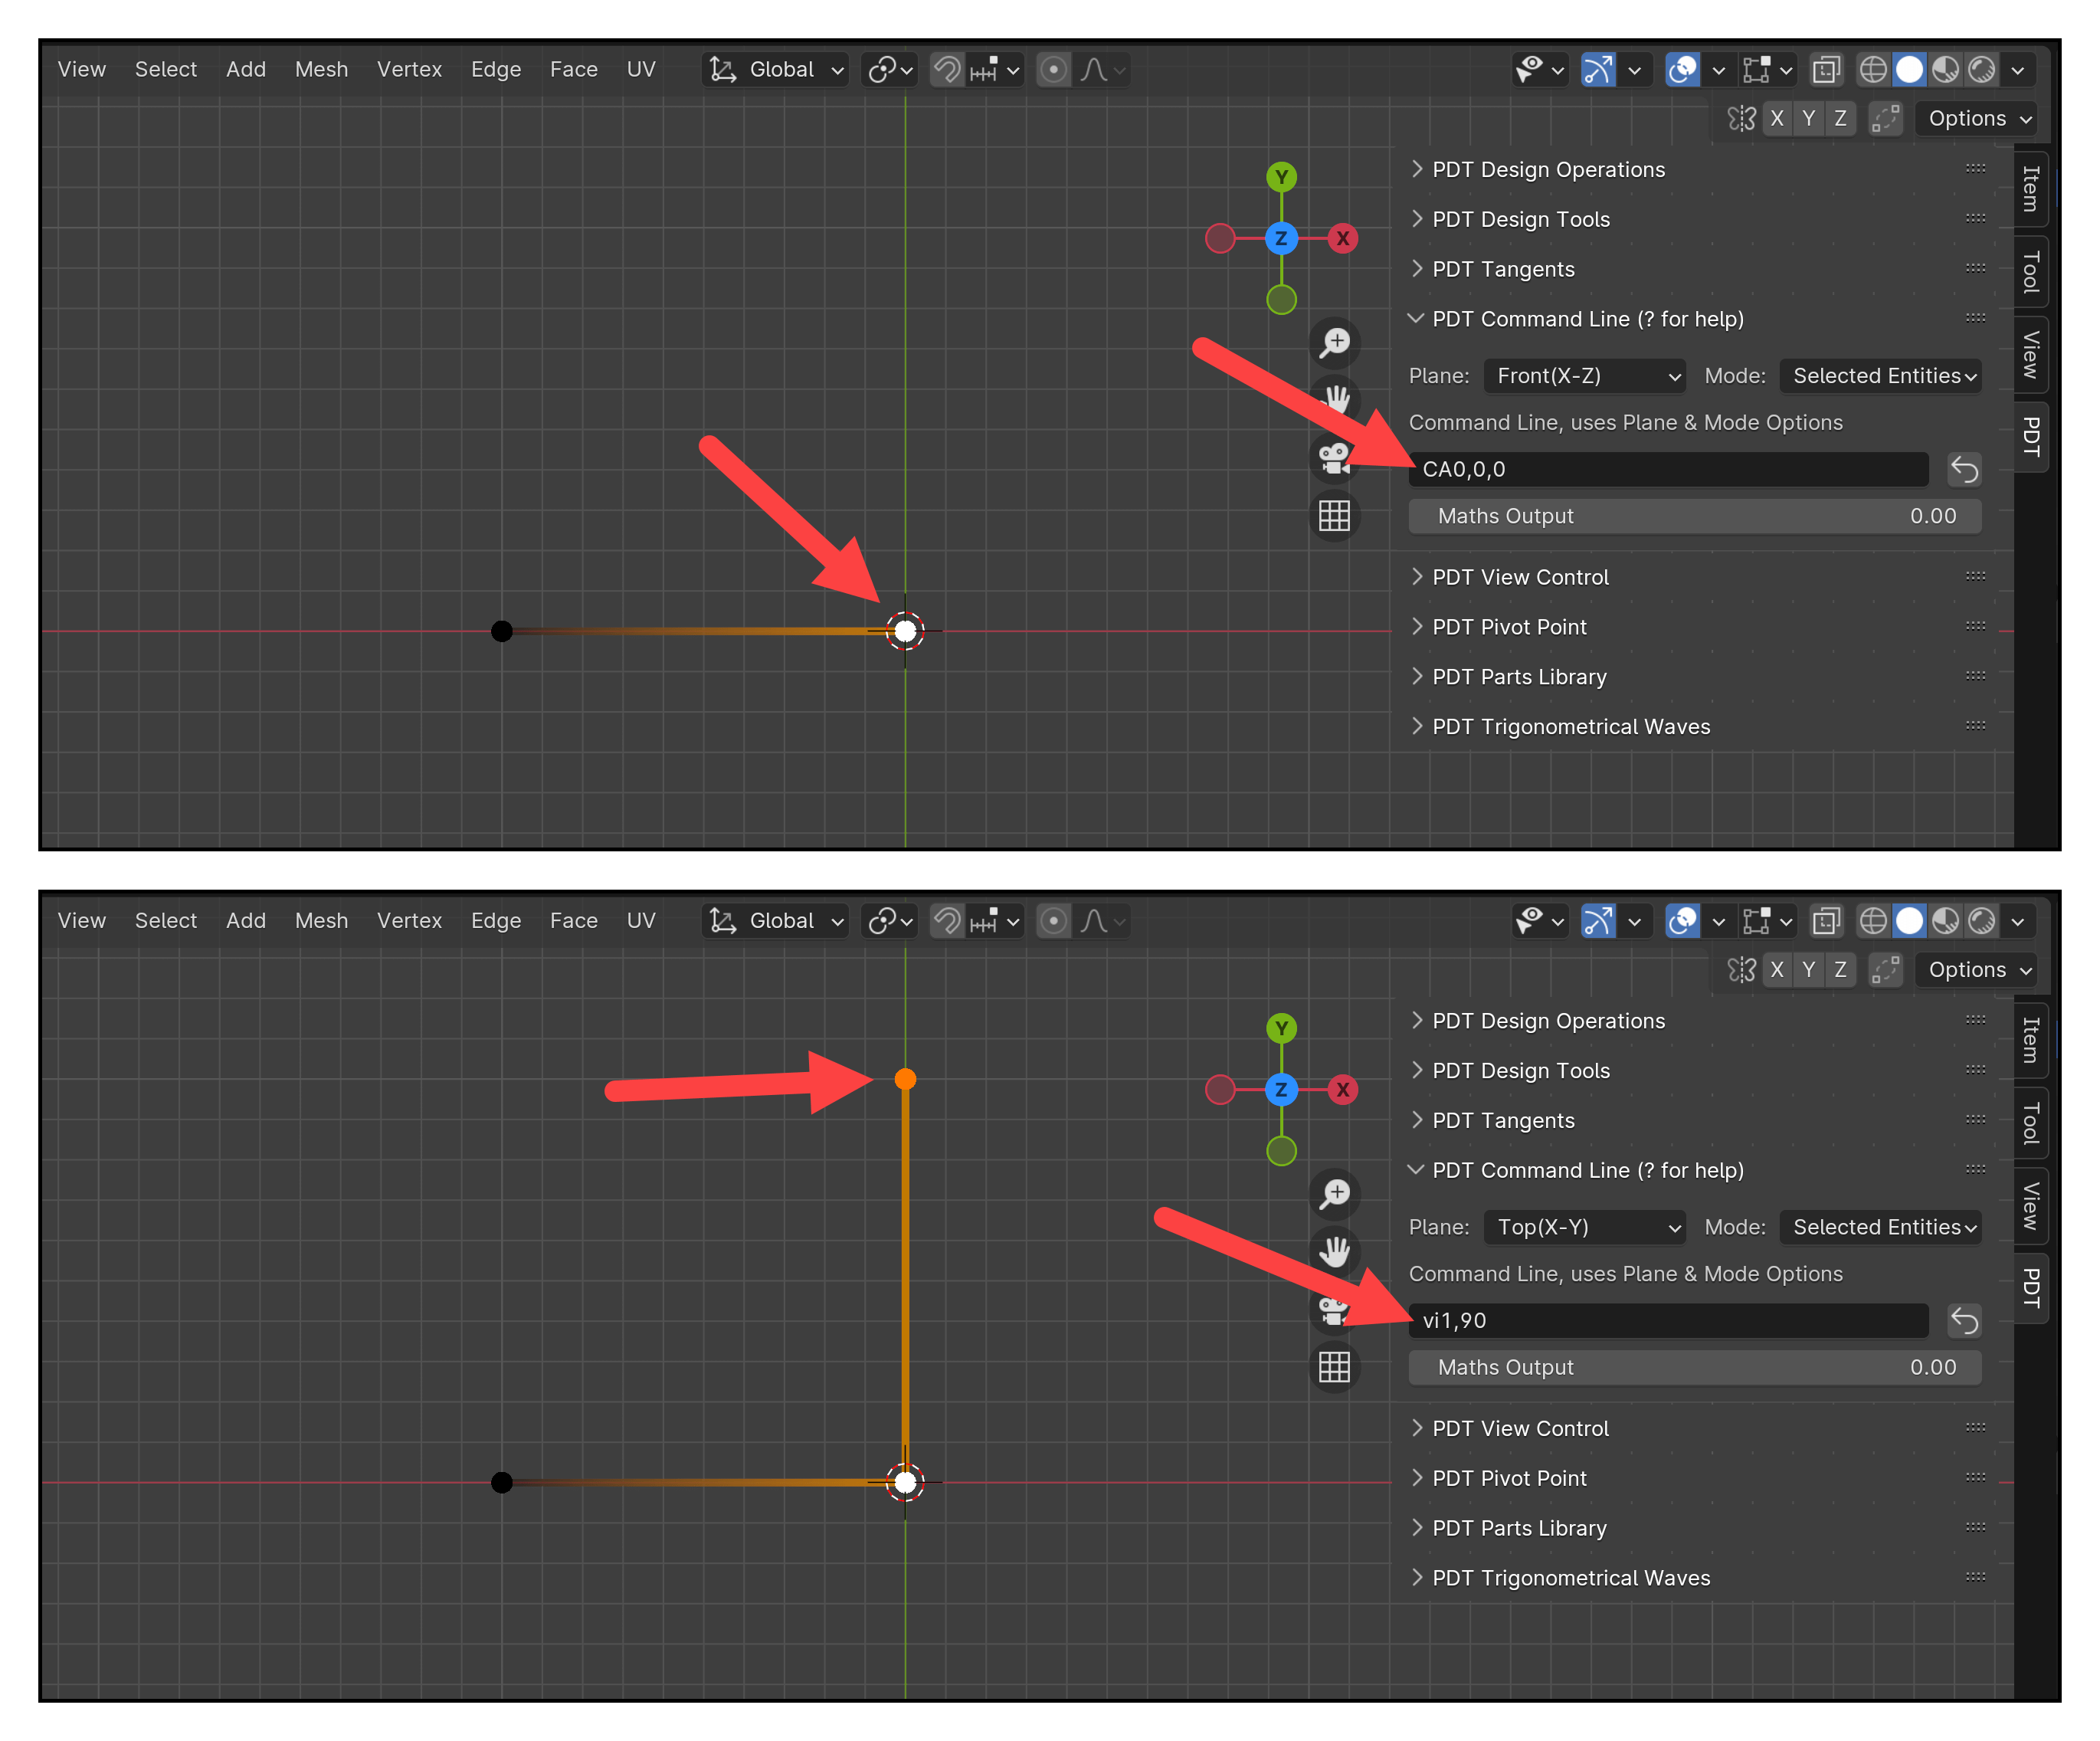

This solution doesn’t make sense to me. First, how did you know the center of the radius was -2? And wouldn’t it be easier to just extend your lines (one vertical and one horizontal) from the edges you want to intersect and then use the tiny-cad tool (included with Blender) to create the vertex at the lines intersection which would then become the center of the radius you would move the 3d cursor to? Once the pivot point is achieved you could delete the line extensions (don’t delete the vertex yet). I’m just saying this seems a simpler means to find the center of the radius cause I don’t understand how you know it’s -2.