How do you add scale and context to your renders for architectural projects? One of the oldest tricks in the field is to add a cutout image of a person, which will match the scene.
For instance, at a shopping mall scene you will find a picture of a lady caring some shopping bags, and by making the background pixels transparent, you can compose the photo with the render.
The only downside for this type of technique is that you have to be careful with the camera angle and movement because your human scales will be nothing more than a plane with a texture. If you use bad camera angle everyone will notice that they are only “flat people.”
Today we have another resource to add context and scale to projects, which are models from 3d scanned people. A resource like a full 3d file from a real person will avoid any problems related to camera angles, and work much better for animation.
Do you want to download a free collection of 17 files of 3d scanned people? The German based studio Xoio is sharing a small collection of those files, and they are compatible with Blender.
All files are available in two formats:
- OBJ
- MAX
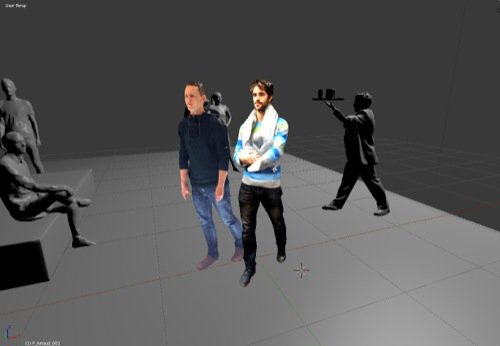
To use the 3d models with Blender, you should choose OBJ and make a few adjustments. Here is a preview of two of those files already in Blender:

After you bring them to Blender, you probably will want to change the scale of the models, since they appear to be in centimeters. A scale with “0.01” in size will make them fit your 3D View way better.
The next step is to add textures to the models. There is a separate folder with all textures for the 3d files, and all UV Mapping is ready, just waiting for a texture file. It's a matter of just setting the textures in the UV/Image Editor window and Nodes.


may use for model railway if suitable