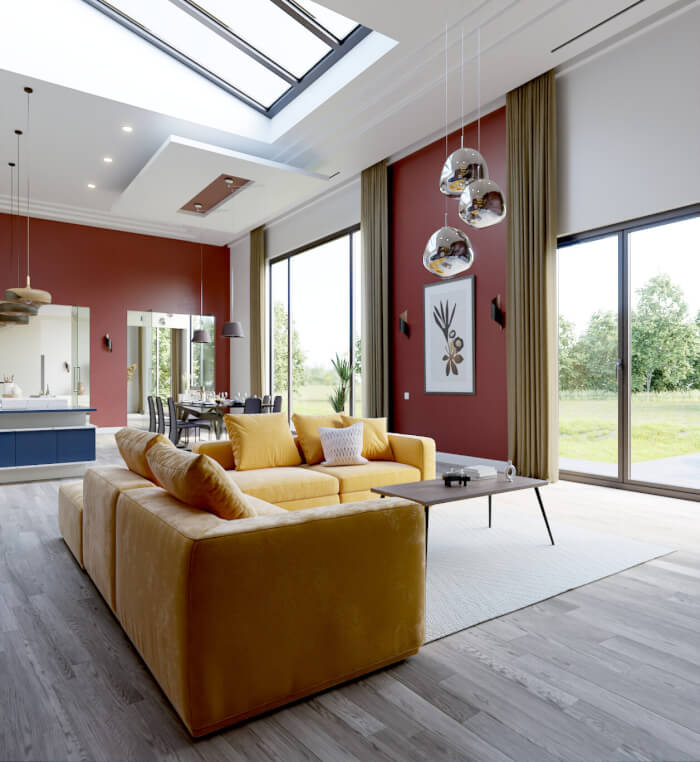

An interior design project may require an artist to work in a particular room of a building or house. That is the case for a kitchen renovation, where you must render and work on that particular scene. Other cases will demand images for all spaces of a project like a brand new residential space.
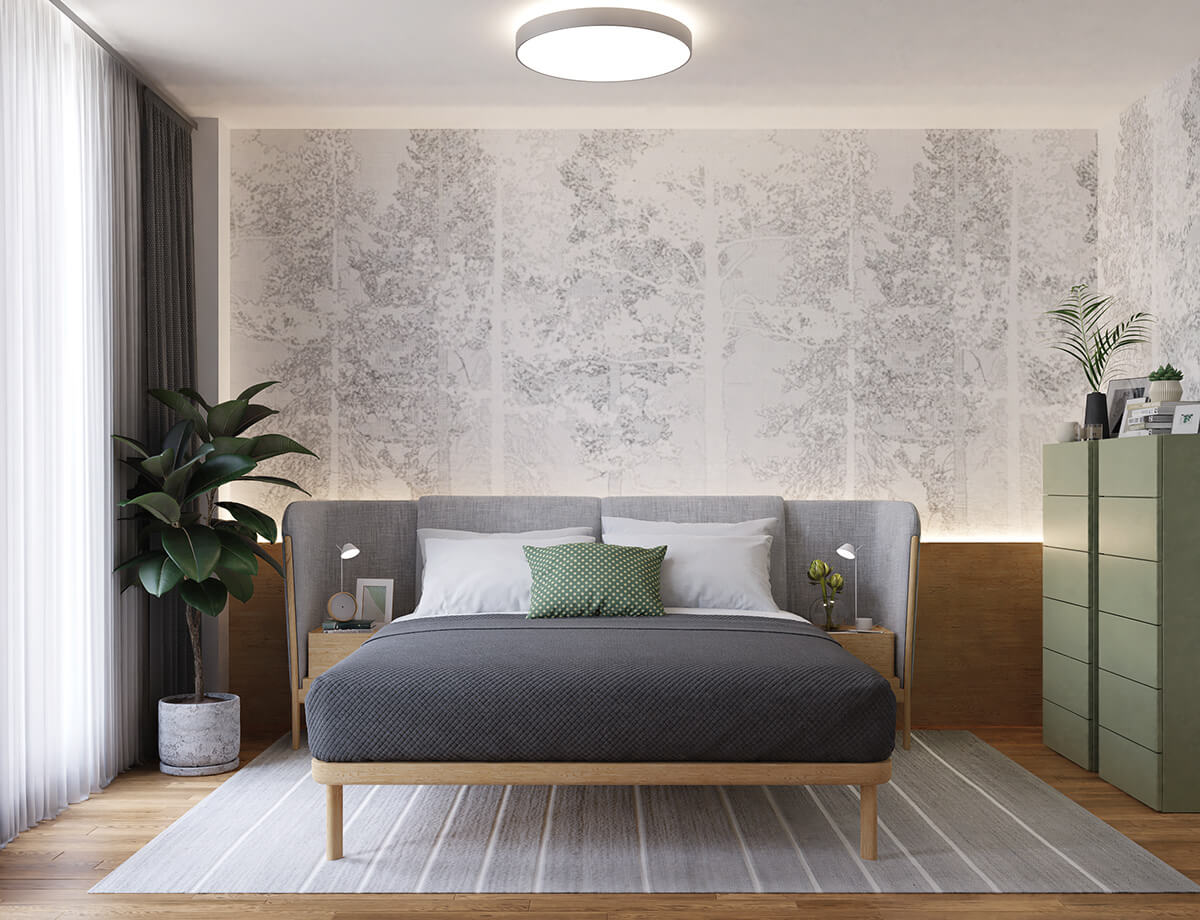
Today we have a project profile of a Flat Interior from architectural visualization artist Martin Kováčik. He has an impressive portfolio of renders on both his personal site and also Behance page.
The artist kindly agreed to share some aspects of his workflow and details about the project development. You can find more images about the project on the artist's Behance page.
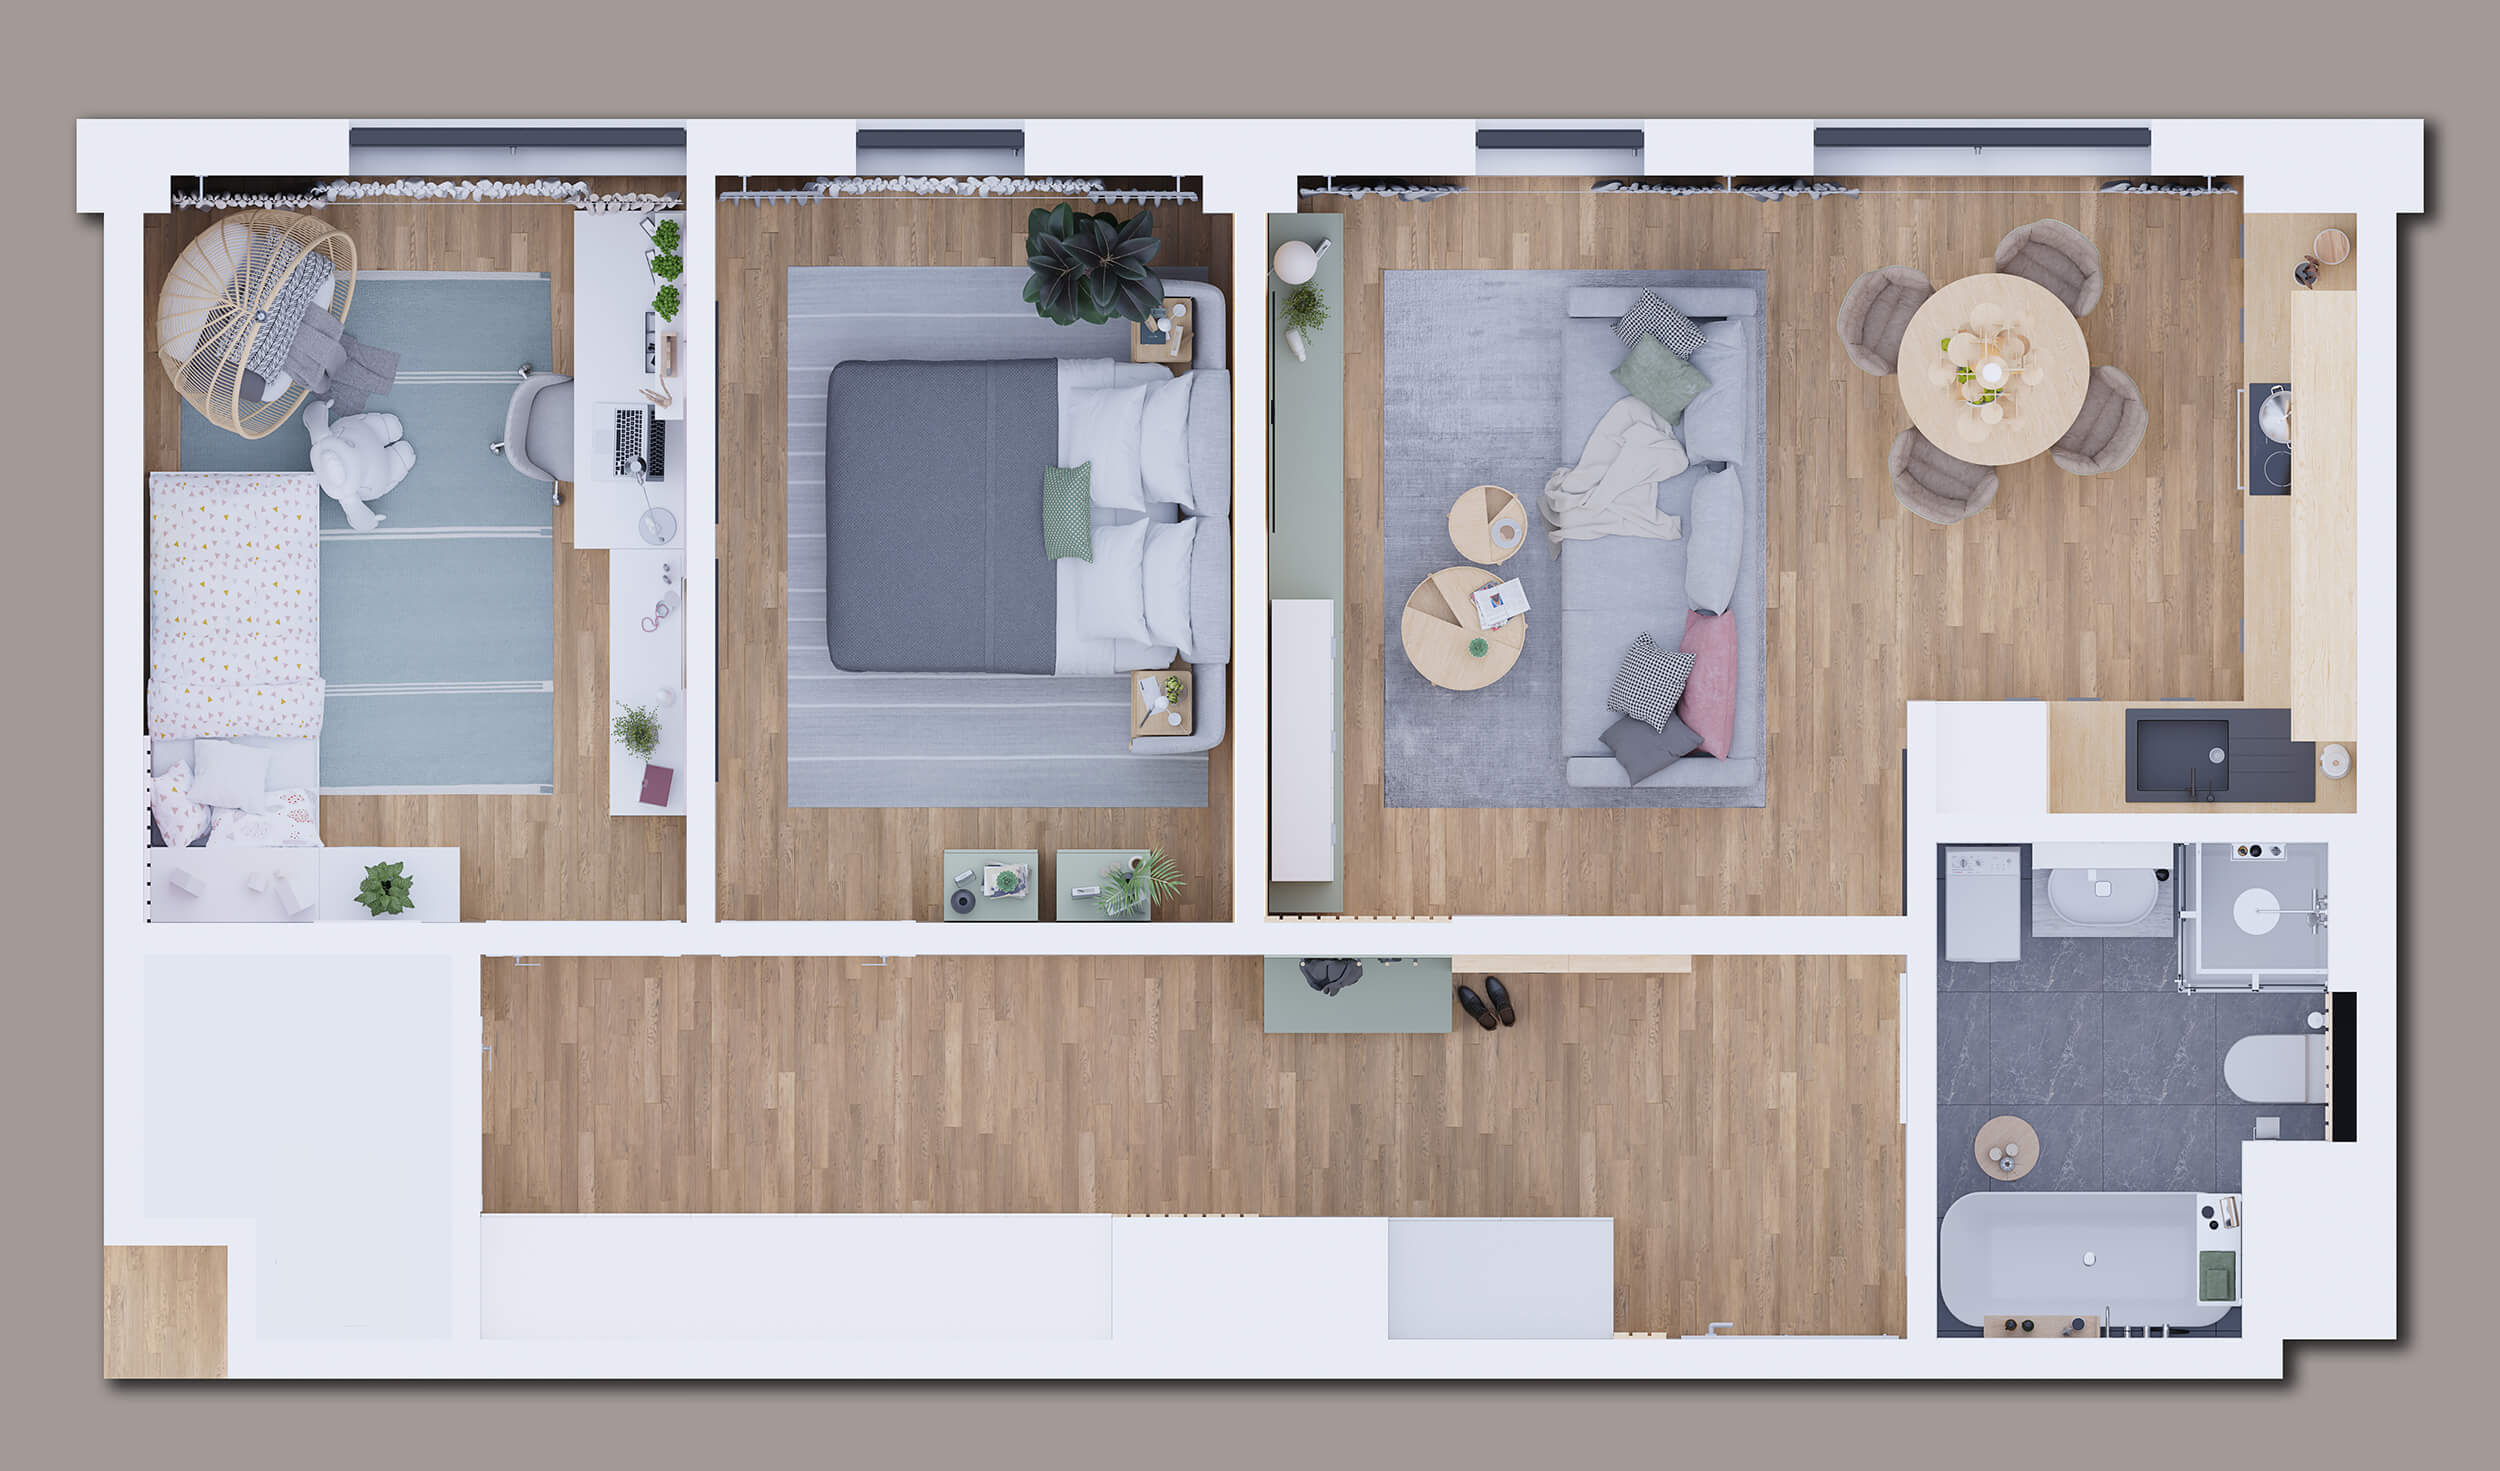
(click to enlarge)
Here is the project profile:
Was it a commercial project? What can you tell us about the motivation for this project?
Yes, it was a commercial project. I worked with an interior design studio, which is my biggest client at the moment.
Do you create your furniture models?
The design studio usually buys all the furniture needed for a project from 3DSky, which is then sent to me.
(click to enlarge)
Besides a technical reference, do you also receive specifications regarding camera framing? Or materials?
From time to time, I’m also invited to collaborate with the design. I have the freedom to suggest colors, textures, and materials that might improve a scene, but most of the design is provided by the studio.
For this client, I only work on realistic renders based on their main design. All the artistic stuff – like camera angles, camera framing, lighting, and possible color-grading is all up to me.
(click to enlarge)
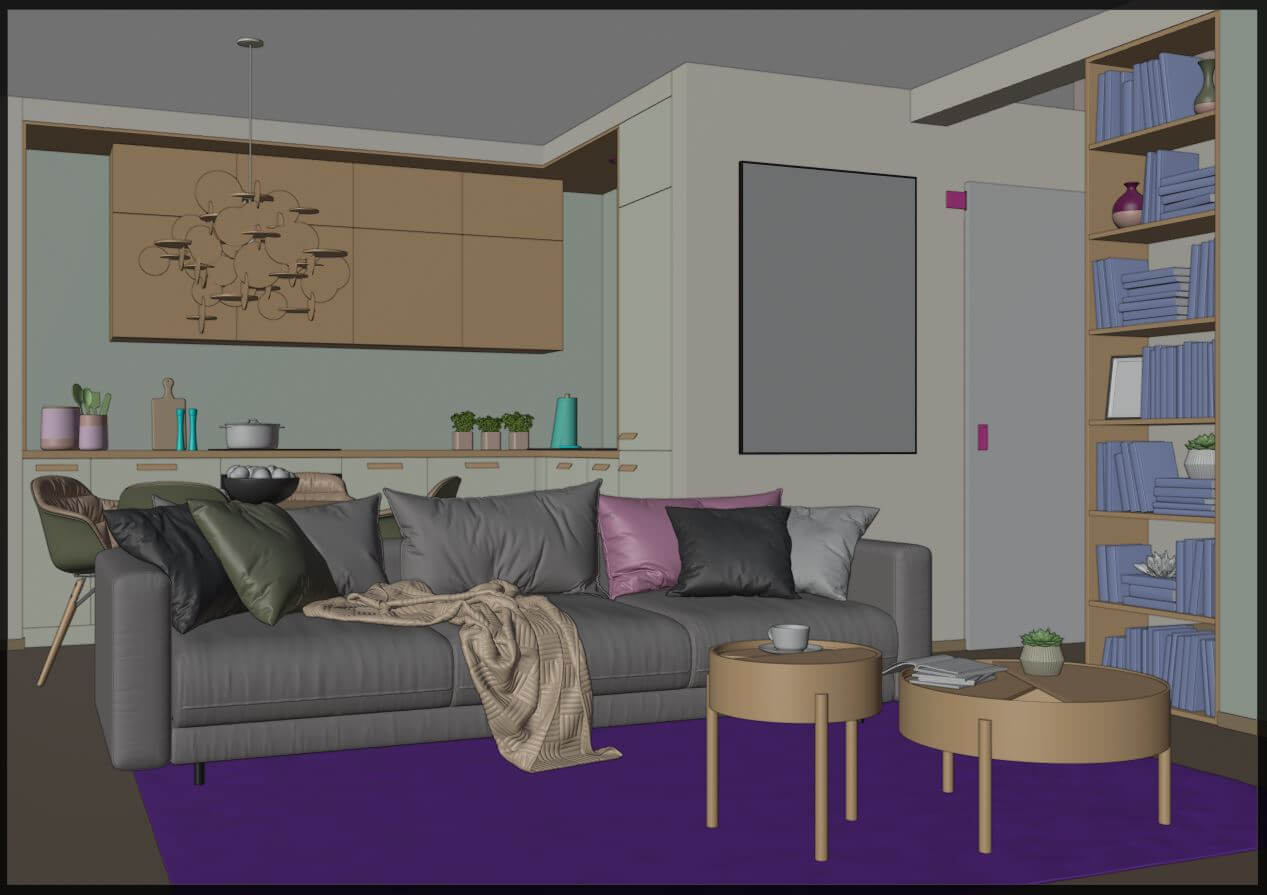
Do you receive a 3D model to use as a starting point for the modeling? Any documentation about materials and furniture?
They always provide me a 3D model (SketchUp) with the layout for each space, and I do receive detailed information about materials, textures, colors, and furniture.
Did you use any references for modeling, like technical drawings?
Yes, I use them in case the client can’t find some specific furniture model on 3DSky, and so I need to do it by hand based on technical drawings. In some cases, the models included in the main Sketchup model provided by the client are unusable due to topology problems, so I have to re-do them to get better shading, beveling, subsurf-modifiers and realistic render.

(click to enlarge)
How long did it take from start to finish?
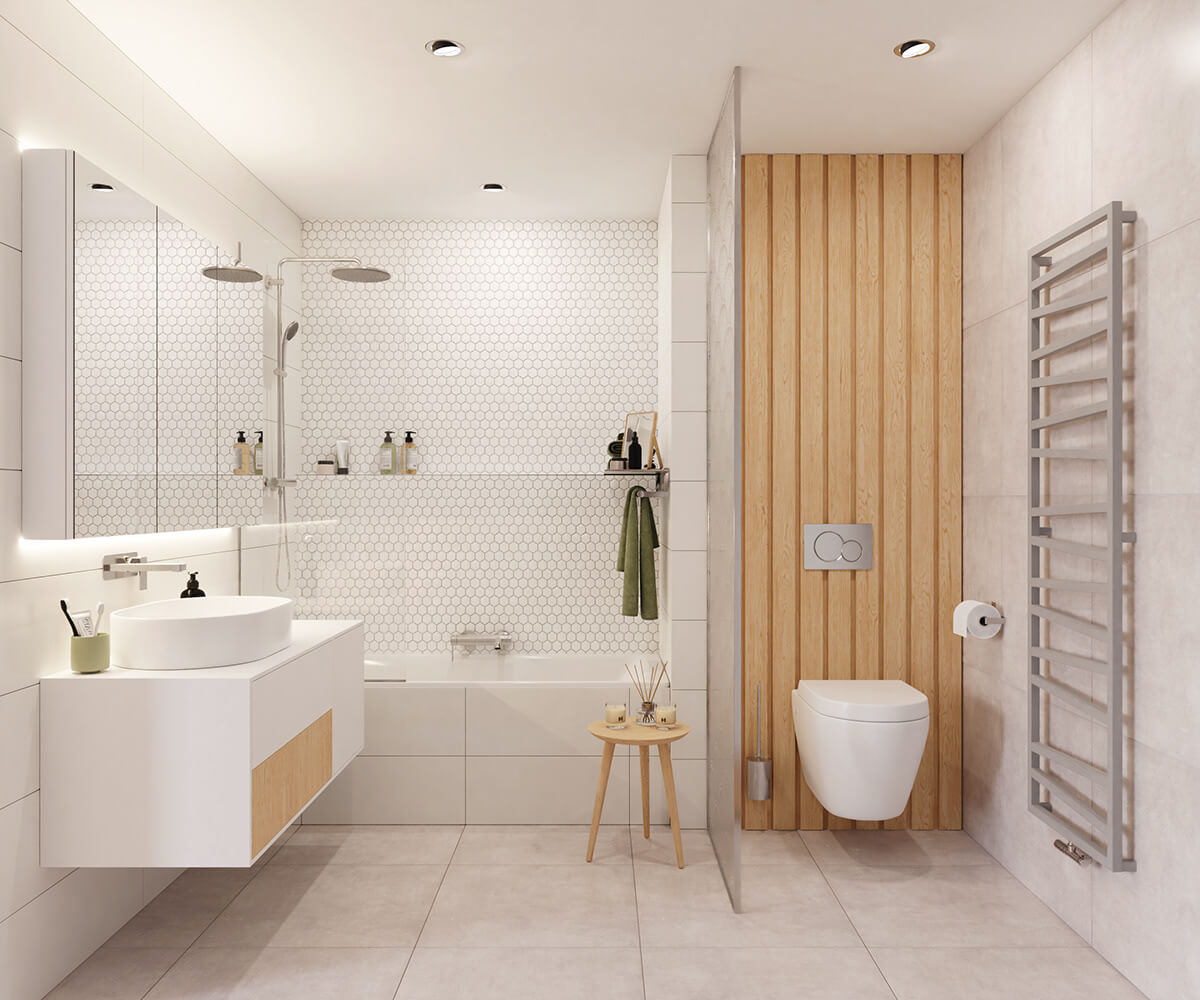
This project duration was quite based on my usual workflow because the client (after looking at the final renders) decided to re-do the bathroom completely. The client often changes his mind after the first renders, so he decided to swap some furniture pieces, or color/materials/textures during development to get better visuals.
I spend 10 full workdays (around 90 hours of work) – with all the work-in-progress and final renderings and all changes included.
(click to enlarge)
What hardware did you use to render?
I’m working on my desktop equipped with 32 GB RAM, 1x Geforce GTX 1080 Ti (11 GB), 1x Geforce GT 1080 (8 GB), and an Intel Core i7 8700K CPU.
Can you share some render times?
Each render took approx. 25 minutes to finish. I’m using 1000 samples, with a resolution of 3000×2300 and a basic Light Paths setup. To get a clean render, I’m also using the Denoiser and all the textures with a 3k resolution (I prefer Poliigon for HQ textures most time).
(click to enlarge)
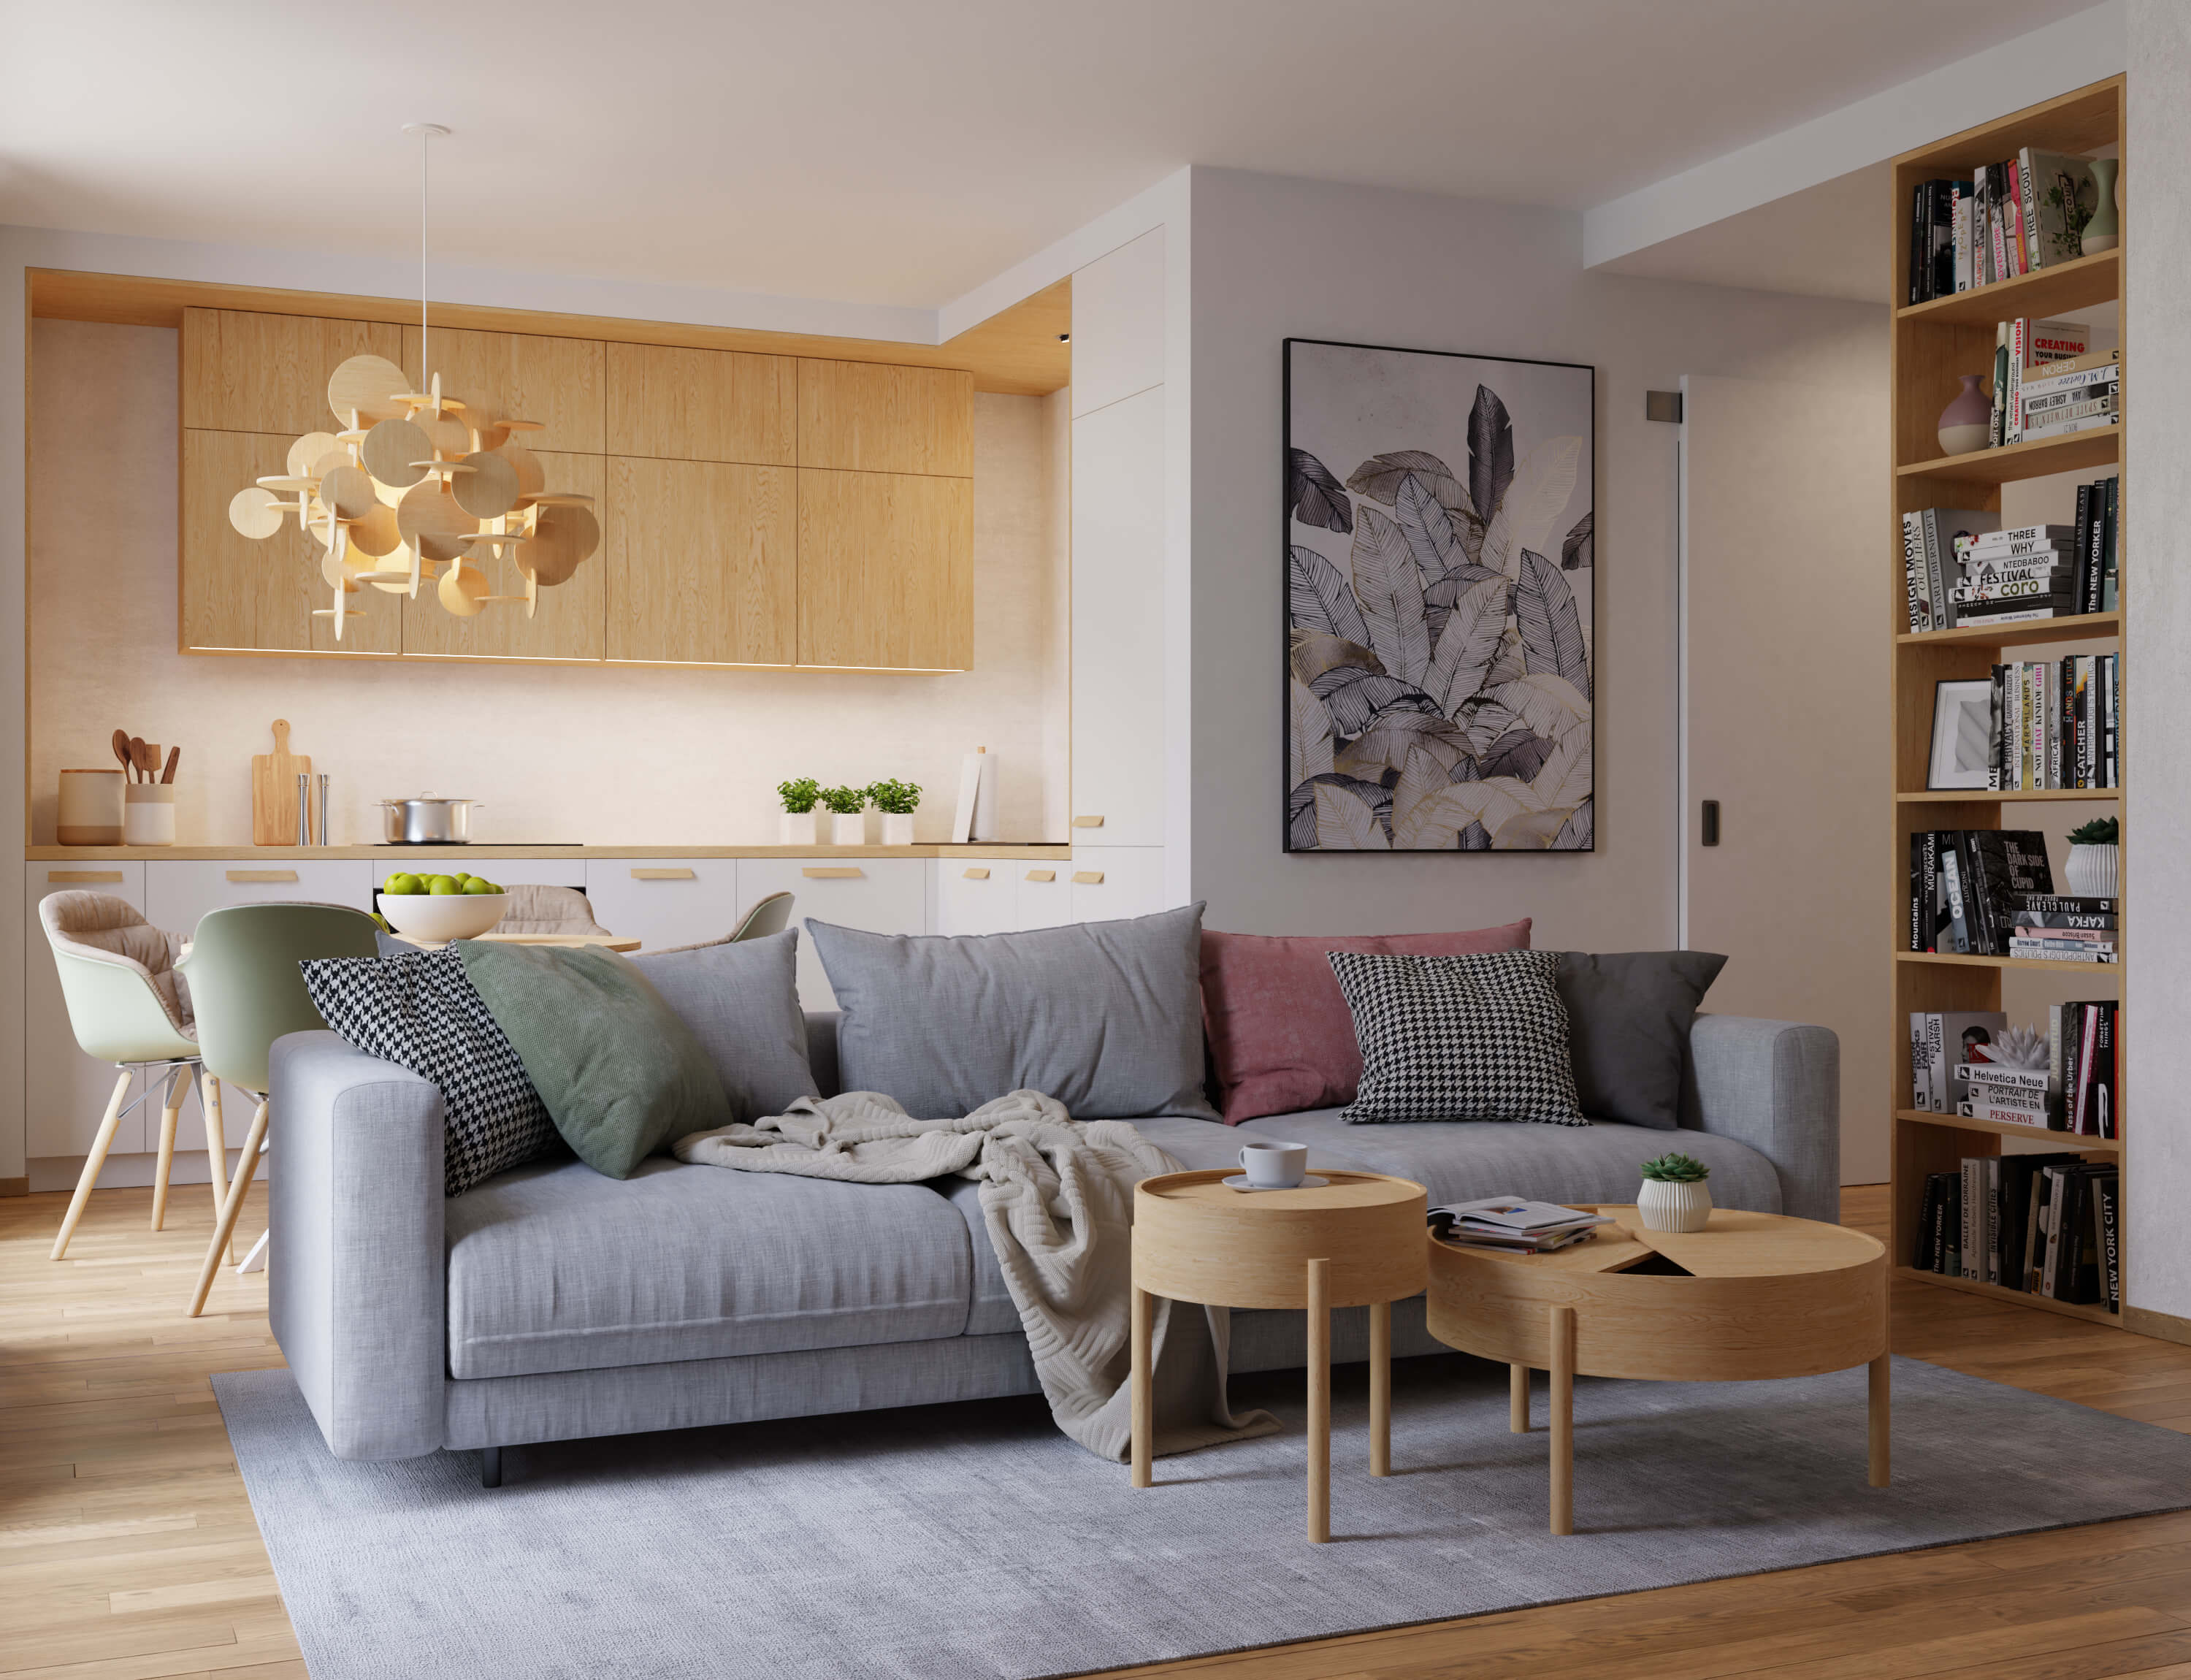
Can you share any details about the lighting process?
Lighting isn’t really complicated in most cases. For lighting up the scene, I’m always using HQ HDRI’s.
First, I preferred overcast HDRI’s, but the shadows were bit flat during my first tests, and the scene lacked contrast. Now, I prefer cloudy HDRI’s with a slight sun hidden behind the clouds. In some cases, I’m also using HDRI’s with a warmed-up-cold morning sky with a soft sun.
I’m avoiding HDRI’s shot in midday, because of the strong contrast and narrow shadows. I like subtle and long shadows that are present early morning when the sun is rising above the horizon.
About artificial lights: my client usually requests to turn on all ceiling, spots, pendants, desk lamps, and more in the project. I’m absolutely not a fan of this setup, because it makes no sense to turn all the lights on if the HDRI is providing the scene with daylight. But, since they are requesting it, I rendered all images with lights on.
After the HDRI is in my node setup, I always leave the Strength at the default value of 1.0 (Node Editor), and I rather cranking-up the Exposure in Color Management from the default value to anything between 3.0 and 4.5.
Some scenes need more light (usually small ones like a bathroom), so I don’t hesitate to bring exposure to a value of 6.5. I’m not messing with Gamma, so I leave it at the default value of 1.0.
I use Filmic for the View Transform and the Look, usually at Medium or Medium-High Contrast.
(click to enlarge)
Did you use any Add-ons or external tools to create the project?
Since I’m working on interiors, I don’t really use any specific Add-ons. Sometimes the Floor-generator for planks.
After the raw renders are finished, I always open the images in Adobe Photoshop and Lightroom for post-processing. There I can change exposure, curves, color balance, saturation, and sometimes apply some color grading if it improves the render.
(click to enlarge)
Thank you to Martin Kováčik for participating in another Project profile on Blender 3D Architect.