Customize Consent Preferences

We use cookies to help you navigate efficiently and perform certain functions. You will find detailed information about all cookies under each consent category below.

The cookies that are categorized as "Necessary" are stored on your browser as they are essential for enabling the basic functionalities of the site. ... 

Always Active

Necessary cookies are required to enable the basic features of this site, such as providing secure log-in or adjusting your consent preferences. These cookies do not store any personally identifiable data.

No cookies to display.

Functional cookies help perform certain functionalities like sharing the content of the website on social media platforms, collecting feedback, and other third-party features.

No cookies to display.

Analytical cookies are used to understand how visitors interact with the website. These cookies help provide information on metrics such as the number of visitors, bounce rate, traffic source, etc.

No cookies to display.

Performance cookies are used to understand and analyze the key performance indexes of the website which helps in delivering a better user experience for the visitors.

No cookies to display.

Advertisement cookies are used to provide visitors with customized advertisements based on the pages you visited previously and to analyze the effectiveness of the ad campaigns.

No cookies to display.

Blender 4.2: Precise Modeling Workshop
Learning Resources →

As the first step to any architectural visualization project, you have to decide wich parts of the project will get featured on your renders. A decision like this may drive all development of the project. When you don't have a clue about camera position, framing or other details about the project things usually take longer to finish.

You don't have to create all parts of your architectural model to have a well-designed scene. In fact, most artists only focus on what will appear at the final render.

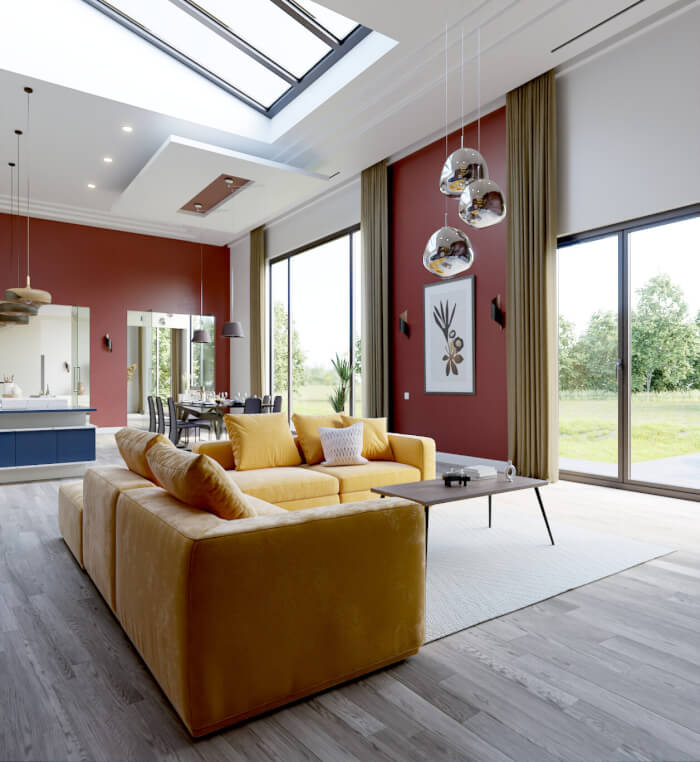
Here is an example of this type of project set up by Julio Pires and called just “Living room.” The project shows a simple scene filled with furniture and scattered objects that form the environment. If you take a close look at the composition, you never get the chance to see any other wall of window.

decorated_living_room_500px

Is there anything to the left or right of the scene? Probably not. The artist didn't post any other images of screenshots from the scene, but we can figure out that he only made the necessary geometry compose the living room. And he did that quite well!

As a final result Julio manages to keep an incredible level of quality for his work, and like previous projects all the process uses Blender and Cycles for the render.

Don't forget to visit the BlenderArtists forums to see some other renders of this project, and the artist portfolio.

Blender 4.3 for Complete Beginners (Workshop)
Previous

Blender and Octane Render: Apartment for students

Next

Reduce noise on Cycles: Free Node Groups

Leave a Reply

This site uses Akismet to reduce spam. Learn how your comment data is processed.

Check Also

Clicky