
An architectural project requires interaction with multiple people from various disciplines to get all technical details right. You have to manage woodworking, construction contractors, and more. The same applies to architectural visualization where you must work in collaboration with a company of architect designing each project.
If you also have a degree in architecture it will be a great help, because in most locations it is the only way legally sell a project. A digital artist will be a key component of any attempt to sell an idea because it will allow you to visually present the concept to a potential buyer.
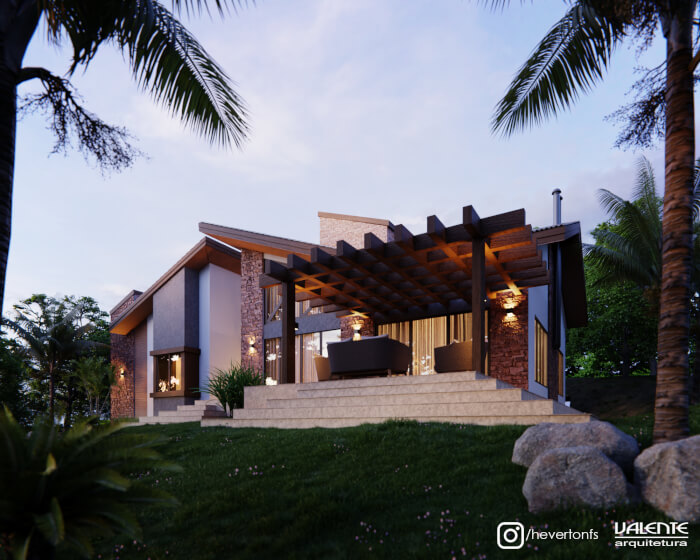
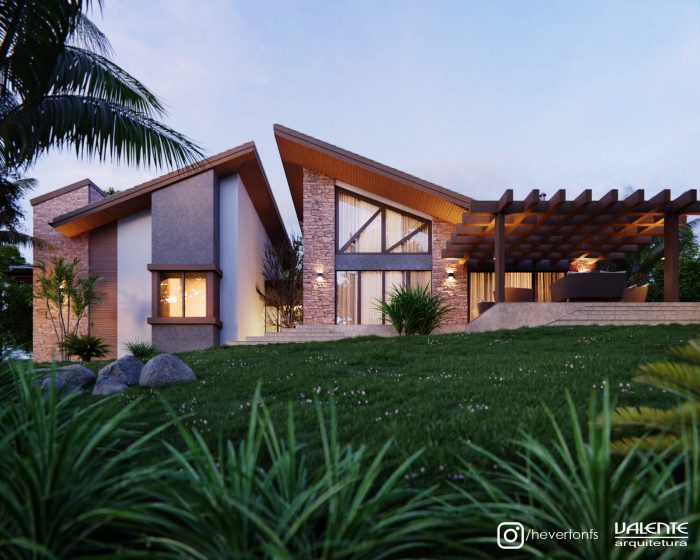
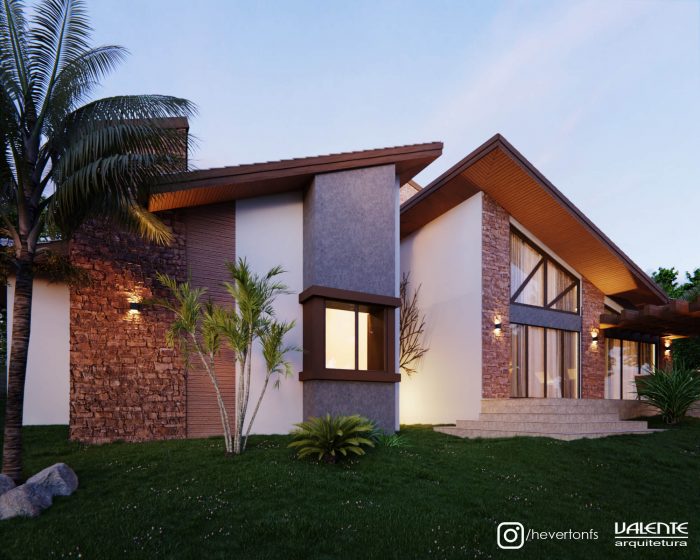
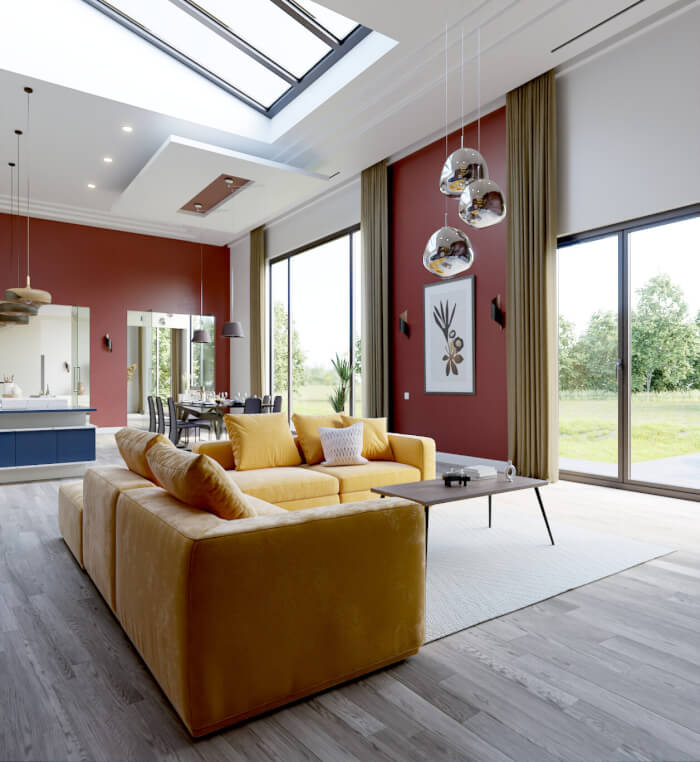
That was the case for collaboration between digital artist Heverton Silva and Valente Architecture. They work together to create an impressive set of visualization for a Modern Country Home in Brazil.
(Click to enlarge)
Today we have another project profile from this Modern Country Home. We reach out to the artist and he was kind enough to share a few details about the project.
Was it a commercial project? What can you tell us about the motivation for this project?
That was a commercial project from a couple looking for a unique house in the same region where I live. They wanted a blend of a country home with a modern design.
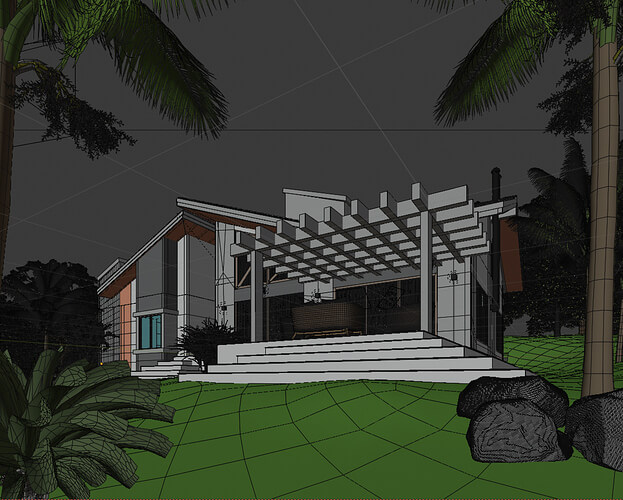
Did you use any references for modeling, like technical drawings?
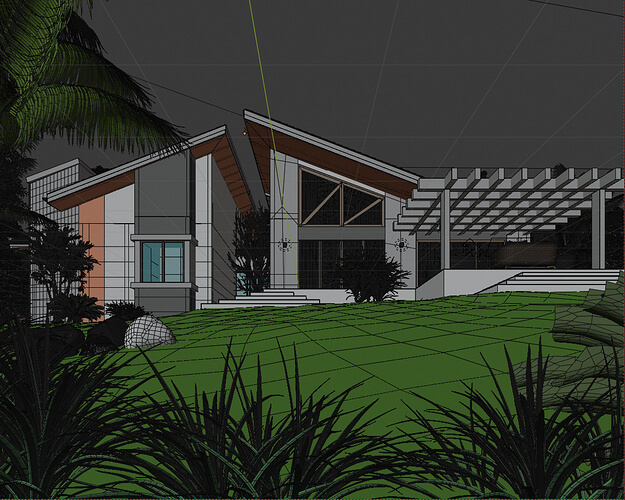
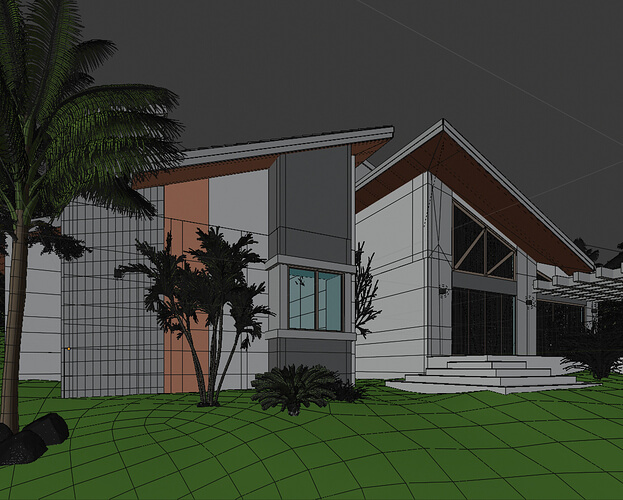
I had access to all technical drawings like floor plans, elevations, and level curves from the site. The architect gave me all references regarding lights and materials. Based on all that information I was able to start working with the visualization and got a few ideas from the architect until the final result.
(Click to enlarge)
How long did it take from start to finish?
Since the architect made several adjustments to the project, it took a lot longer than I was anticipating, something like five days of reworking and renders until we get to the final result.
What hardware did you use to render? Can you share some render times?
Each one of the final renders took about one hour and a half. I’m using a Ryzen 2600x with a GTX 1050Ti. Each render uses 1024 samples with a 2000×1600 resolution.
Can you share any details about the lighting process?
I’m using Pro-Lighting Skies with an HDRI for my main lighting and area lights for all artificial light sources in strategic locations, defined with the architect. All area lights use a blackbody with 3000K. At the exterior, I also have a few Spot Lamps with an IES profile.
In the Film settings, I changed the exposure to 4.
(Click to enlarge)
If you want to share any additional details about the project, feel free to send it!
I used a couple of Add-ons to help me with the project like the Scatter, The Grove, and Archipak. Also some trees from Maxtree and Laubwerk.
As a highlight for this project, I can point the Scatter add-on that was incredible for this project, which helped me create all grass with a few clicks.
Using Blender for architecture
Do you want to use Blender for architecture or render your projects using Cycles or Eevee? We have three books available that could help you!
They cover the use of Blender for producing architectural content and also all information you need to render projects in real-time:
- Blender 2.9 for architecture: Modeling and rendering with Eevee and Cycles
- Blender 2.8 parametric modeling: Drivers, Custom Properties, and Shape Keys for 3D modeling
- Blender 3.0: The beginner's guide
- Blender 2.8 for technical drawing
- Blender Eevee: The guide to real-time rendering with Blender 2.8
You can get them in both digital and paperback formats. By ordering those books, you will not only improve your skills with Blender for architecture but also support Blender 3D Architect.



Really cool and realistic
That is pretty awesome. and one week? It takes me a week to get a wall done.