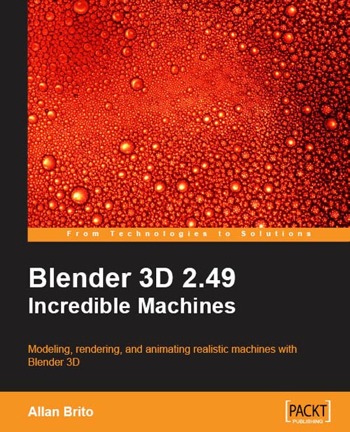
I'm very pleased to announce that my latest book project was published last week! My new book is about Blender 3D again and it's called Blender 3D Incredible Machines. This is a project in which I'm working on for the past year, and was finally able to complete the full set of chapters by the end of October. What is this book all about? I had this idea right after I finished the architectural visualization book, and it was to create a project based book for Blender 3D. All other books about Blender, at least the ones that I know, are feature focused. The chapters are dedicated to a set of tools or feature.
The main idea behind the book is to be all based on tasks to learn Blender 3D. Why is it called Incredible Machines? Well, because all three projects used on the book are machines.

It is project based because all chapters are dedicated to complete a part of the project, blending tools and other features of Blender 3D to accomplish the tasks.
During the development of the book I made a few changes to the content, covering external renders in all projects. That's right! In the first two projects of the book I choose YafaRay as the render engine to finish the projects, and in the last project the render of choice was LuxRender. So, you will know how to install and setup both external render engines with the book.
Back when I was finishing the chapter about lighting with LuxRender for the third project, I made a small video to demonstrate the results of the light setup using LuxRender Light Groups.
This is an example of the last project covered on the book, which will create the scene and models showed on the video. The light groups feature of LuxRender will create this nice effect with the light turning on and off, along with other effects such as the change of the light temperature and intensity.
You don't need previous knowledge of the Blender to follow the chapters, since I consider that you are starting from scratch. If you want to know more about the book, visit Blender 3D Incredible Machines at PacktPub web site.


Congrats Allan; looking forward to read your work!
Looks very cool, man, bravo!
Its on my Christmas list!
Can’t wait!
E Livros na nossa lÃngua natal? não se esqueça de nós Allan…será q podemos esperar o Guia do usuário blender 2.60?
It looks fantastic! I’ve already ordered it.
Allan pretende lançar em PT-BR???
😀
Allan, pq não em portugues? E mais, há como conseguir um exemplar diretamente por vc ou em algum lugar onde não precise pagar a importação??? Moro perto, em João Pessoa.
Contudo, parabéns pelo seu trabalho e competencia.
Hi Guys,
I really appreciate the complements.
Why not a brazilian portuguese version? Well, for artists that speak portiguese, I have two titles on production in portuguese. Both dealing with Blender 3D, and of course I`m updating the “guia do usuario”.
Be patience, until the end of the month 😉 Trust me, it will worth the wait.
how about a free dittribution for biggners like me?
(Cause i got no money but like the book)