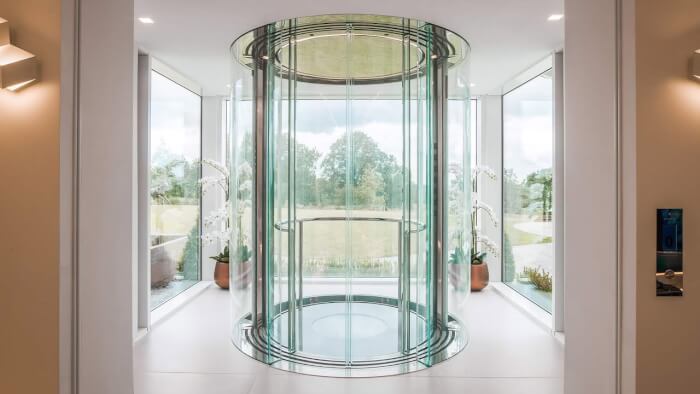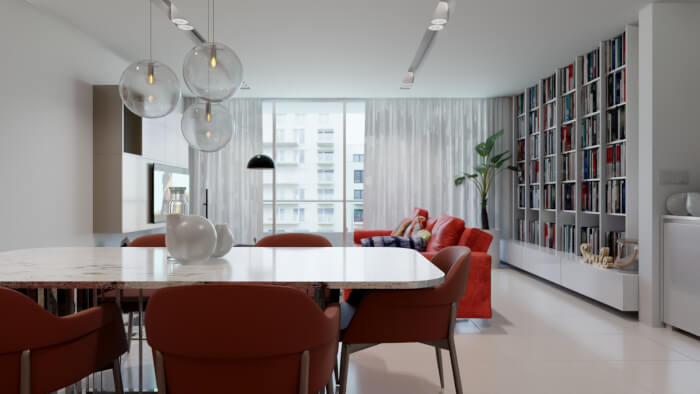
One of the most common animations we use for architectural visualization is the walkthrough, which can take the viewer along the project. Another type of animation that architects often ask for is the so called growing animation. In this type of animation we can show all elements of a project, growing from scratch and things will be mounted on the screen. It’s a nice way to make presentations, especially of you want to explain the project in several parts, or want to create sections to include technical details in presentations.
Last week I saw an interesting tutorial posted at the Blenderartists forums that could help architectural visualization artists, to create growing animations. The tutorial was posted by a user called vklidu and is available in MP4 format. The technique is quite simple to use and works with a combination of a blend texture and node materials. If you want to take a look on the results applied to an architectural project, the video below is a quick test with the technique described on the tutorial:
Architecture growing animation test from Allan Brito on Vimeo.
The technique is quite simples to use, and all we have to do is setup a blend material, with two colors, where one of the colors is completely transparent. Set the texture to affect only the Alpha of the material and we will have an object that will only be rendered with half of his shape transparent. To be able to control the exact point where the transition from opaque to transparent happens, we have to set the texture to use the coordinates of another object, which could be an empty or a plane. In the tutorial a plane is used, but an empty works too.
If you have already used any image editor or software with the ability to create layer masks, the technique works in a similar way. The mask will be controlled here by the
There are several types of animations for architecture that we can create with small variations of this technique. For instance, we can apply the material setup to furniture objects at a room, and show one by one, with the addition of text to describe the furniture.
It’s only a matter of putting your imagination to work!


Great post, is there way to use this with yafaray or luxrender? I wish there was but I dont know that I would be able to…
Thanks for the great blog.
yeah right 🙂 more !
In the artical above in the 3rd to the last paragraph in the last line you make the following statement…
“The mask will be controlled here by the”
?????
Can you elaborate? As I am lost as to what you are saying.
Thanks in advance