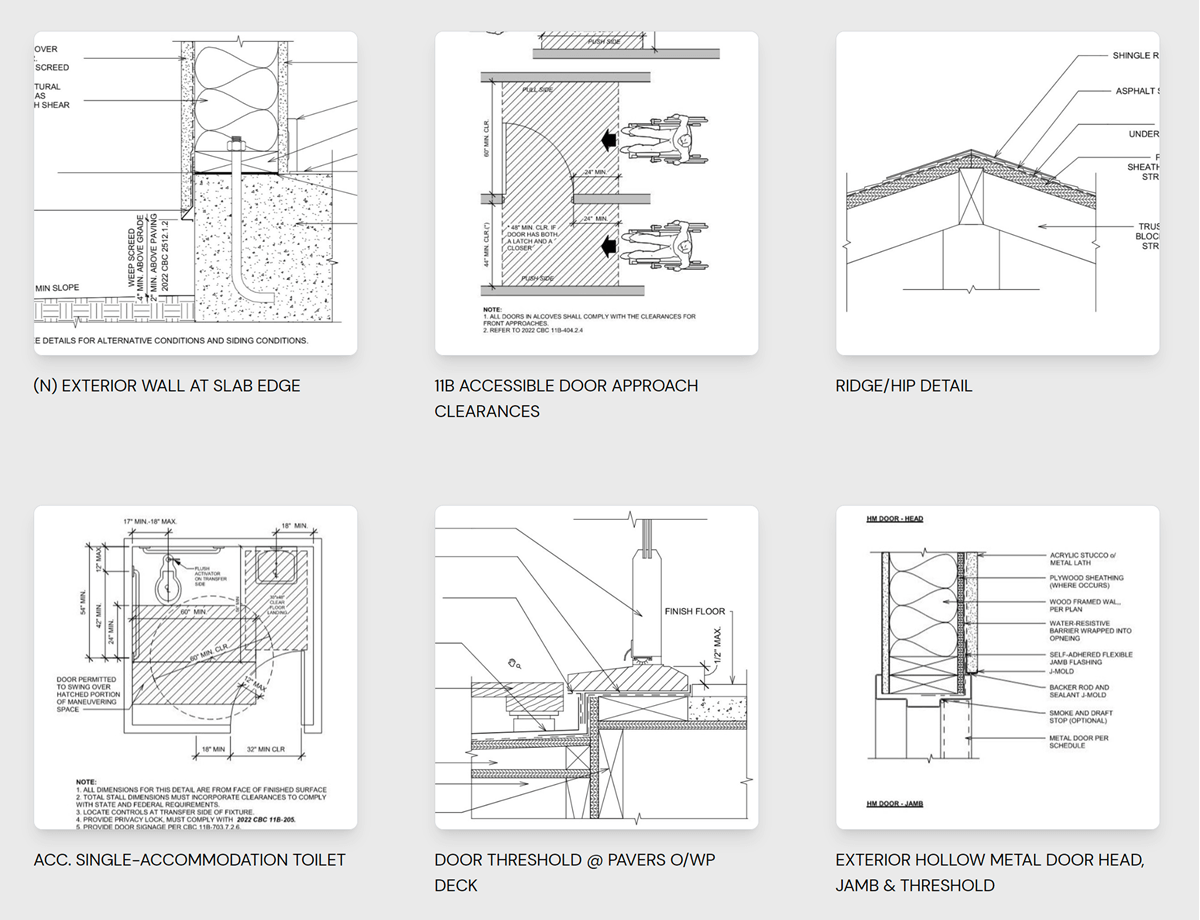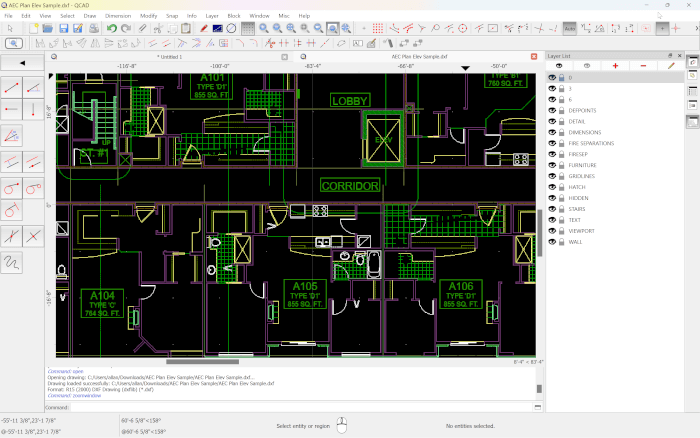
If you work with Blender to create architectural models, there is a high chance that, at some point, you will receive CAD data to speed up a project. From that CAD drawing, you can quickly start building walls and architectural elements without the need to enter dimensions. By using the snap option, you can easily grab key points in a drawing to place yours extrudes.
However, you must import that CAD data to Blender first. Even with a native Add-on that can import DXF files to Blender, a few artists still struggle to manage that data after an import.
Last week, we received a message from a fellow architect seeking help with a DXF import. After importing the DXF data, you might not see your drawing in the viewport, which might give you the impression of a failed import. One aspect of CAD data that you must keep in mind before importing is that your drawing might be far away from the origin point.
For instance, when you start drawing in a CAD tool, it is common, to begin with, a line or polyline representing a wall. Do you know the absolute coordinates of that line? Is it close to the scene origin (x: 0, y: 0, and z:0)?
If you don’t have any idea about the coordinates, it most likely is far away from that point. The problem, in this case, is that Blender usually shows us the origin point first, which is the place where the “default” Cube rests.
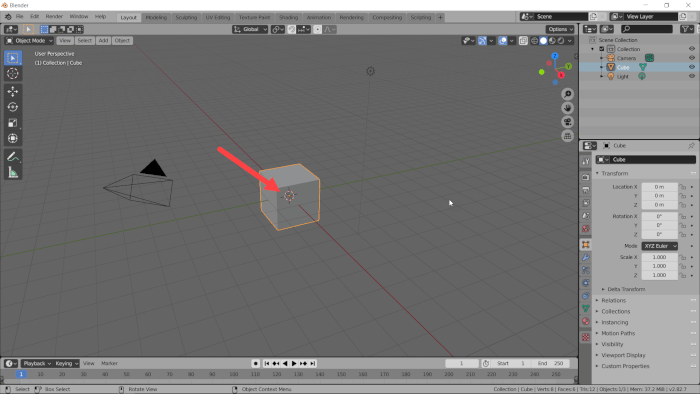
Do you want to see an example? Here is a typical “problem” with a DXF import. You can go to the File → Import → AutoCAD DXF menu and pick a DXF file (You must enable the Add-on). Load it to Blender, and apparently, nothing will happen. Not even an error message.
You will only see the default Cube, in all his glory, and no drawings from the DXF file. What should you do? Where is the drawing?
A good indicator that your data is in the Blender scene is your Collections. If you see the names of your layers from the CAD file there, it means that your drawing is somewhere in your scene.
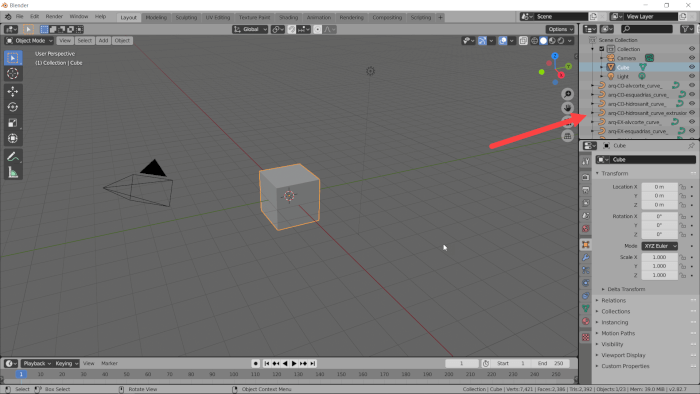
A good way to “investigate” a scene after importing CAD data is by using the View All option:
- You should select all your objects by pressing the A key in Object Mode
- Press the 7 and then 5 keys in your numeric keyboard. Or use the View menu to set your view to the Top with an Orthographic projection.
- Press the Home key in your keyboard or use the View → Frame All menu.
By doing that, you will probably have a glimpse of your entire scene. Look at the image below to see how far our CAD data is from the default Cube.
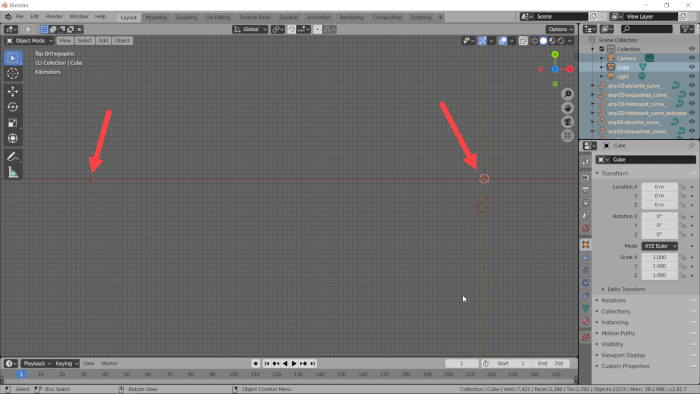
You can easily magnify that region with the SHIFT+B keys.
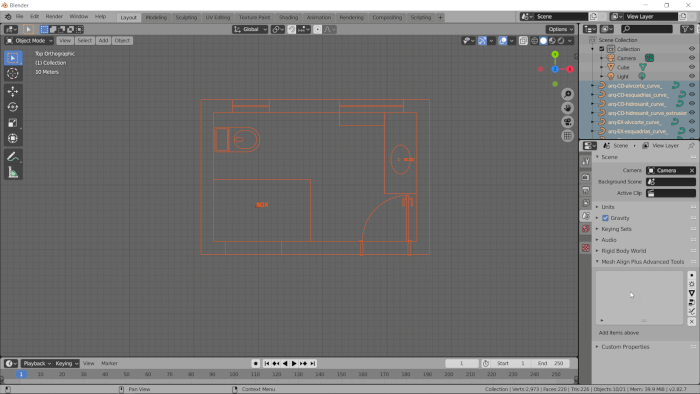
And there, you will be able to manage and edit your CAD data to start modeling. Always follow those simple steps if you are uncertain about your CAD data import process.
Using Blender for architecture
Do you want to use Blender for architecture or render your projects using Cycles or Eevee? We have three books available that could help you!
They cover the use of Blender for producing architectural content and also all information you need to render projects in real-time:
- Blender 2.9 for architecture: Modeling and rendering with Eevee and Cycles
- Blender 2.8 parametric modeling: Drivers, Custom Properties, and Shape Keys for 3D modeling
- Blender 3.0: The beginner's guide
- Blender 2.8 for technical drawing
- Blender Eevee: The guide to real-time rendering with Blender 2.8
You can get them in both digital and paperback formats. By ordering those books, you will not only improve your skills with Blender for architecture but also support Blender 3D Architect.

