The project profile series of Blender 3D Architect is a collection of articles with the aim of feature projects related to architectural visualization. We invite talented artists to share additional details about each project to demonstrate how they approach each stage of the process. And also allow each author to publicize their work among our readers.
How does it work? It is like an interview, where we sent a couple of questions about a project for the artist.
If you want to check previous project profiles, visit this link.
Today we have a residential visualization from artist Jérémiah Ravry
, which used E-Cycles to render both exteriors and interiors of this project. The project title is A45/BIG, which uses a real residential project from the architects at Bjarke Ingels Group.
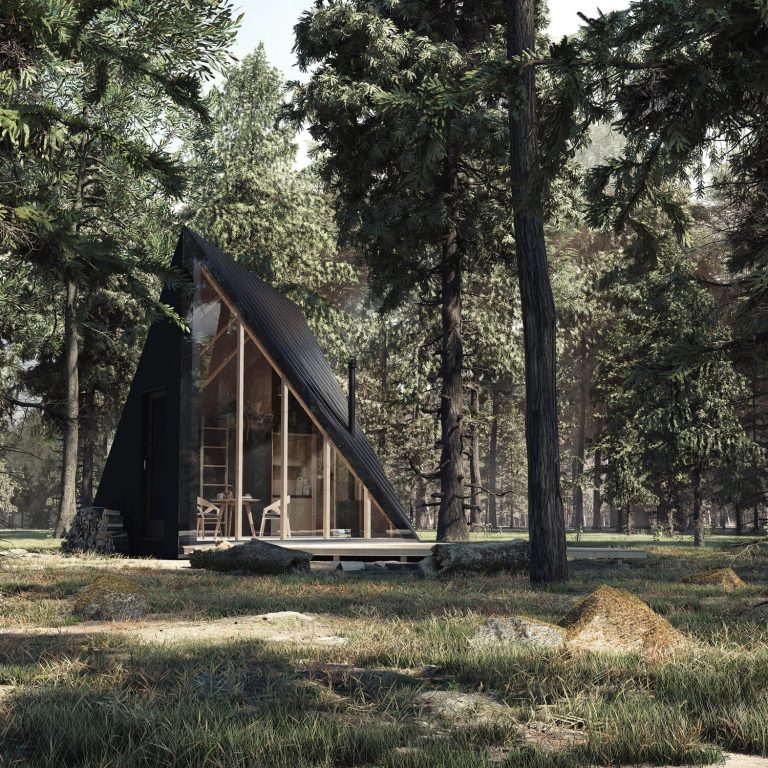
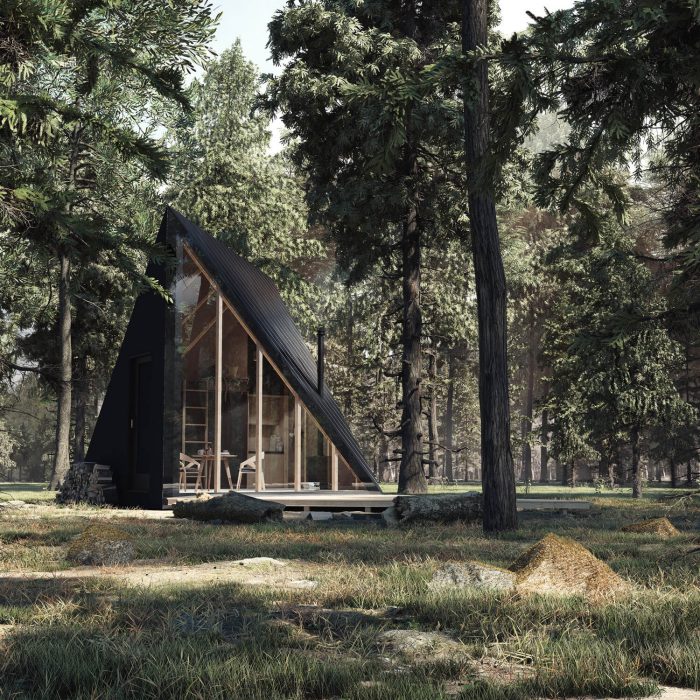
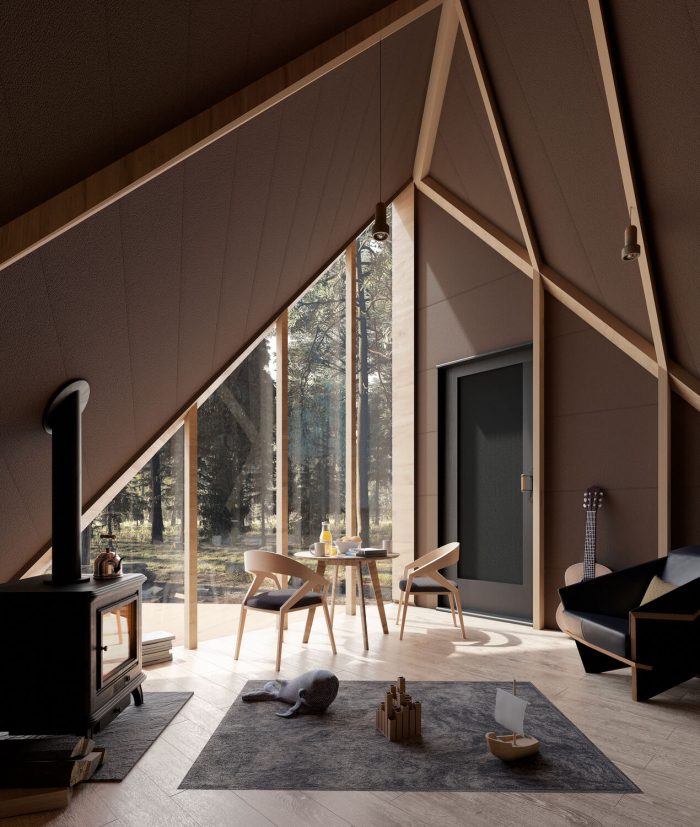
What is unique about this project? The residence itself is unique with a small size (17 m² / 182 ft²) and a unique location in the woods of Shandaken, New York. Besides all the great renders from that project, the artist creates a beautiful environment with lots of vegetation and trees.
Let me thank Jérémiah Ravry for sharing the details about the project with Blender 3D Architect readers.
Was it a commercial project? What can you tell us about the motivation for this project?
I wanted to try a scene with a lot of vegetation. The “cabin” in architecture is trendy, so when I saw the work of BIG, I thought that would be a good start.
Did you use any references for modeling, like technical drawings?
Yes, the one you can find here : https://www.archdaily.com/894941/a45-big/
Did you model everything in the project, including furniture and props?
Not at all. I reused some of the assets of an old scene (Swiss Chalet). I’m still bad at modeling in Blender. So I’m using a lot of assets gathered around the web, except the cabin itself.
What can you tell us about the interior design (Layouts, materials, and props)? Did you have to create it yourself?
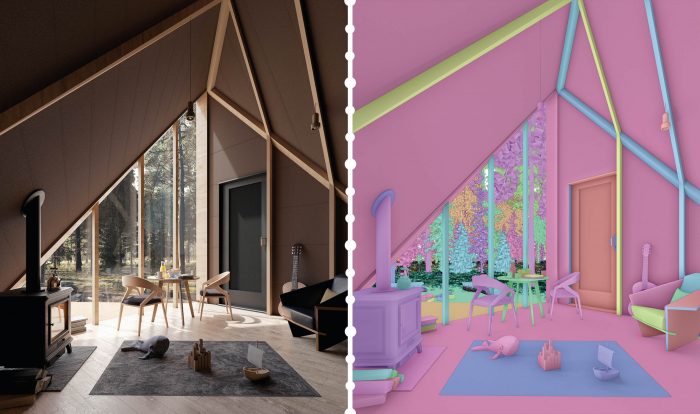
I took inspiration from the photos of the project, then I put my stuff in it, select a few ranges of colors and match everything together. For materials, I always use a texture base, modified to match my will. I usually don’t have to create textures from scratch.
How long did it take from start to finish?
I first started to model the cabin in late 2018. Then I was busy doing something else, I began working on it again near November of 2019, and I finished the renders by 10 May. It always takes too long when you don’t have a deadline.
What hardware did you use to render? Can you share some render times?
CPU : i7 8700K / GPU : Nvidia Geforce GTX 1080 Ti / RAM : 48 Go
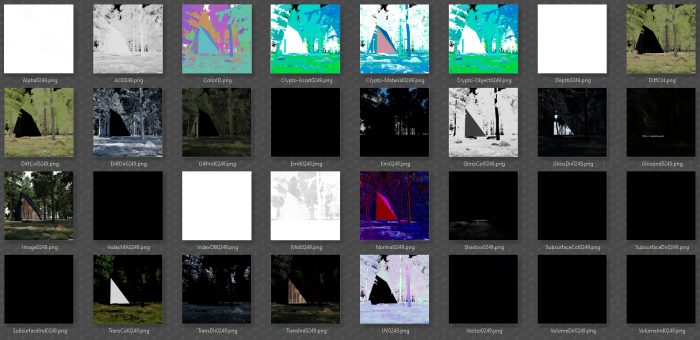
I don’t have the exact time, but I’m sure the first render took 4 hours. The second one took 4 hours too. The last one was made in 2 parts, so it took 1-hour exterior, 1-hour interior.
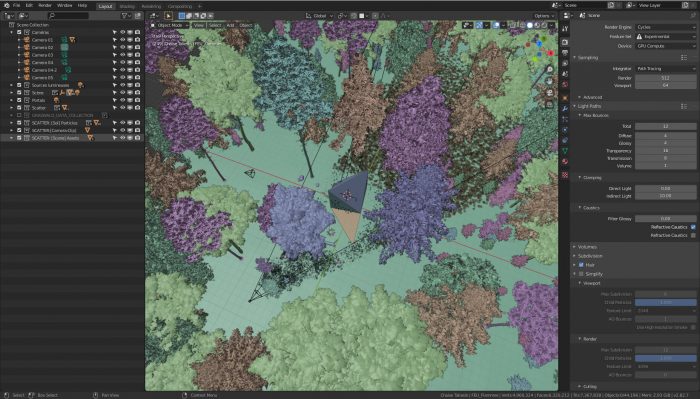
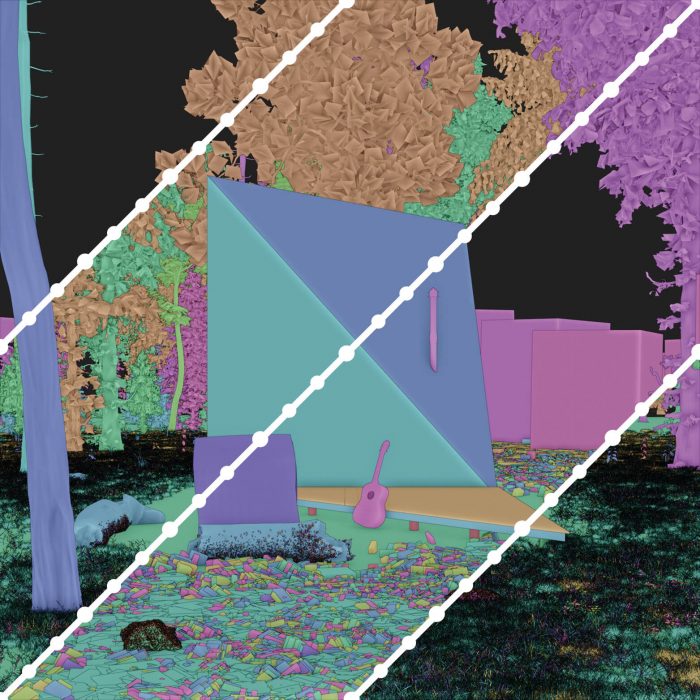
I used E-cycles for each render. What makes a huge amount of memory is the displacement with the Adaptive Subdivision modifier. That was the peak of memory of each render. I reduced the values of adaptive division to 2.5; otherwise, it crashed.
Can you share any details about the lighting process? Do you use the same models for exteriors and interiors?
For exterior lightning, I’m only using Pro-lightning skies from BlenderGuru. In the beginning, I got a few photos of references, and I tried a few skies, settings until I have what seems to be the best result.
For interior lightning, the same thing, I wanted the exterior light to shine inside, so I boosted up the values and removed the glass. Then, I just remade a little render with glass to get the reflections
It’s the same model for each render. The only thing that moves is the furniture inside if you look closely at the first and last render.
How was the experience of creating composing multiple pieces of vegetation for the exteriors?
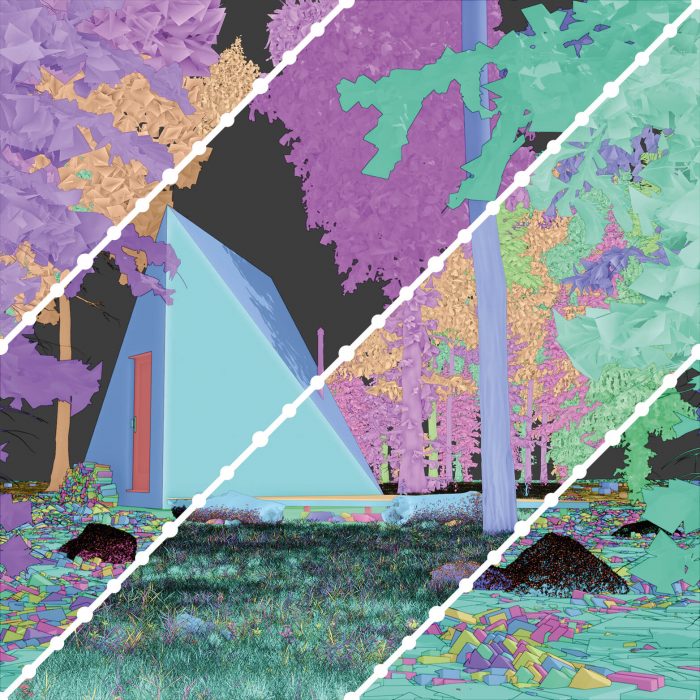
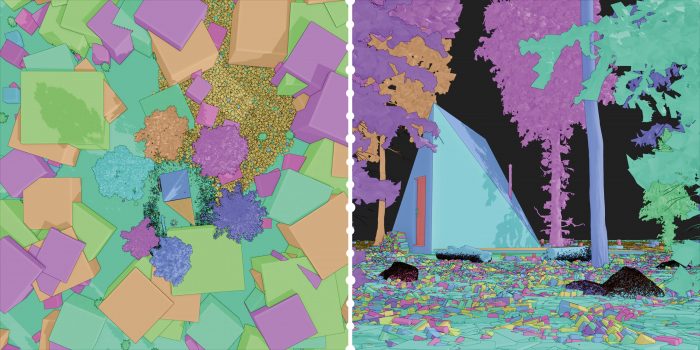
It’s very hard to compose vegetation. My first tests were not great, and it took me a few days to get a good result. Every time I failed, I drew on the render, trying to figure out what’s not working and tried again. After a few tests, I managed to get something that looks good. I think that’s a process I will be doing every time, maybe more quickly.
Did you use any Add-ons or external tools to create the project?
Yes, Pro-lightning Skies, Graswald, Scatter, E-cycles.
Some extra details about the project:
- I’m working on assets on a separate file, and then I link them into my model. But Scatter won’t work that way, so all of my vegetation models are in the main file. Since I can’t hide them (Or can I ?) or they won’t render, they are all below the ground.
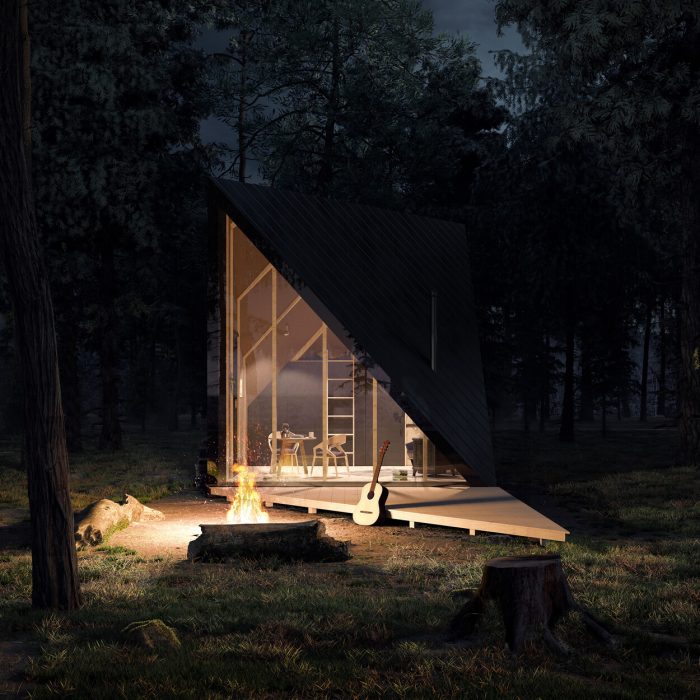
- I’ve made a special fire simulation for the second render, then I rendered the result and used it as a texture. And in the end, I photoshopped all over it because it wasn’t good enough.
- The approximate size of all my scene files, main and linked is 1.1 Go
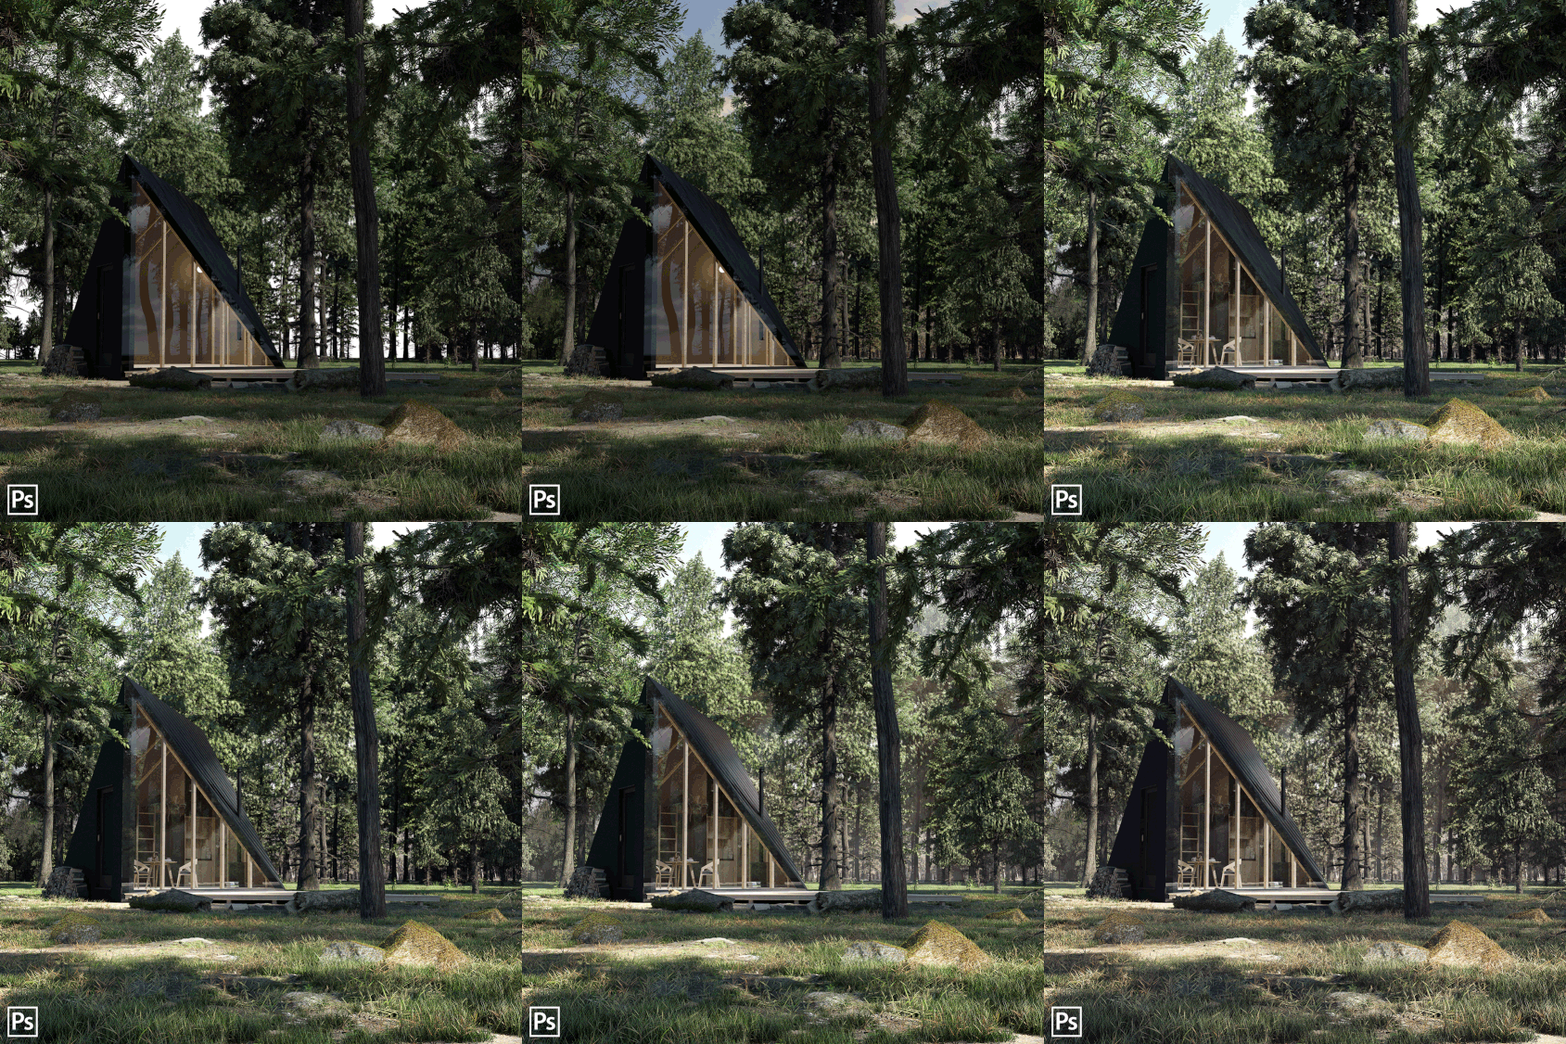
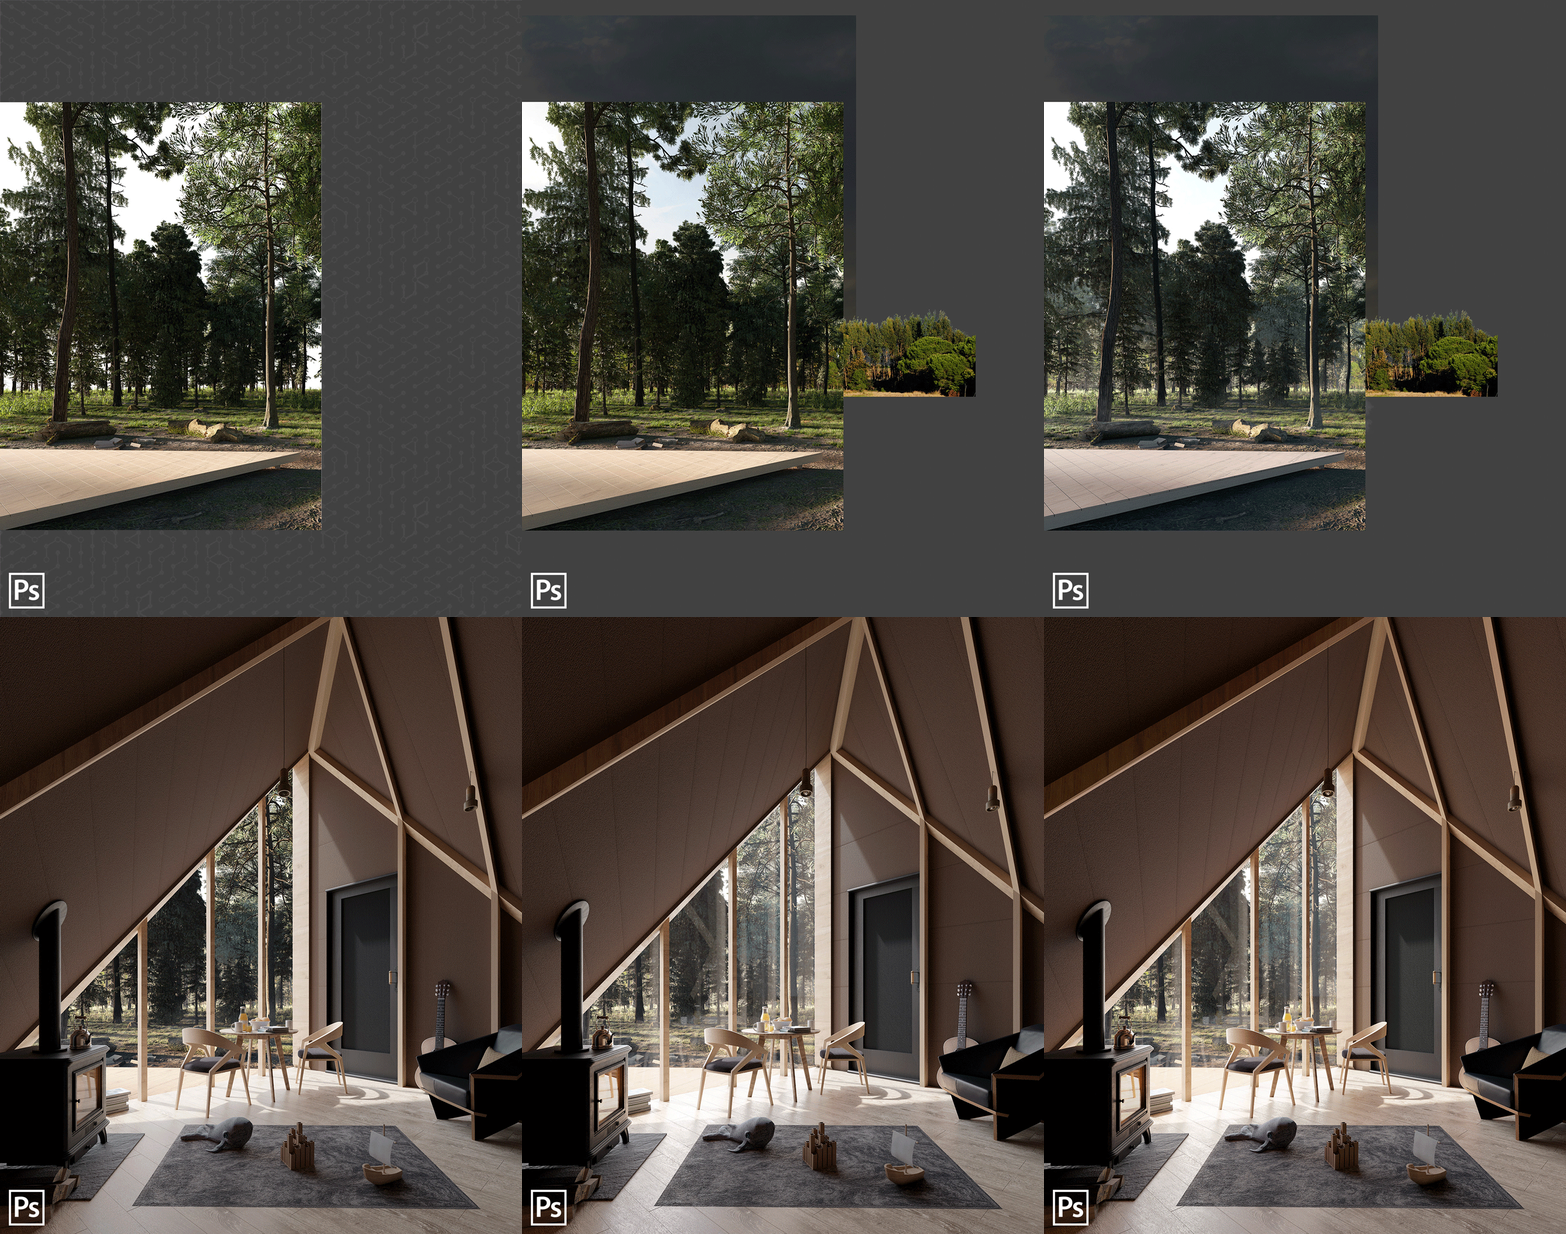
- Post-production is everything. The Colour management of a picture makes a huge difference in quality. Someone posted this tonight: Open-air bathroom with plenty of greenery. He made a video of the photoshop work. The difference with/without it is crazy.
Thanks again to Jérémiah Ravry for sharing details about his work. Visit his portfolio page if you want to reach him or see more of his projects. You can also view his projects on Facebook. To contact him directly, you can use contact (at) jeremiahravry.pro.

