
I was reading an interesting article last week, about the importance to know and use the camera settings of a renderer or 3d software to adjust the light of a scene. The tutorial was all written for adjustments on 3ds Max camera using Mental Ray, but immediately I realize that this could be a great subject for an article. This is the kind of subject that every architectural visualization artist should know how to deal with. I always say to my students that a background in photography will add a great value to all projects related to architecture. Besides, our job is to take snapshots of a virtual environment.
For instance, when you setup a scene and at the rendering you find out that it's too dark. What's the first thing to do to fix it? Increase the power of all light sources? Maybe, with only a tweak in settings like exposure or the film ISO of the camera would be enough to fix that.
And to show how we can do that in Blender 3D and LuxRender, I decided to make a small demonstration on how to use those parameters. First of all, when you try to render a scene with LuxRender, it will by default choose Reinhard / non-Linear as the tonemapper. We have to change to Linear to be able to use and adjust settings similar to the ones in real cameras. The tonemapper can be switched at LuxBlend or directly in the LuxRender while the image is rendering.
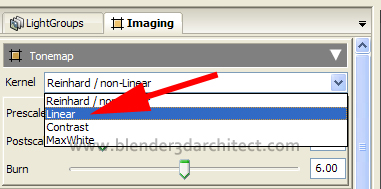
When change the tonemapper we will have a change on the settings available for the tonemapper. Here is what each one will do compared to real cameras:
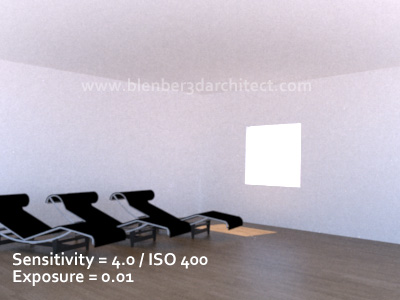
Sensitivity
This value controls the film ISO, and by what I could notice it's an index. For instance, we can compare an ISO of 100 with a Sensitivity of 1.00.
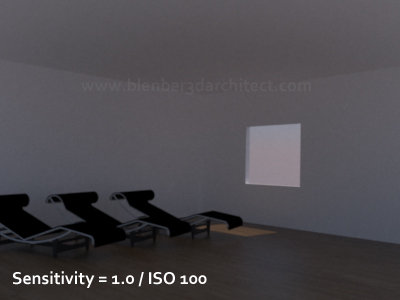
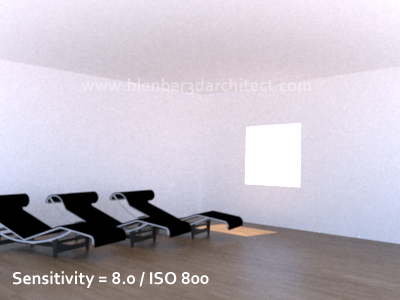
Exposure
Exposure duration in seconds. High exposure times produce a bright image.
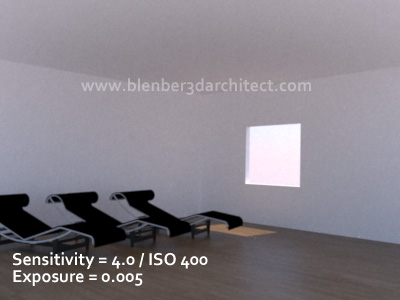
FStop
Aperture of the camera. Low values mean a wider aperture, which will make the camera more sensitive to light.
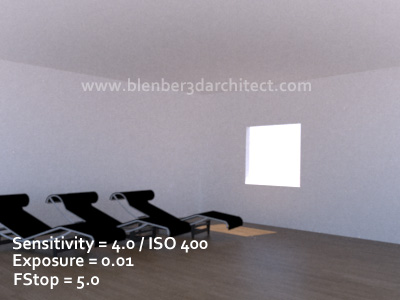
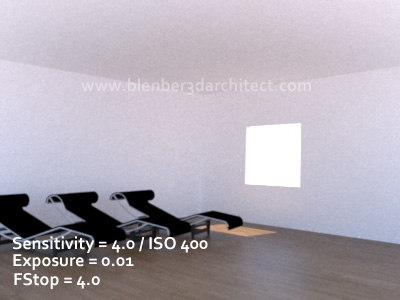
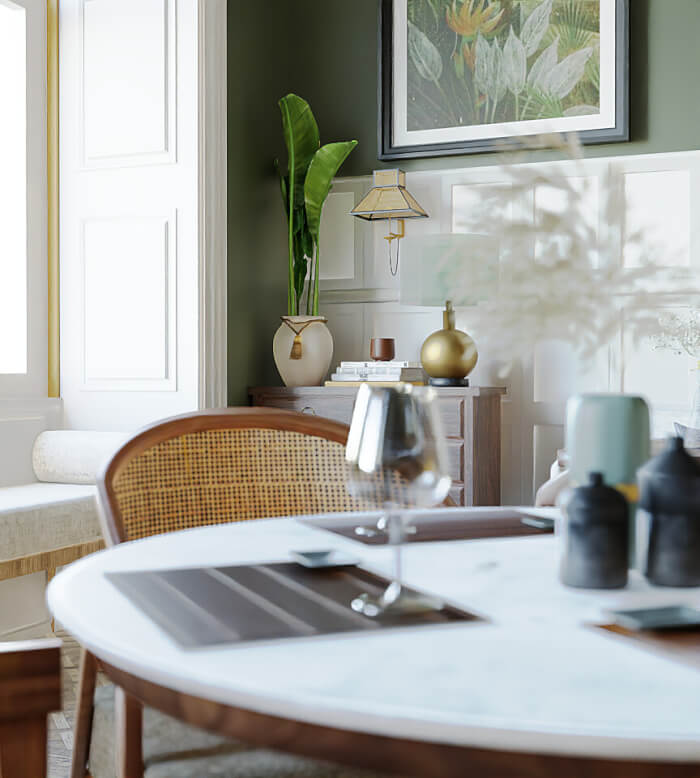
As we can see by those images and descriptions, it's quite important to know all parameters available in real cameras to tweak and change the way our scenes will be rendered. For architectural visualization artists using Blender 3D and LuxRender, it will be only a matter of change the tonemapper.


Great, I was just messing with this last night trying to get IES lighting examples of my under construction kitchen to a point where I could compare a couple of lighting design possibilities. This will be a great reference, along with the IES lighting post, as I continue this work.
hi there!
could you post the link of the first article you read?
Good article. Appreciate the pictures, they help to demonstrate the settings well. Now, if I only knew the first thing about photography…