3D Cursor: Your best friend in architectural modeling
For artists that are migrating to Blender from applications like 3ds Max and SketchUp, Blender might seem different. Some people will complain about the interface and the excessive use of keyboard shortcuts for everything.
But, after a few weeks working with the software, most people will feel more productive and make 3d models faster with keyboard shortcuts.
The learning curve is hard at the beginning, but once you pass the first hours things will go smoothly.
A lot of artists are adopting Blender, as their primary application to create an architectural visualization. We decided to talk about a core concept from Blender, which makes some people confused when they start Blender for the first time.
The 3D Cursor. That little crosshair icon, which appears at the center of your scene.
For most people, the 3D Cursor is the first Blender entity that they will interact. Why? All other applications use the left mouse button to select objects, and in Blender, the same button set the 3D Cursor position.
When someone opens Blender for the first time and tries to select anything in the viewport, they will eventually change the 3D Cursor position. And realize that something is different about that software.
That was precisely what I did several years ago, trying to use Blender 2.35 for the first time. I still see people doing the same thing nowadays.
3D Cursor
What is the 3D Cursor?
The 3D Cursor is something unique to Blender, and you won't find any other application that has something similar. At least, I'm not aware of anything working in the same way.
Such tool has vital importance in the Blender modeling workflow. If you have plans to create 3d models in Blender, you will interact with the 3D Cursor several times.
One of the best ways to explain the 3D Cursor in Blender is to describe their primary utilities.
It works as a helper for placing objects. Yes, you will use it as a reference point for either create new objects or move existing ones.
Everytime you press the SHIFT+A keys to create new objects, your 3D Cursor will be the reference point for the creation. That is where the further object will appear.
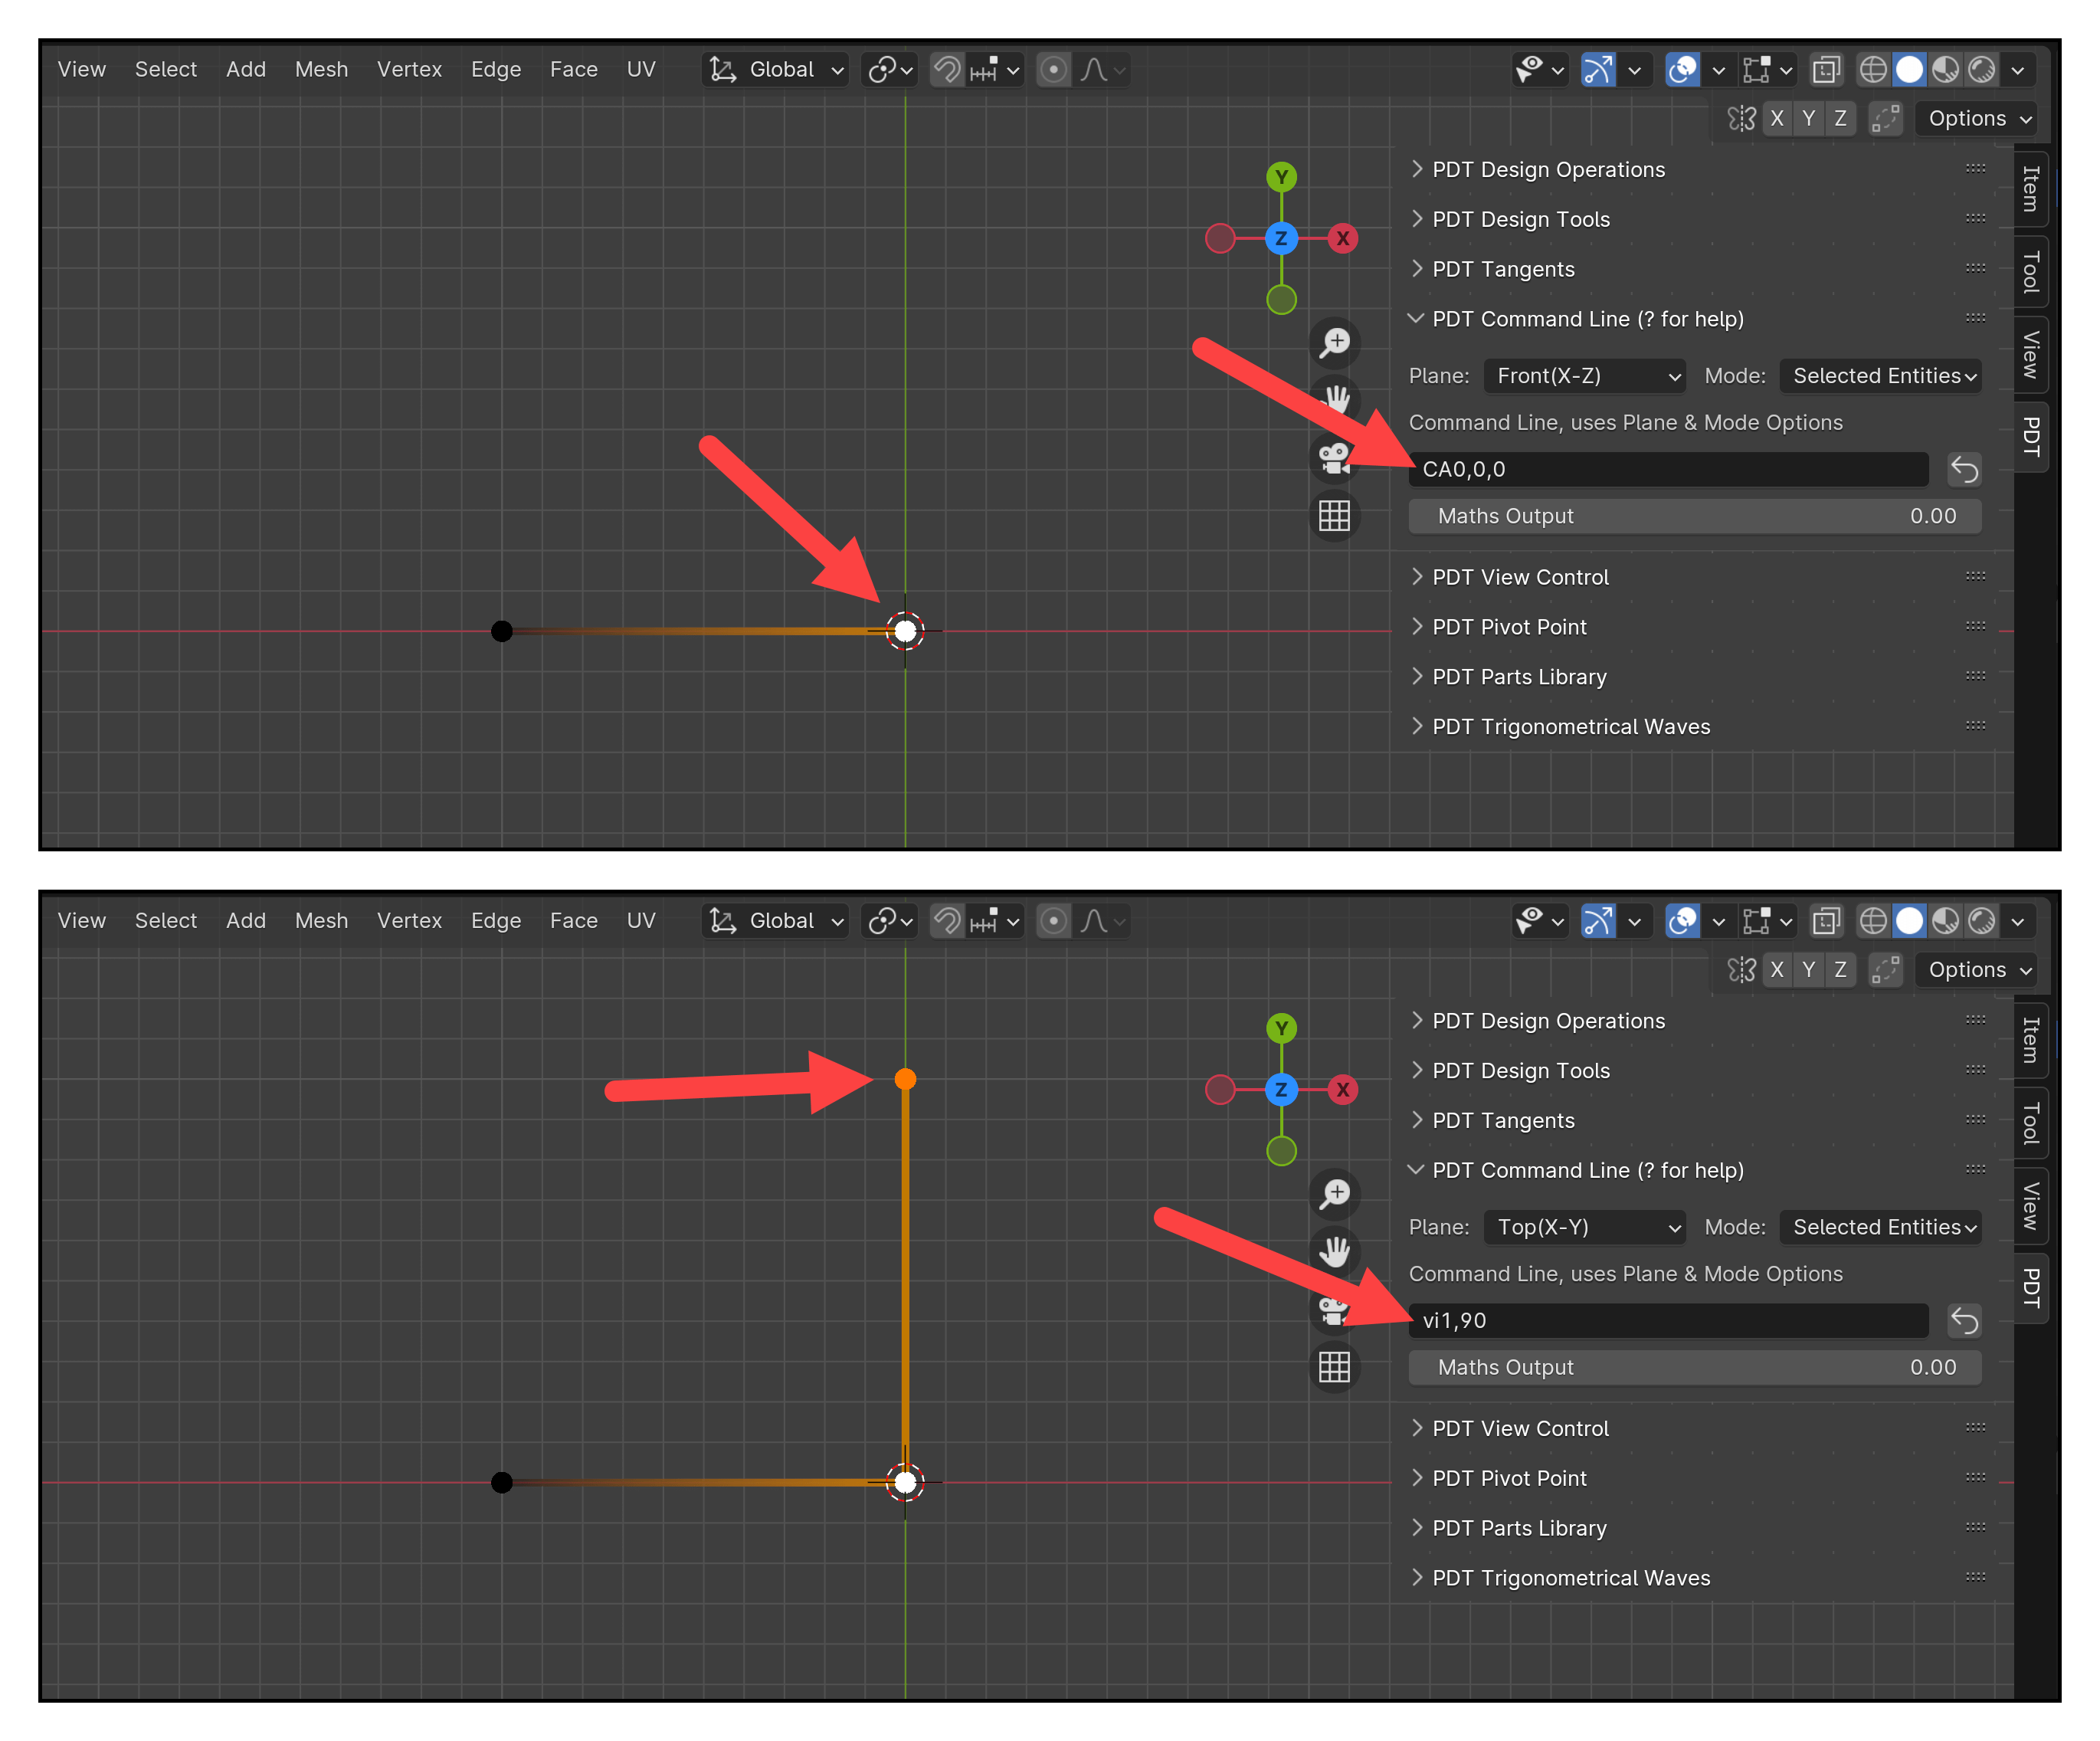
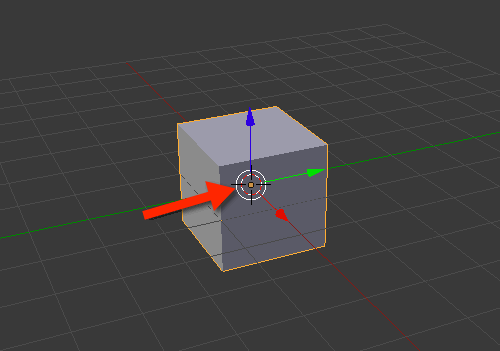
3D Cursor and Snap
To get the real power of the 3D Cursor in Blender, you have to use it with the Snap tool (SHIFT+S). In the snap, you will find several options to interact with the 3D Cursor.
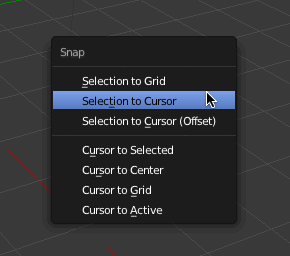
For instance, you can move any selected object to the cursor location by using the Selection to Cursor option.
You can also align the cursor to an object, using the reverse option Cursor to Selection.
The reference, in this case, will be the objects origin point, which will appear as a small orange dot.

3D Cursor and architectural modeling
Do you want to see a simple example of how the 3D Cursor can help with architectural modeling? Let's take something simple. Like moving objects.
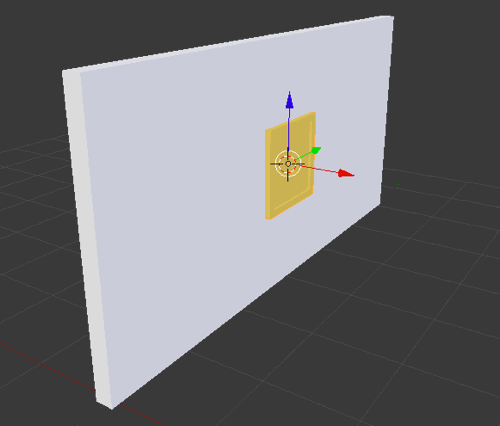
We have in the image below a wall and a wall frame.
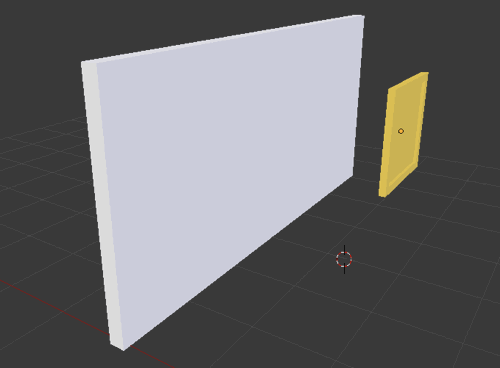
How to move our frame to the wall, using only the 3D Cursor?
First, you have to select the wall face in Edit Mode.
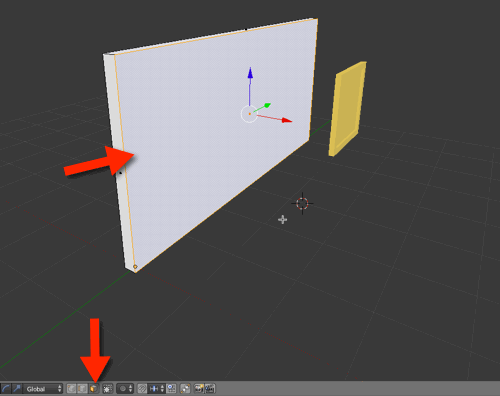
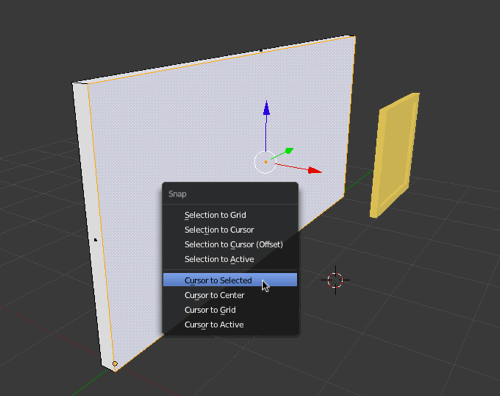
Use the snap options to align the 3D Cursor to the face. (Cursor to Selected)
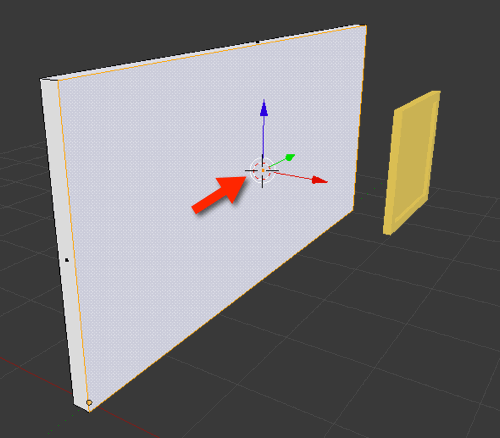
Now, in Object Mode, you can select the frame and use the snap again choose Selection to Cursor.
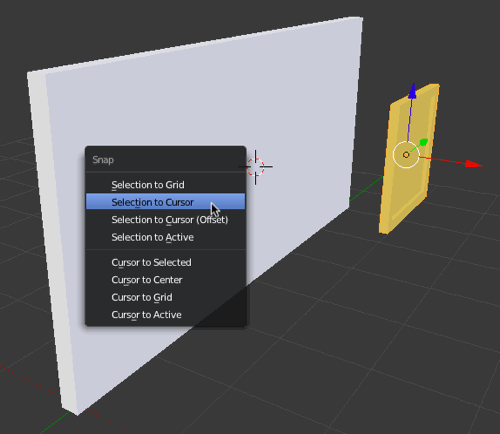
The frame will jump top the cursor location!
For that process to work, you have to make sure the frame origin point is precisely in the frame back face. You can quickly set the origin point using the 3D Cursor! Place the cursor in the desired location, for the origin, and go to the Object – > Transform -> Origin to 3D Cursor.
That was a quick example of how the 3D Cursor can become your best friend in architecture modeling, for moving objects around with precision and no need for numeric values.
Learning more about architectural modeling in Blender
If you want to learn more about architectural modeling in Blender, you can check our training about modeling and Blender. The basic course is entirely free:
- Course about architectural modeling with Blender
- Course about parametric modeling for architecture with Blender