
A few weeks ago I was talking about ways to correct the topology of a 3d model, without destroy any faces, vertices or edges of the model. The inspiration to write the article was a pot at the CG Society forums, where an artist was in trouble with a messed topology, and at that time he needed to add an edge loop around a door. This is a simple task, but the topology of the model was making the task a bit hard. In the article I asked for a way to correct the topology of the model, without destroy anything.
There were some great tips posted at the commentaries, but I will try something a little different to solve that problem. Of course, this is not the only or best way to solve a topology problem, but it's something I'm using for quite some time and it works for many situations. What I will show now is a technique called “construction object”. It you are used to CAD drawing, you may already hear of a type of line called construction line. This is special type of line, used only as a reference to draw something. When the drawing is created, we will either erase or hide the construction lines.
We can use the same concept in Blender 3D and other 3d softwares, to correct and create better 3d models. For architectural modeling, it can help with small problems and improve precision modeling. A construction object is always used when the standard snapping tools won't help us with a specific modeling problem.
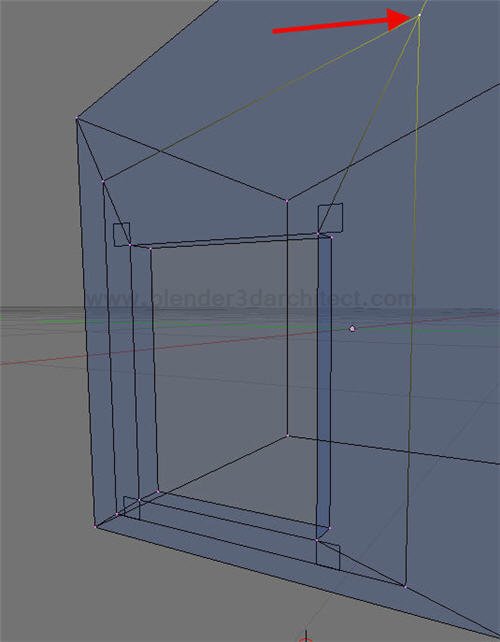
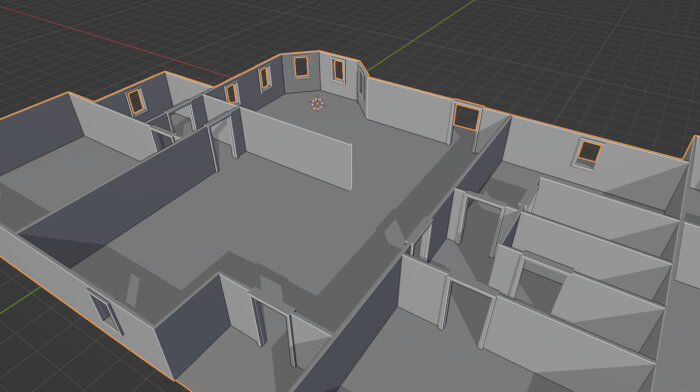
Here is the topology with the related problem in Blender 3D:
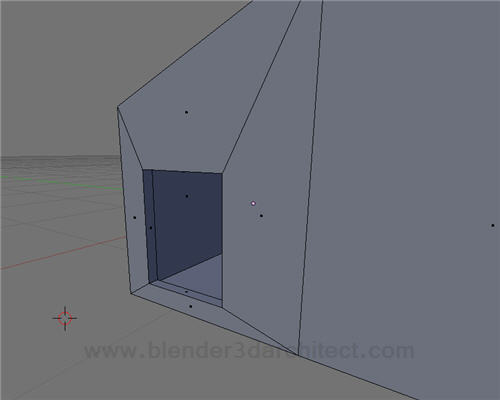
The problem here is that, if we add an edge loop around the door, the edges will be placed at different distances from the original point.
But, even knowing that we can add an edge loop, and the result will look like this:
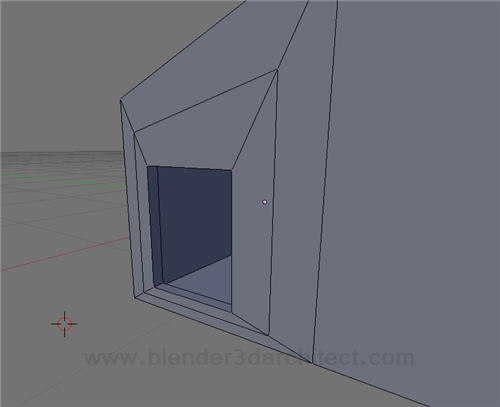
Remember, the objective here is to add an edge loop without destroy the topology.
After adding an edge loop, let's create a small plane. Create a plane in Blender 3D and scale it down. The size of the plane will be used as reference for the desired distance between the edges of the door, with the unaligned edge loop. For this example, I will leave the size if the plane as 1 BU for each side.
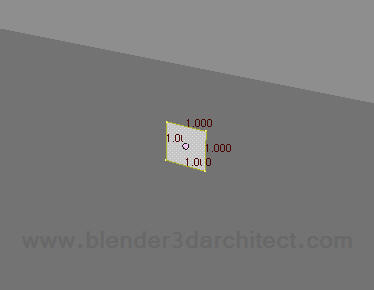
Now, place the center of the object at a corner of the plane. Do that with the 3d cursor and the snap tool. Use the “center cursor” button at the editing panel.
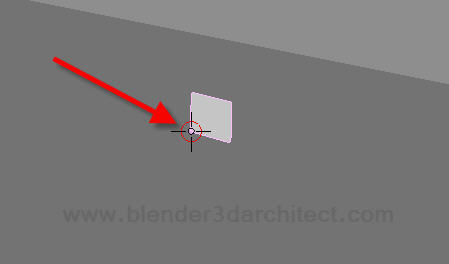
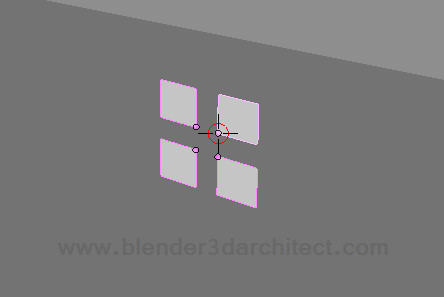
With the center placed, create a copy of the plane and rotate it 180 degrees in the Z axis. Select both planes and duplicate them, and rotate them 180 degrees in either Y or X axis (it will depends on your scene orientation). The final result should be a set of four planes just like the one below:
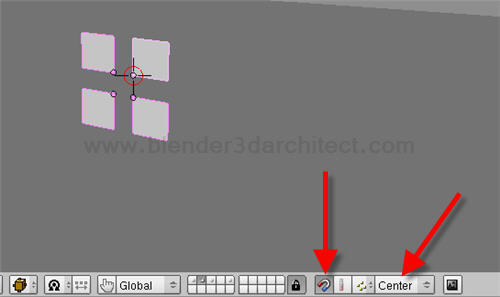
Turn on the new snapping tool of Blender, and choose Center as a snapping target.
We will now select a plane and move the object using the snap. The center of each plane will be used as reference to place the object at each corner of the door. With the plane selected, hold down the CTRL key and press G to move the plane.
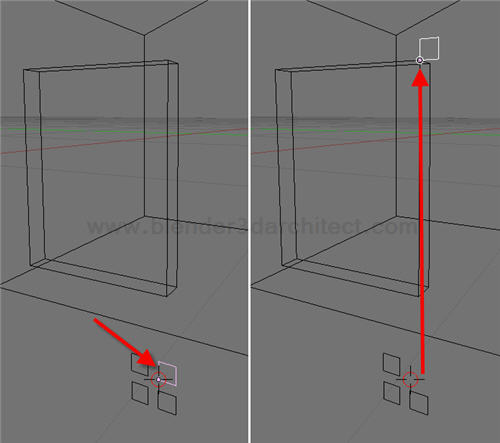
Repeat the process until we have all planes placed like this.
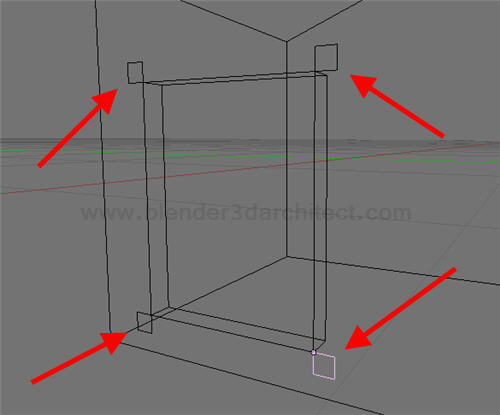
Change the snapping target to closest, and select the wall model now. In Edit mode, select a vertex and hold down the CTRL key. Press G and move the vertex until it catches a vertex of the plane, and place it just like the image below:
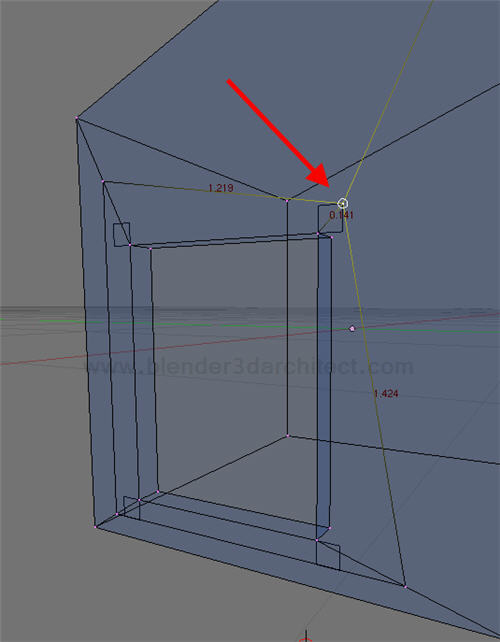
Repeat the same process for all other vertices and we will have a nice and distributed edge loop around the door.
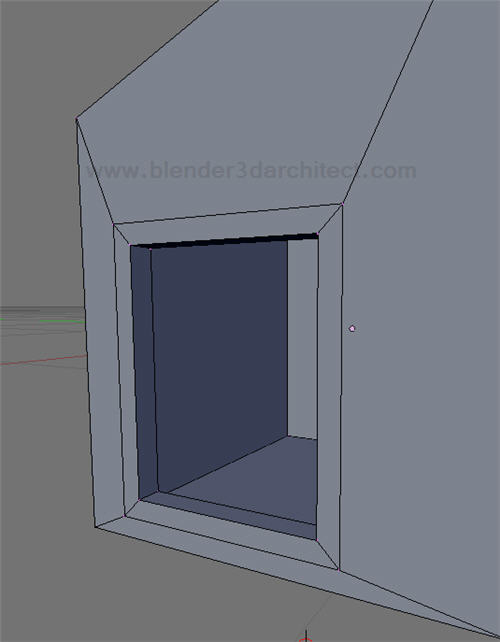
I know! There would be a lot of ways to solve this problem. I just want to show how a way to use construction objects in Blender 3D. If you want to check out this same example in video, I made one a while ago. The audio is in Brazilian Portuguese, but it's the same example! Just turn of the audio and enjoy a HD video with the same process.


wow, sometimes the better solution is the simplest
Funny I use a very similar technique and
of the some reason. Planes instead of
lines. I would have used one single plane
in this case.
I usually start with construction planes
before anything else. Height, with and
depth of the object for example. Very god
for snap points.
Things gets more interesting however
then you have to add a construction plane
in a odd angel. Sure you can turn it
manually but snapping it in place is better,
in my opinion. Duplicate is one way.