Modeling terrains with displacement maps in SketchUp and Blender 3D
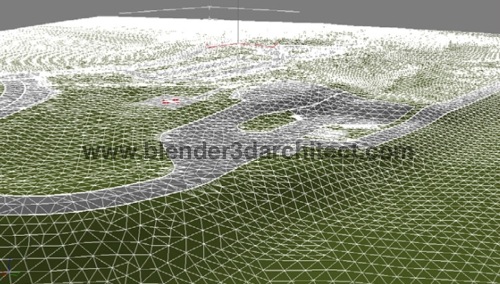
The creation of terrains and sites can be accomplished in several different ways, ranging from a series of curves that can be connected, from simple subdivision modeling. One of the fastest techniques to create large terrains with only a few mouse clicks is with displacement maps. This is a type of texture similar to the famous bump map, with the difference that displacement maps really deform the geometry of a 3d model. If you never tried to model a terrain with displacement maps, I just found an interesting tutorial about terrain modeling that could be useful for architectural visualization artists using Blender 3D, or any other 3d software with support for displacements.
The tutorial is saved on PDF format and can be download from this link. As you will see after the download, the tutorial is using SketchUp and 3ds Max for the terrain modeling, but almost all the work is made in SketchUp. The process is quite easy to follow and only uses free plugins of SketchUp.

Here is how it works:
- First of all we have to model the level curves of the terrain in SketchUp, by either importing a CAD file with the curves to SketchUp, or drawing yourselves the curves.
- Then, we must use the push/pull tool of SketchUp to extrude all levels to their respective Z coordinate.
- With the tools available at the Sandbox of SketchUp, we have to smooth the terrain model.
- The last step is to use a free plugin called Color by Z, which can add colors to the surfaces based on the Z coordinates of the model. This is the most important step, because it will be this plugin that will generate the displacement map.
- Set the camera view to top and export a png file.
That is it! With a png file we can open or terrain in Blender 3D and add a displace modifier to model the terrain using only the generated texture from SketchUp. If you don`t know how to use the Displacement Modifier. We must have a texture with the bitmap already associated with the texture, and set the texture name in the displace modifier “Texture†field.


Sounds cool. I’ve only played with Displacement maps, but the idea of making something in 3D and making a displacement map off it is an interesting idea… but what is the point if you already have your terrain modeled?