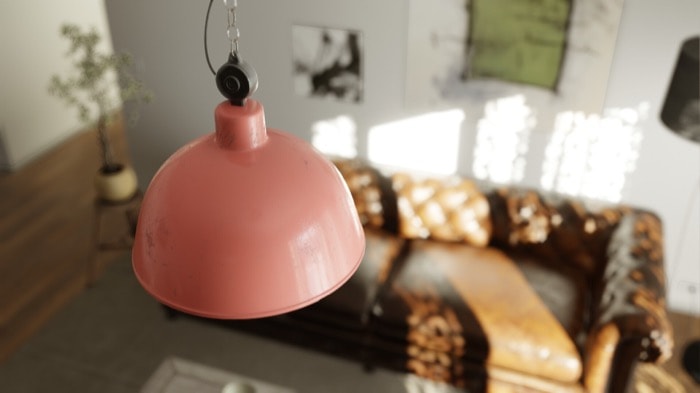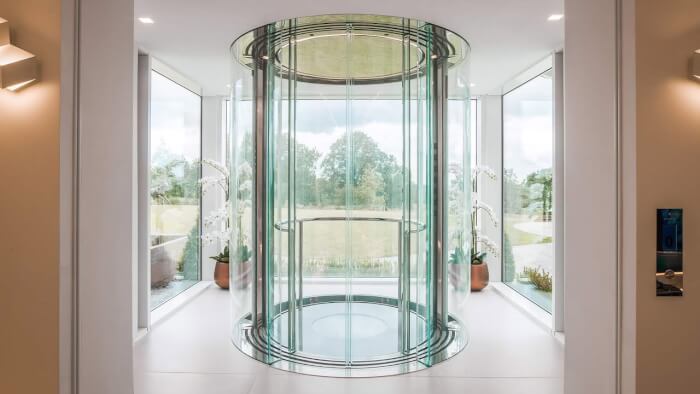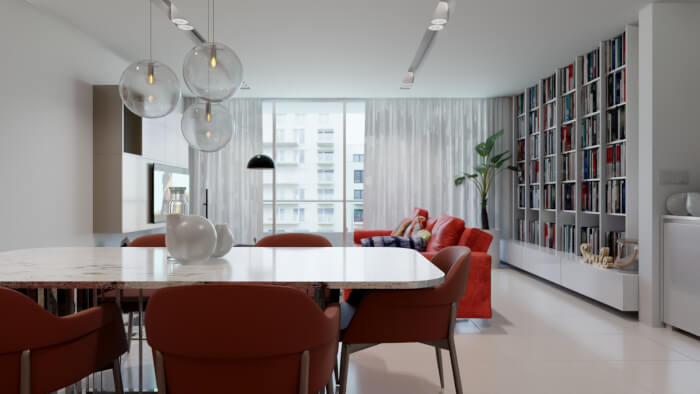
After the release of Blender 2.8 with a real-time render engine like Eevee, you will find yourself working on projects that would require weeks of production in the past. For instance, you will be able to create architectural animations in a couple of hours.
Since a scene in Eevee takes only a couple seconds to render in most cases, you will spend more time with the scene setup than with rendering.
Do you want to see an example? Here is a project from artist Joni Mercado, which shows an architectural animation. The project name is Absence.

Each frame in this animation took only 30 seconds to render, which shows the level of speed and quality you can achieve using Eevee.
How long did it take to render? Based on the total length for this animation, which is 2:06, and converting it to frames, we would get 3780 frames. Assuming the artist is using 30 frames per second.
If you multiply 3780*30 seconds, you will get 113.400 seconds that is equal to 31,5 hours of render.
Not bad for a two minutes animation.
Using Blender for architecture
Do you want to use Blender for architecture or render your projects using Cycles or Eevee? We have three books available that could help you!
They cover the use of Blender for producing architectural content and also all information you need to render projects in real-time:
- Blender 2.9 for architecture: Modeling and rendering with Eevee and Cycles
- Blender 2.8 parametric modeling: Drivers, Custom Properties, and Shape Keys for 3D modeling
- Blender 3.0: The beginner's guide
- Blender Eevee: The guide to real-time rendering with Blender 2.8
You can get them in both digital and paperback formats. By ordering those books, you will not only improve your skills with Blender for architecture but also support Blender 3D Architect.


Thanks for sharing!