We are always recommending to our readers and students here in Blender 3D Architect, to build an extensive asset library for architectural visualization. By having a wide range of options in furniture models, you will be able to finish interior visualization projects quickly.
Do you want to add four free, high-quality furniture models compatible with Blender?
An artist called Evan Popilnukha from Ukraine shared four high-quality furniture models that might become useful in architectural visualization. The models are part of a recent interior visualization project made by the artist.
At first, you will notice that all models are in 3ds Max 2018 format. Luckily, for everyone else that doesn’t have 3ds Max, the artist was kind enough to provide versions of those models in OBJ format.

You will find a total of four models available to download:
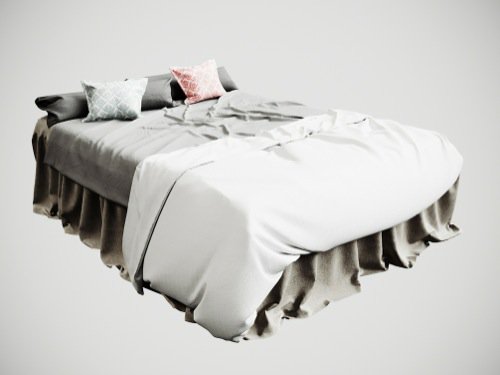
From all four options, the most detailed is by far the bed model. The model has sheets and all other details that will add incredible value to any bedroom visualization project.
Those models are available to download in the artist profile at Gumroad. Each model has a unique link. If that is the first time you are trying to download anything from Gumroad, you will have to give a value to each resource before the download.
To get them for free, you just have to give a value of zero. For the cases where you will use those models for commercial purposes, it would be nice to donate something to the author.
In Blender, you can import the models directly using the OBJ file format, and assign materials and textures in Cycles.
For the cases where you want to make changes to the models or use them as a reference to create new objects, take a look at our architectural modeling training. There you will find some great tips about architectural modeling:


