

Each artist working with Blender to create architectural visualization will find, along time, a unique way to set up their scenes. They have special tricks and workflows that allow them to keep a regular level of productivity and quality.
Today we want to share two projects that demonstrate how two artists that often appear here in Blender 3D Architect keep a similar style with excellent results.
Both projects are about residential spaces.
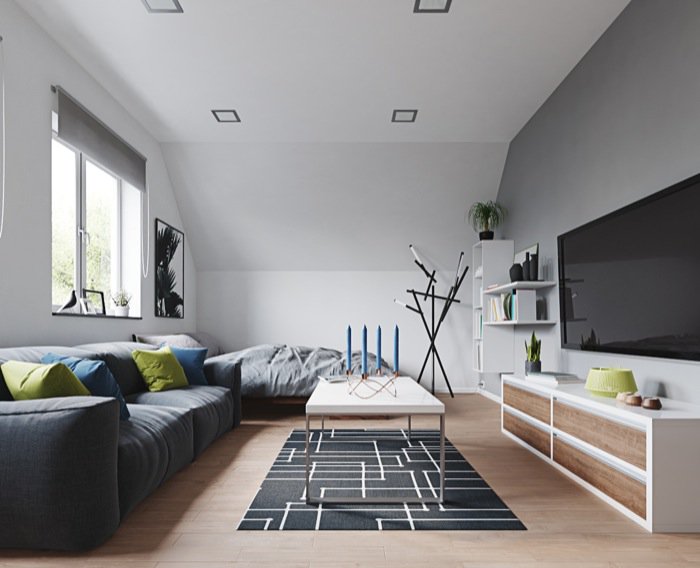
- Apartment with Cycles from ArcHWiZ – Another set with a residential project that shows a living room and bedroom spaces.
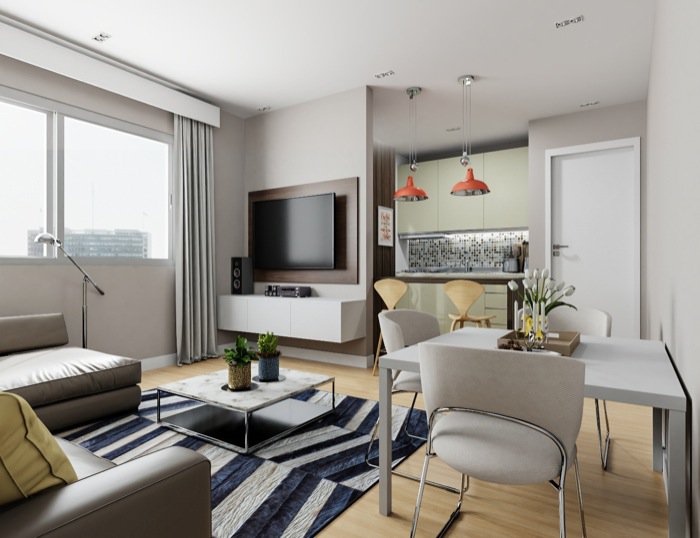
- Small Apartment with Cycles from julioras – Collection of nine beautiful images showing the interior of an apartment from the living room to the bedroom.
Both projects share an exceptional level of quality in both rendering and layout presentation.
What is interesting from both projects is the considerable difference in samples used for each case. In the first project, you will find the value of samples in around 4000. That is still using denoiser to optimize rendering.
In the second project, you will get a much smaller amount of 800 samples. Even going with one-quarter of the total samples from the first project, you still see beautiful results.
How is that possible?
To get the best amount of samples for each scene, you have to consider several factors. Starting with the size of your scene. Moreover, depending on a particular type of material in the scene, like glossy surfaces, you may need additional render interactions.
Unfortunately, we don't have further details on each project to elaborate more on the differences.
However, if you go back to some previous projects posted by both ArcHWiZ and julioras, which we shared in the past you will notice similar settings for all projects related to residential visualization:
- Living room with Cycles
- White living room with Cycles
- Interior architectural visualization: Apartment in Cycles
- Living room made with Blender and Cycles
That shows how important is to find and keep your style.

THIS is great advice that at the end of the day one should try to brings them self in each project , as a painter has a signituer we need to have one of our own in each project …at this point Im just trying to get to that level where my work is as great as ArcHWiZ and julioras,
You’ve messed the projects images.
The first one (by Julioras) uses the low samples and the difference in indirect light between the two is quite obvious.
Ops! Sorry, just fixed that.
Thanks.