Blender 4.2: Precise Modeling Workshop
Learning Resources →

By the time we started to play around with Cycles for architecture, we had begun to live with a common characteristic of their renders. I'm talking about noise. That grainy look on your images at their early stages. Some people might stare at the monitor screen for quite some time waiting for the noise to disappear, but it never really goes away. Is there a way to reduce noise on Cycles?

The get around a noisy render in Cycles you have a few options, and the first one is to increase the number of samples at the render settings. Will that solve the problem? It will depend on a series of factors, but most likely your render will get a cleaner look. As an unfortunate direct effect of this action, your render time will increase considerably.

Before you go out and spend your money on new hardware, you can always try a few tricks to reduce the amount of noise on renders from Cycles. Last week I did send to the subscribers of my newsletter about an experimental Denoising tool in development for Blender, and today I will share another possible solution.

Have you ever heard of B°WIDE node groups? It is a collection of nodes organized by Sebastian Röthlisberger. Among those nodes, you will find one called Denoise. By the name of the node, you can imagine its purpose!

Reduce noise on Cycles

When you visit the page of the node groups, you may think that all those nodes are hard to use. After all, they seem complicated and full of options. The first time I did introduce those nodes to my students, they got scared at first. After a few interactions and tests, most of them found themselves playing around with composite nodes. And guess what? They loved it.

Don't have a clue about how to install these nodes? Here is a link to a step-by-step process showing how to use them. While we wait for a native option to reduce noise on Cycles, I believe that these nodes make a great alternative.

Beware that all those techniques to reduce noise on Cycles, end up removing detail from your renders. You might have to increase the resolution to compensate. As always, it is a wise move to test before you apply new techniques and tools in production.

Previous

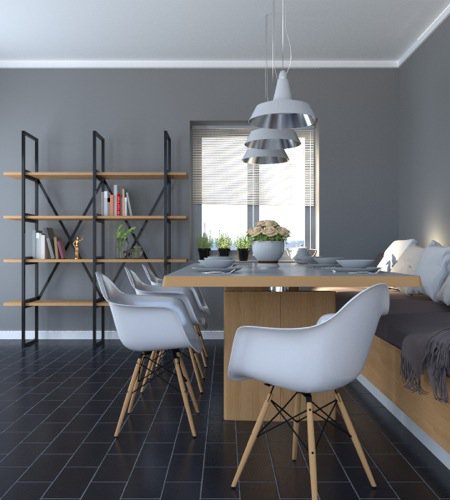
Living room made with Blender and Cycles

Next

Blender and Cycles for architecture: Loft

Leave a Reply

This site uses Akismet to reduce spam. Learn how your comment data is processed.

Check Also

Clicky