The project profile series of Blender 3D Architect is a collection of articles aiming for feature projects related to architectural visualization. We invite talented artists to share additional details about each project to demonstrate how they approach each stage. And also allow each author to publicize their work among our readers.
How does it work? It is like an interview, where we sent a couple of questions about a project for the artist.
If you want to check previous project profiles, visit this link.
Today, we have a project named 3D Floorplans from digital artist Katarzyna Zając, which used E-Cycles to make some unique types of floorplans for architectural designs.
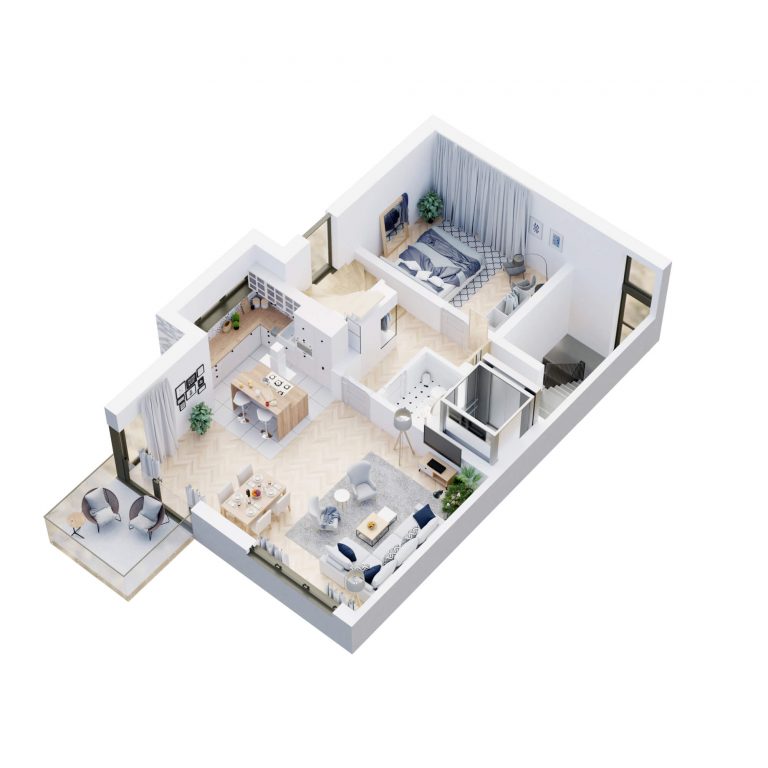
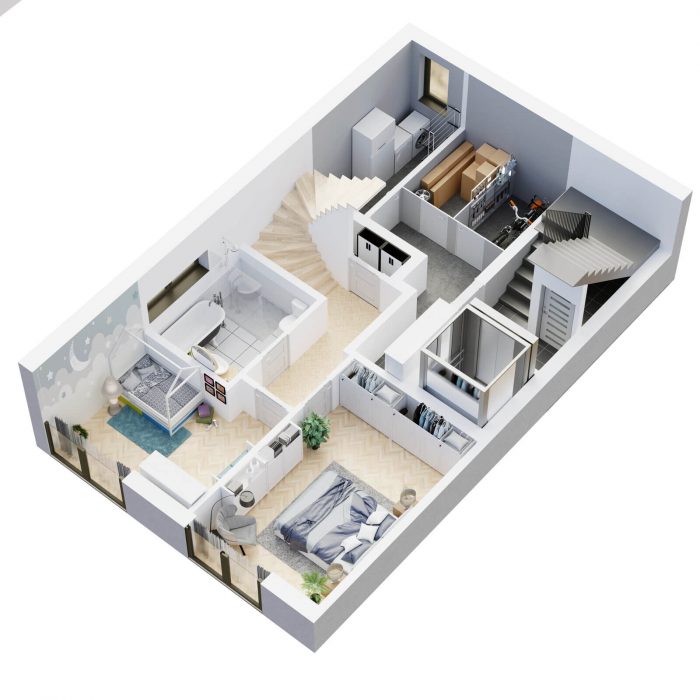
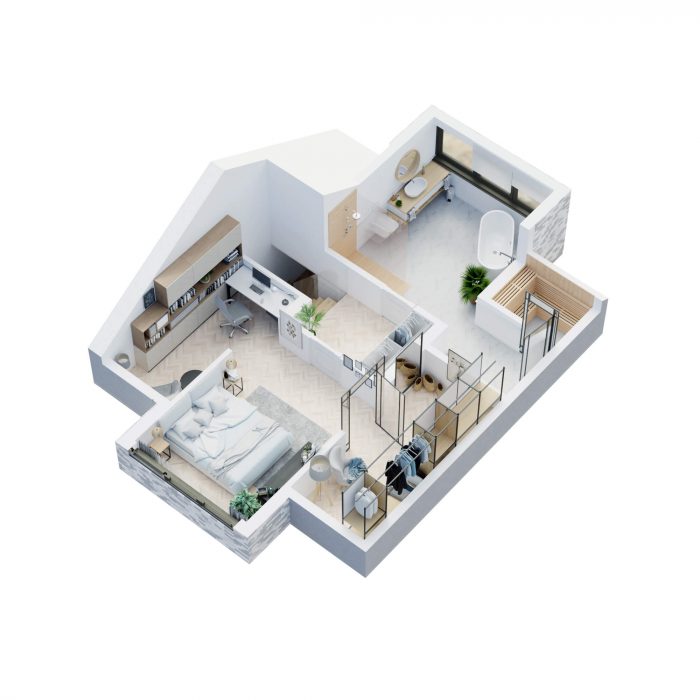
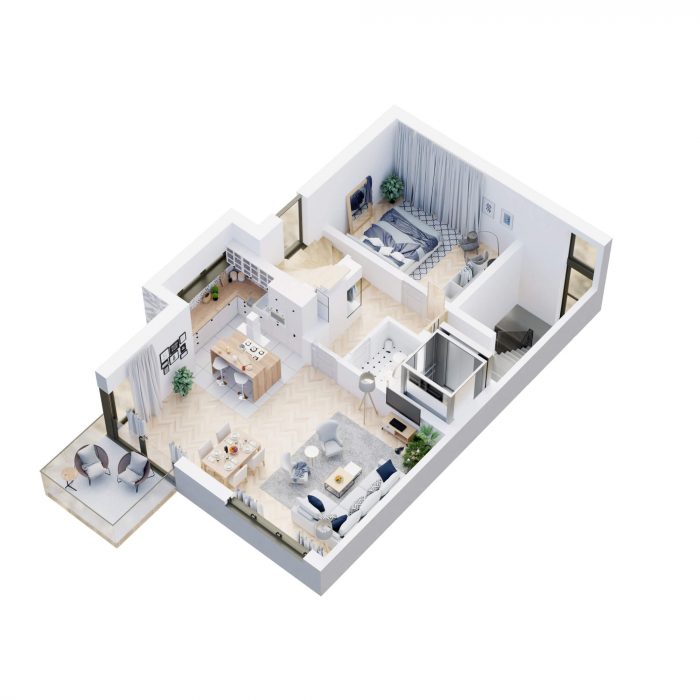
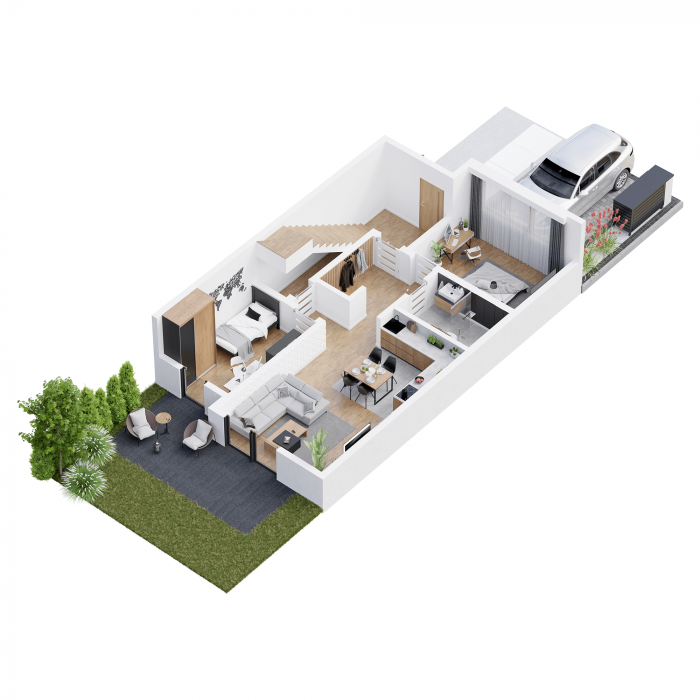
What is unique about this project? As you will notice from the project’s visuals, unlike many projects that try to create realistic images based on 3D data, we have stylized 3D perspectives from architectural projects. It is a great way of presenting those designs and probably makes it easier for people to fully understand the entire project, which works better than a collection of standard renders.
Let me thank Katarzyna Zając for sharing the details about the project with Blender 3D Architect readers.
Was it a commercial project? What can you tell us about the motivation for this project?
Yes, it was a commercial project. It was created for Zwei15 – a group of architects from Germany. that creates all sorts of buildings. This one was supposed to be a comfy, family-friendly place. I have created a full set of visualizations: all floor plans, few interiors, and two exteriors.
We have worked on it over a year ago, but you can still find some of the results on their Facebook page.
Did you use any references for modeling, like technical drawings?
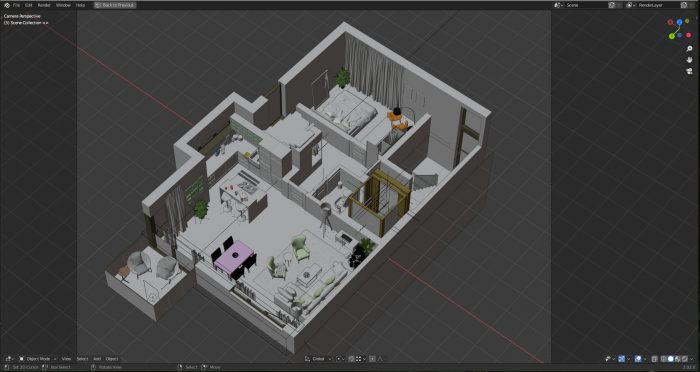
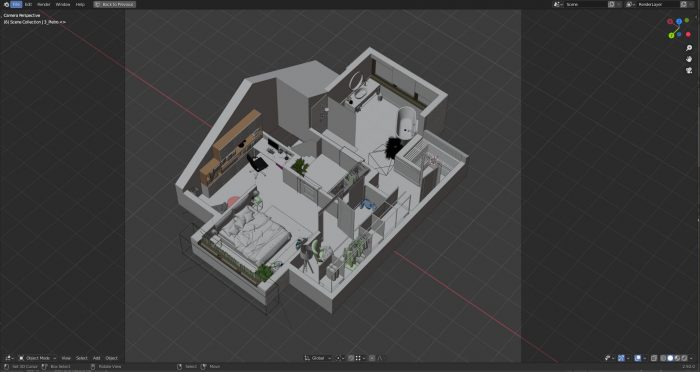
I always use technical drawings. I usually use photoshop to convert pdf architectural drawings into JPEGs and then put them into Blender as a reference image. Then I set the scale right and model over the image. Of course, this way, you lose precision, and some dimensions might not be 100% accurate, but as long as they are almost perfect, it is ok. You can’t tell if the room is 2–3 cm wider only by looking at the visualization.
When it comes to interior design – as I am not an interior designer, and I haven’t attended any kind of courses, I strongly base on internet references and also on my experience gained from work for interior designers.
Did you model everything in the project, including furniture and props?
No, of course not. If I had to spend at least 40 minutes on every prop for my scene, it would never pay off. In jobs like these, I only model the walls, floors, kitchen furniture, and other big elements like wardrobes. The rest of the models are downloaded from the producer’s pages (mostly lamps. sofas, armchairs, and chairs) or from webs like 3dsky. Some of them are paid, some are free. After a few years of working in architecture, I have a pretty big library of 3d models ready to use in projects. A situation where I have to model something by myself happens more when I work on detailed interiors, especially when I follow interior designer specifications. Other than that, It usually models that I have in my library.
What can you tell us about the interior design (Layouts, materials, and props)? Did you have to create it yourself?
As mentioned before – I had the layout of the building; most of the materials and props were done by me a long time ago for other projects and only imported to this one. About the interior design, I just followed a very rough brief from a client.
You have a unique style to show architectural projects. How did you come up with this idea?
This one might be funny, but it is actually true: The Sims inspired me! Building and furnishing mode was the part of the game that I spent like75% of my playtime. A few years later, I started my journey into the 3D world, and after some time, I came up with my first floor plan. The first one was terrible, but as I improved my skills, I got to the level where you could call it nice. That is when I applied for a job at Rendart – a polish company that creates commercial materials for residential developers using Blender. I got the job and adapted to their style.
How long did it take from start to finish?
At first, working on a single image like this took me around 12hours. After three years of creating up to 20-floor plans monthly, it is a matter of 2–4 hours per shot. Of course, the first result is just a draft, had the client needs to see it and decide if he wants to introduce some changes. That is where the fun begins:).
In this particular project, it was rather fast, as the client liked the interior design. From what I remember, we only had two series of corrections, and they were related to the type of floor tiles in the stair hall. Finishing the whole project took around two weeks (including all other visualizations).
What hardware did you use to render? Can you share some render times?
I use GeForce RTX 2070 graphic card and Intel Core i7–9700K processor. I also use the full version of E-Cycles, and I have to say it is damn worth its price! Before I got it, a final render of the image like this took around 40minutes (4000x4000px 500 samples). Now, it takes around 15 minutes.
Can you share any details about the lighting process?
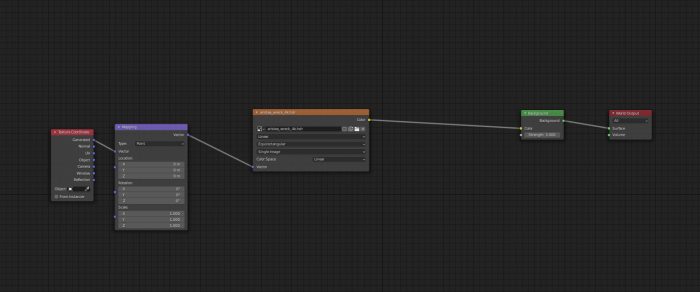
Sure, but it won’t be anything complicated. I simply use one HDRI map with soft light. If the light has a saturation (like a sun on Golden Hour), I desaturate it as it makes the interiors look odd. I always place the main source of the light behind the scene so the image won’t look flat. This way, it is also its way easier to prevent some parts of the image from being overexposed. I hardly ever use any kind of additional lights (like from the lamps etc.). Mainly because, again, it can easily cause overexpose of some parts of the image. To make them visible, you would need to make the whole image darker, and as a result, the final image is not as appealing as it should be.
Did you use any Add-ons or external tools to create the project?
I always use Photoshop for post-production. Nothing fancy, I could easily do it in Blender, but due to my habits, it is faster for me this way. I usually turn up brightness and contrast, and I feel I have more control in Photoshop.
What would you say was the most challenging aspect of working on this project?
Interior design as always. Every client has its own taste, so I had to find the best design to fit my client’s taste. Sometimes – and it was also an issue in this particular project – architects create interiors, but they do not specify what do they want to do with this space. So you have to come up with your own ideas that make sense when it comes to the building plans. For example – my client liked the idea of creating a small sauna in an additional space next to a big bathroom and an office in additional space next to the master bedroom. They sent me plans with empty spaces, and it wasn’t really clear how I should arrange some of the rooms. And since the main aim of creating floorplans like this is to make it attractive to the buyer, good ideas are always welcome. But you have to be careful with your imagination – once I have created a playroom with a billiard table and the client wasn’t very happy about it … 😉
Do you want to share any additional details about the project?
I use a quite big focal length of the camera. Usually around 100. This way, I minimize distortion of the vertical walls – they all look parallel to each other.
When creating the lowest level of the building, I usually add grass and a few trees like in this example.
I do not use too many details in the images. They make a space too busy or even messy.
I use a boolean modifier but not for cutting the walls. The modifier sometimes gives unpredictable results when it comes to assigning materials, and it is very important to have them sorted out properly.
Thanks again to Katarzyna Zając for sharing details about their work. You can check more projects from her at Behance.

